

DIY Paint Stripping
/


This was the hardest thing I’ve ever done. Ready to do another one, bring it on.
I love this project. Is it tedious? Yes. Is it labor intensive? Oh yeah. Does it take for-freaking-ever? Yup. And yet, it’s the best. The sense of accomplishment when I’m done with a section is awesome. Plus, I get to use cool stuff, like paint stripper [whaaaat - it’s so cool, it’s very science-y]. You know it’s cool if you can’t use it when you’re pregnant.
My friends renovated a historic house in downtown San Antonio, built in 1909. They did an amazing job, it’s a beautiful house. In the process, they replaced a lot of doors, which meant they were going to be removing the old doors…. I did a lot of asking, begging, and pleading, and they actually let me have the old doors!! For free!
Seven. I have SEVEN antique doors, 119 years old. They’re amazing. Not sure what I’m going to do with them all, but it doesn’t matter. I’ll figure it out. They’ve lasted this long, they can last long enough for me to find their next purpose.

For one door in particular, its next purpose is to be a barn door in our newly renovated bathroom! We picked the one that was closest to the size we need, and I got to work researching how to strip paint. I also cleaned the door.
It had been sitting outside a while, so this was quite the transformation! It was tempting to leave it as it was (cleaned up), but I knew it would look amazing when it was done.
Just about every blog/article I read said to test the paint for lead before choosing a stripping agent, or doing anything at all really. I took the hint, and bought a lead test.
I just followed the directions on the package. Pretty easy really. Break it, shake it, squeeze it, swab it, check it.
Drumroll……….
.
.
.


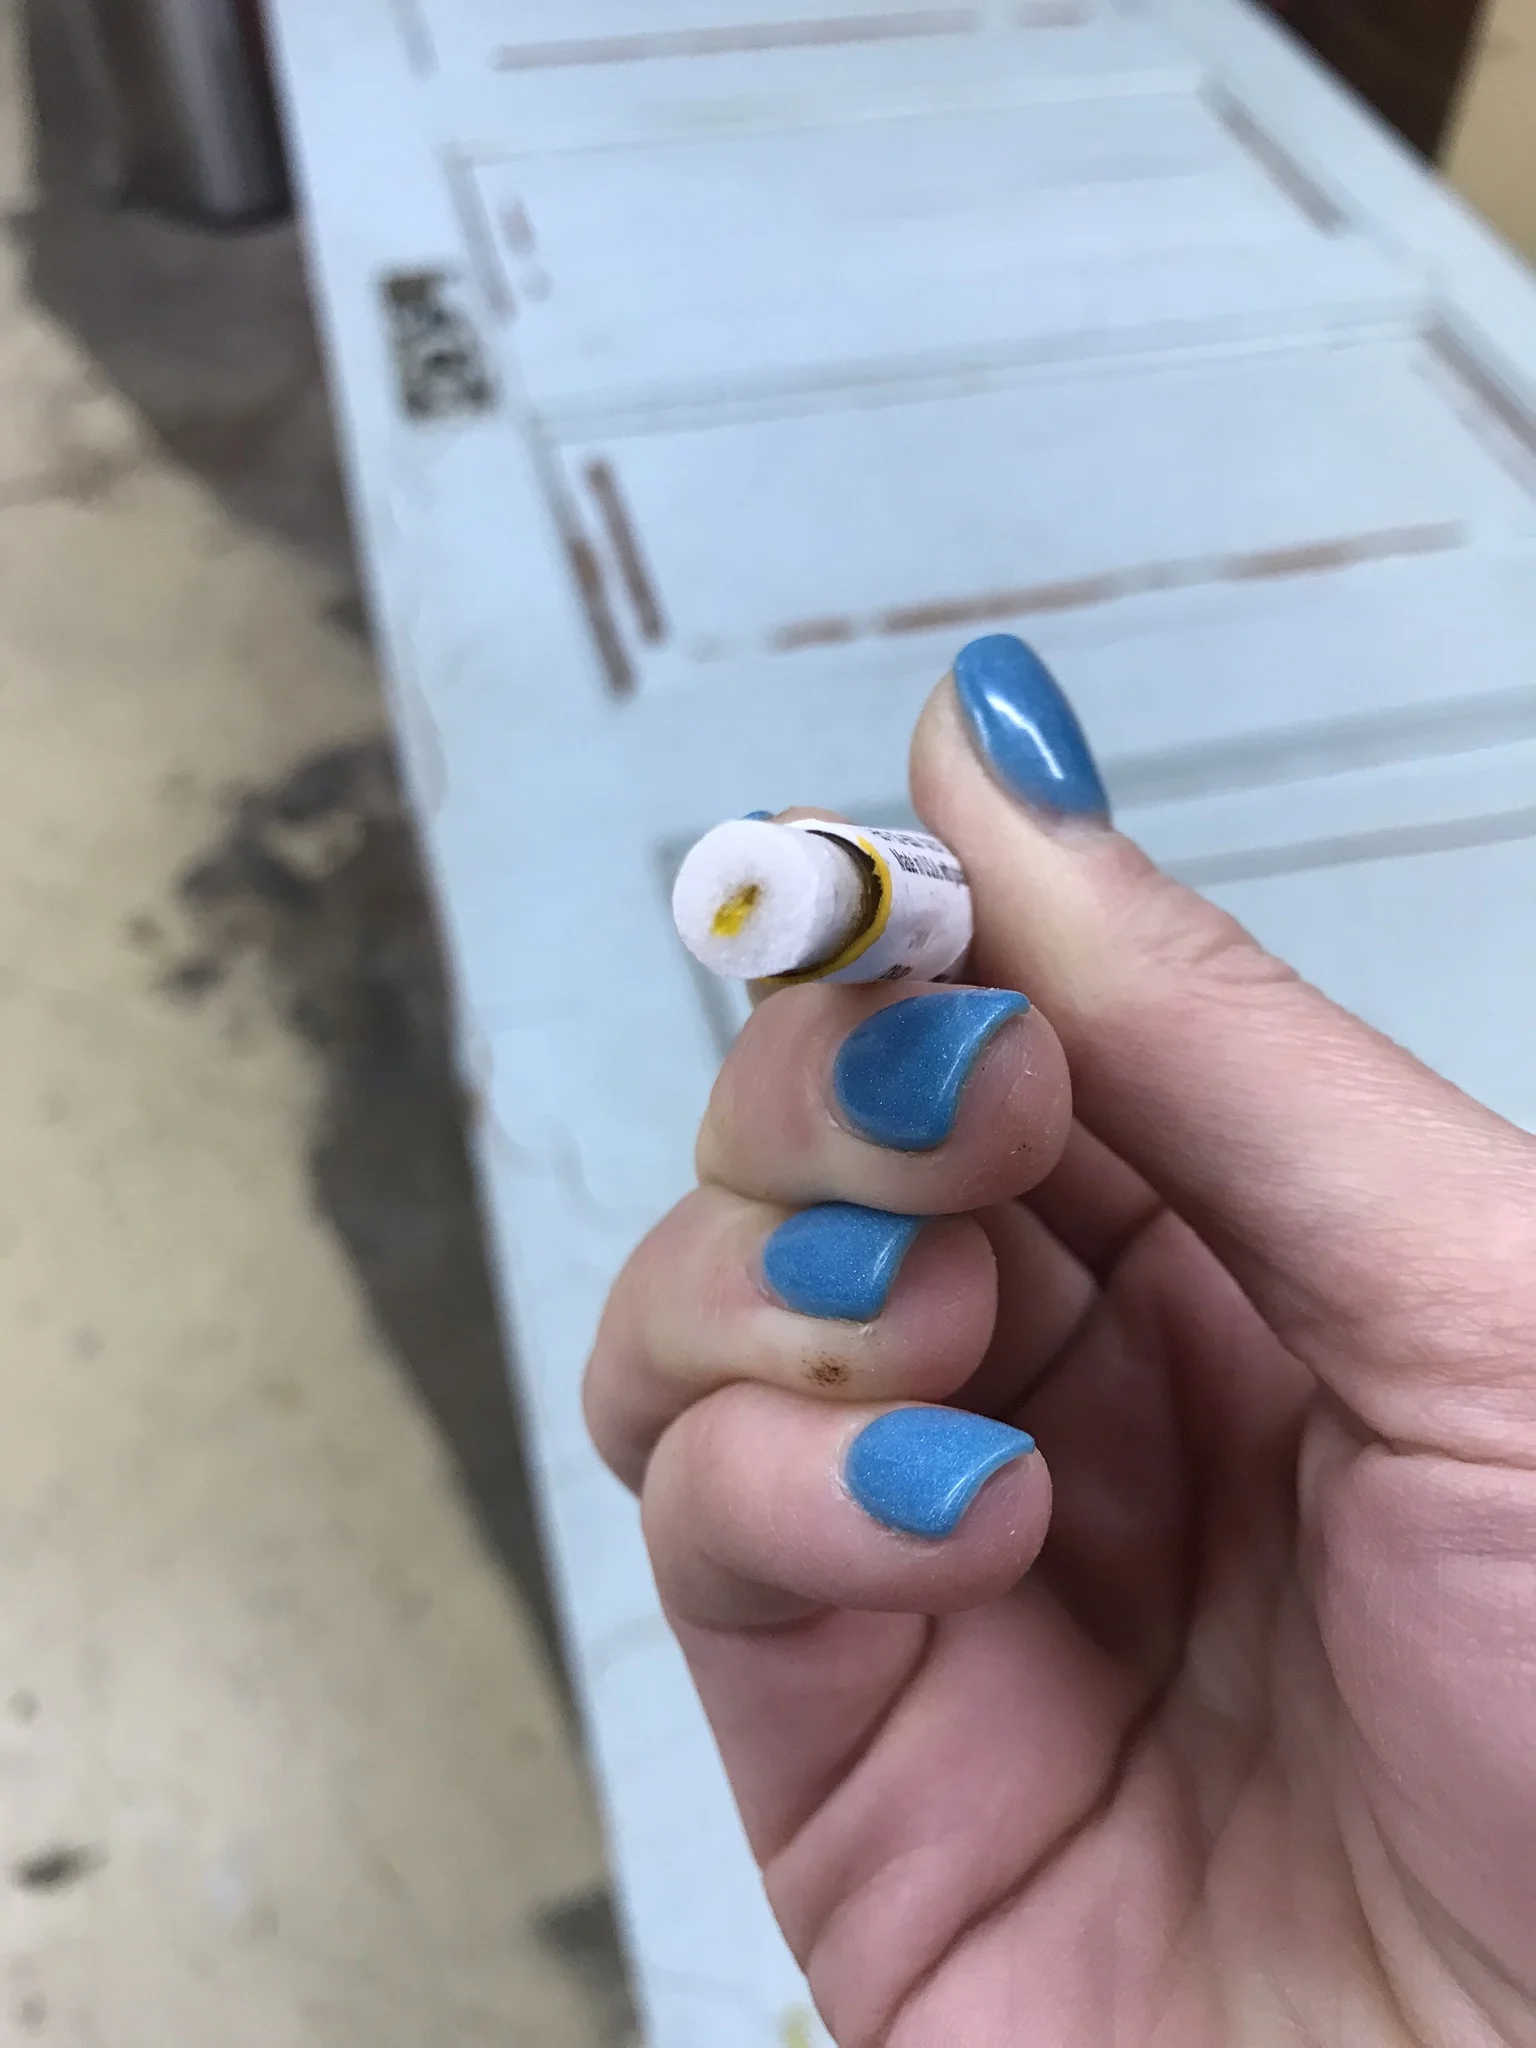


NO LEAD!!!
That means I can use just about any paint stripper I want, and almost as importantly, I can sand the paint too.

Supplies
Next time we went to Home Depot, I got:
This paint stripper, because it says it’s environmentally friendly, and low odor. I got this smaller bucket at first to make sure it worked well before going back for the bigger bucket.
[Note - I also ended up having to get this paint stripper. More on that later]A wire brush set. I should have just gotten more of the brass brushes.
A paint scraping tool (imperative).
Painters’ masks (I got a size Small, like an idiot),
“Heavy duty” gloves. These were not heavy duty enough. I should have gotten solvent resistant gloves, and put them over these heavy duty ones, which were put over regular latex ones. The gloves aren’t strong enough y’all. This project is rough on the hands.
Technique
With my tiny mask and heavy duty gloves on, I got to work.
I have a large open shop area with an overhead door and an industrial fan, and I still had to move this project outside eventually. If this stuff is “low odor”, I don’t want to smell the other stuff. At first it kinda smells like bananas, and then later the fumes get you. So when they say “well ventilated area”, they mean it.
The other tip I read on all the other how-to’s was to not skimp on the coverage. Not trying to “paint” the door here with a thin layer of stripper. This needs to be so thick you can barely see what color the door is. My big paintbrush did ok - I’m a bit of a perfectionist, so it took me a while to get it just right.
This quart covered one half of one side of the door. A gallon of stripper is required for one door.
35 minutes after I put the stripper on the door, I took the progress pictures. It had already started to lift the paint! I tested a spot though, and it definitely wasn’t ready to be scraped off.
As aforementioned, I had to move my operation outside. For once I was glad it was a humid day - paint stripper only works when it’s wet, and it stayed wet a lot longer since it was so humid. After I moved it outside, we went and ran a few errands, and when we got back it had started to dry just a little; I covered it with a piece of plastic, and left it a couple more hours.


Total time elapsed was about 6 hours. 10:30AM to 4:30PM.
This stuff is soooo cool. All that paint, all those years, just scrape right off this beautiful door. After the initial scrape, I went back with the wire brush to get the rest of the stripper off, and remove as much paint as possible.
With this Multi-Strip Advance paint stripper, that’s it! The next step would be sanding - I wanted to get the other side of the door stripped before I sanded though, so I could just sand the whole door at once.
The Other Side of the Door

My plan was to get good at the paint stripping technique before flipping the door over and stripping the main side. Good plan right? Well except for the part where when I went to Home Depot to get more paint stripper, they had a stop sell (no can sell to me) on it. They couldn’t tell me why, just shrugged and said “must be a recall”. I made them call the manager over and everything. Turns out the supplier company had just released a newer version and yanked the old version off the shelves, but it was bad timing for me. I had to switch to a different [in stock] stripper - I bought this one because I remembered reading something about it. With this stripper, I also needed stripper wash [hehe] and mineral spirits.
To get it out of the way, my $0.02 cents on the two different strippers is that the Multi Strip Advanced is WAY better. Works better, and leaves less residue that’s easier to get off. That makes a HUGE difference during sanding.
Buuuuuut, the Citi-Strip looks awesome while it’s working.
I used the same technique as I did on the other side; painted it on thick, then scraped it off as best I could with the paint scraper and went back with a wire brush. I left the stripper on the door for a little over 24 hours this time; I wanted to give it its best chance, but also that was just the earliest I could get back to it.
[As an aside, taking pictures of this project during working it is pretty much impossible by yourself. The last thing I want to touch when my hands have toxic chemicals on them is my phone. Because then that touches my face. Ok, back to the door.]
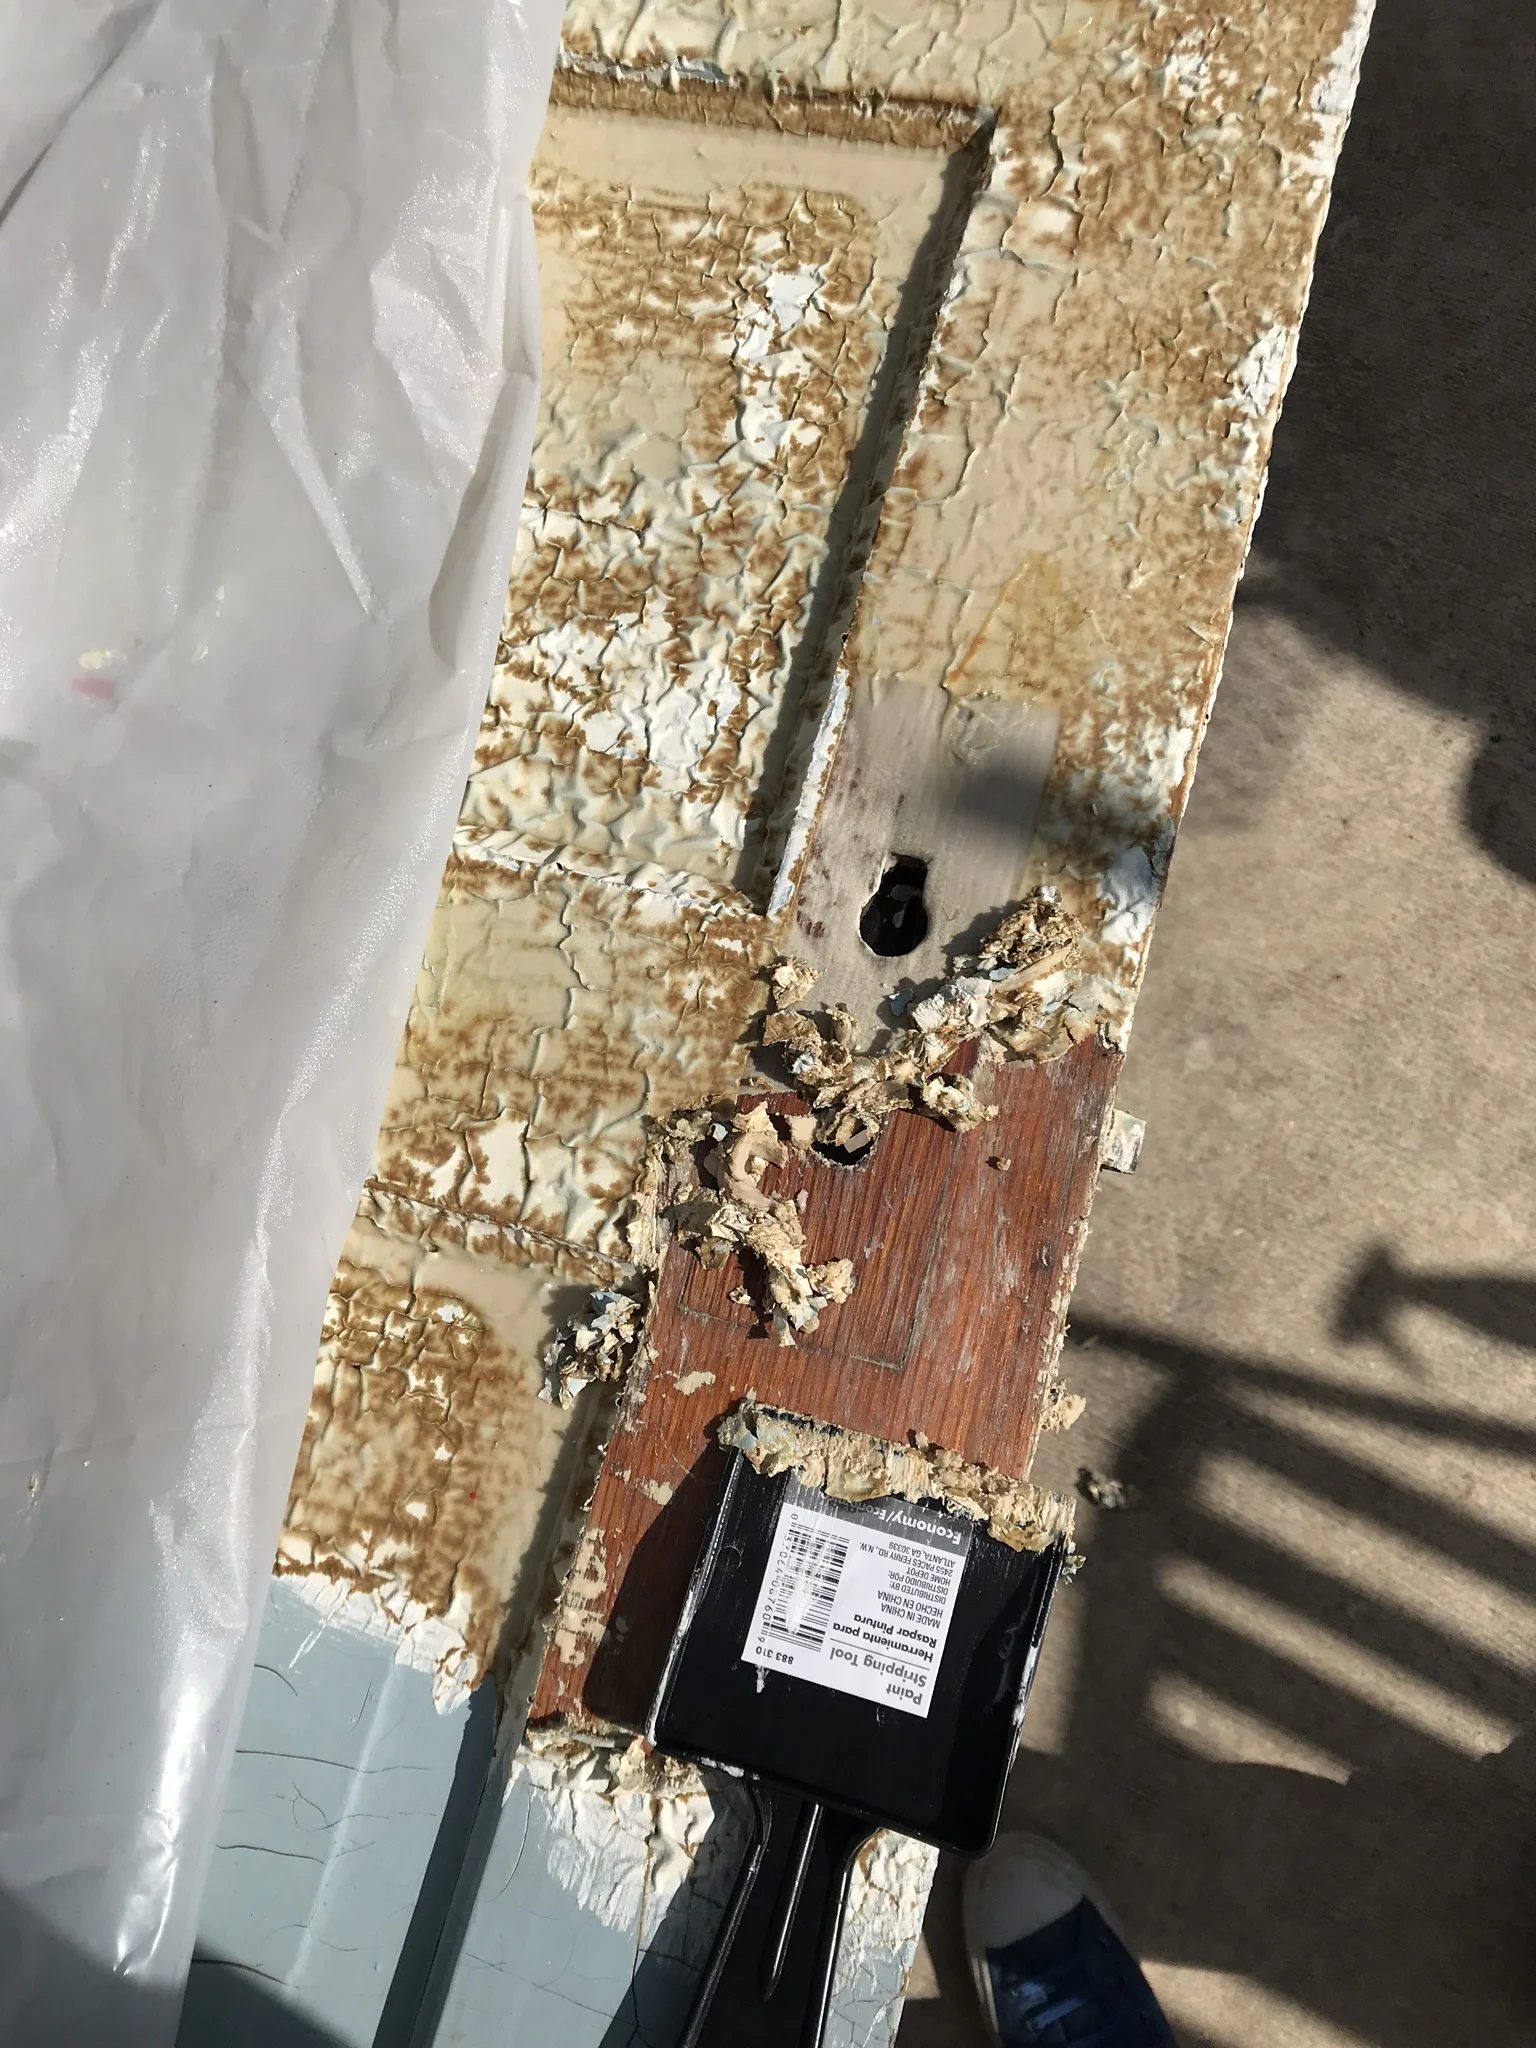
I got a BIG surprise when I got the paint off of this side! Fire damage!! This door was in a house fire in 1948 that caused the death of an invalid elderly former baseball player [lots of adjectives]. I knew the house had been in a fire, but I didn’t even think about it burning my doors! What a cool surprise. My friend looked up the police report of the fire from back then, and we got to read the account of the fire that a 14 year old tenant gave the police. Awesome.

Aaaaaanyway check it out. All the gray, charred looking areas are fire damage. In this photo, the top of the photo is the bottom of the door.
Solvent-resistant gloves are needed for the next steps. [I should have had them for all of the other steps too, but you live and you learn I guess. In my case, I lived and I melted my “heavy duty” gloves to my acrylic fingernails and had to use acetone to get it off.]
With this paint stripper, the next step is the paint stripper after wash to remove the residue and the rest of the paint. Read the instructions and follow them carefully. I underestimated the importance of this step - this is just as important as the paint stripper itself. Getting all of this residue off is the key to not hating your life during sanding. I used rags [a lot of them], and the whole container of after wash, but I should have been more meticulous. Sanding this residue off is NOT FUN.
After the after wash, it’s the mineral spirits to neutralize any remaining chemicals and “wash” off the wash. Again, rags, wiping, etc. I followed the instructions on the tin it came in.
This citi-strip requires a couple additional chemical-laden steps that are avoided with the multi-strip. Just wanted to point that out I guess, I don’t have a follow on point.
Now that the majority of the paint is off the doors, it’s time for sanding!
Sanding
This was quite the intense sanding project, I’m not gonna sugarcoat it. I sanded the other side, but not as well as I did this side. I thought it would be cool to leave some of the patina on it since we’ll only see it rarely. I was right, looks great. That side was also a lot easier because the residue wasn’t as bad as it was with this citi-strip side.


I used my Ryobi sanders - I have an orbital one, and one that kinda looks like a little iron, and I used both on this. I learned the hard way that I should have used clog-resistant sand paper, because the residue on this side of the door basically turned into glue. You can kinda see the blue sheen on the door in the first picture here; all of that turned into gunk. I ruined so many sandpaper sheets before I went to Home Depot and got the right kind. I started with 80 grit, then 100, then 120.
For the grooves and details, it was a fight. No better way to describe it. I used a sanding sponge, sandpaper, anything that would work really. Always making sure I went WITH the grain of the wood.
For the metal door plate, I just sanded it - first on accident, and then on purpose. Again, with the grain of the metal.
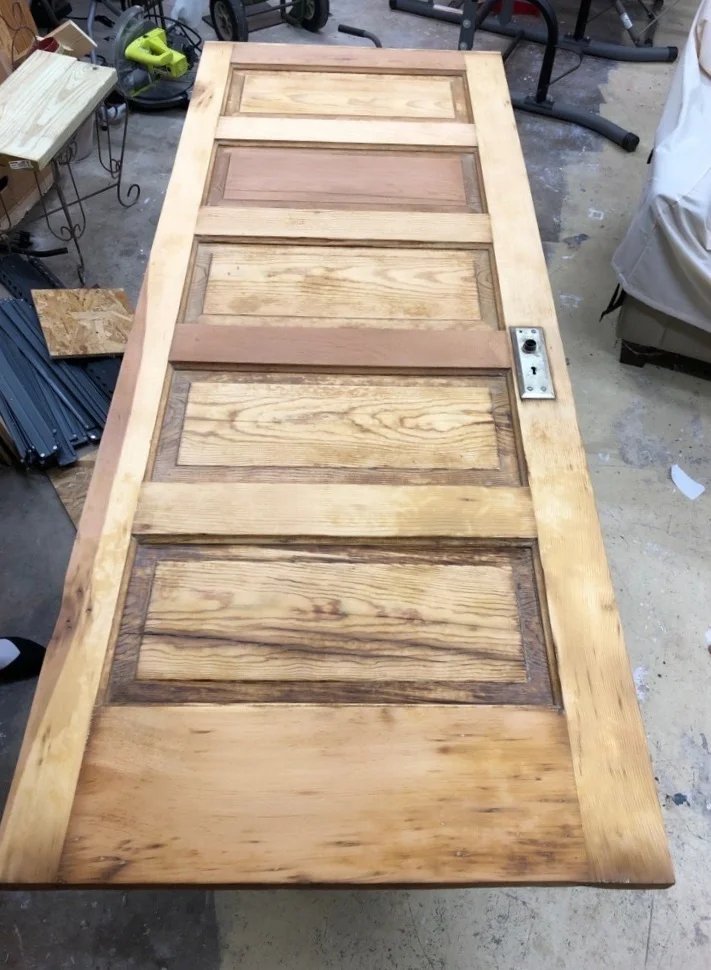
I wanted to leave some of that awesome fire damage intact, so I may or may not have used that as an excuse to not finish sanding the door 100%. I got the residue off 100% though, for those keeping score. The worst of the fire damage is at the bottom of the door - the doors are upside down in the photos.
The last step is to paint on a clear polycrylic sealant/top coat. Here it is after that coat of poly:

Door Tracks
After our contractor installed the door-hanging-mechanism(s), in order to keep the door “on track” and not scraping against the wall, we got these and installed them. We just followed the instructions, it’s not rocket science.

