DIY Fairy Doors
/
Ever wonder how fairies get in the house? The tooth fairy, the Easter bunny, Santa, etc?
Me too, until we went to Eureka Springs, Arkansas. There’s a street in the shopping district, and lots of the little stores have fairy doors! Ah ha! A mystery solved - houses without fairy doors must be making it harder for the fairies and magical beings to get in (duh). Before we even got to the end of the street, Mary and I were decided on making one as soon as we got home. I had an old cigar box, some paint, some crystals from Arkansas, and lots of old jewelry; we made the cutest little fairy door that ever fairy door’d.

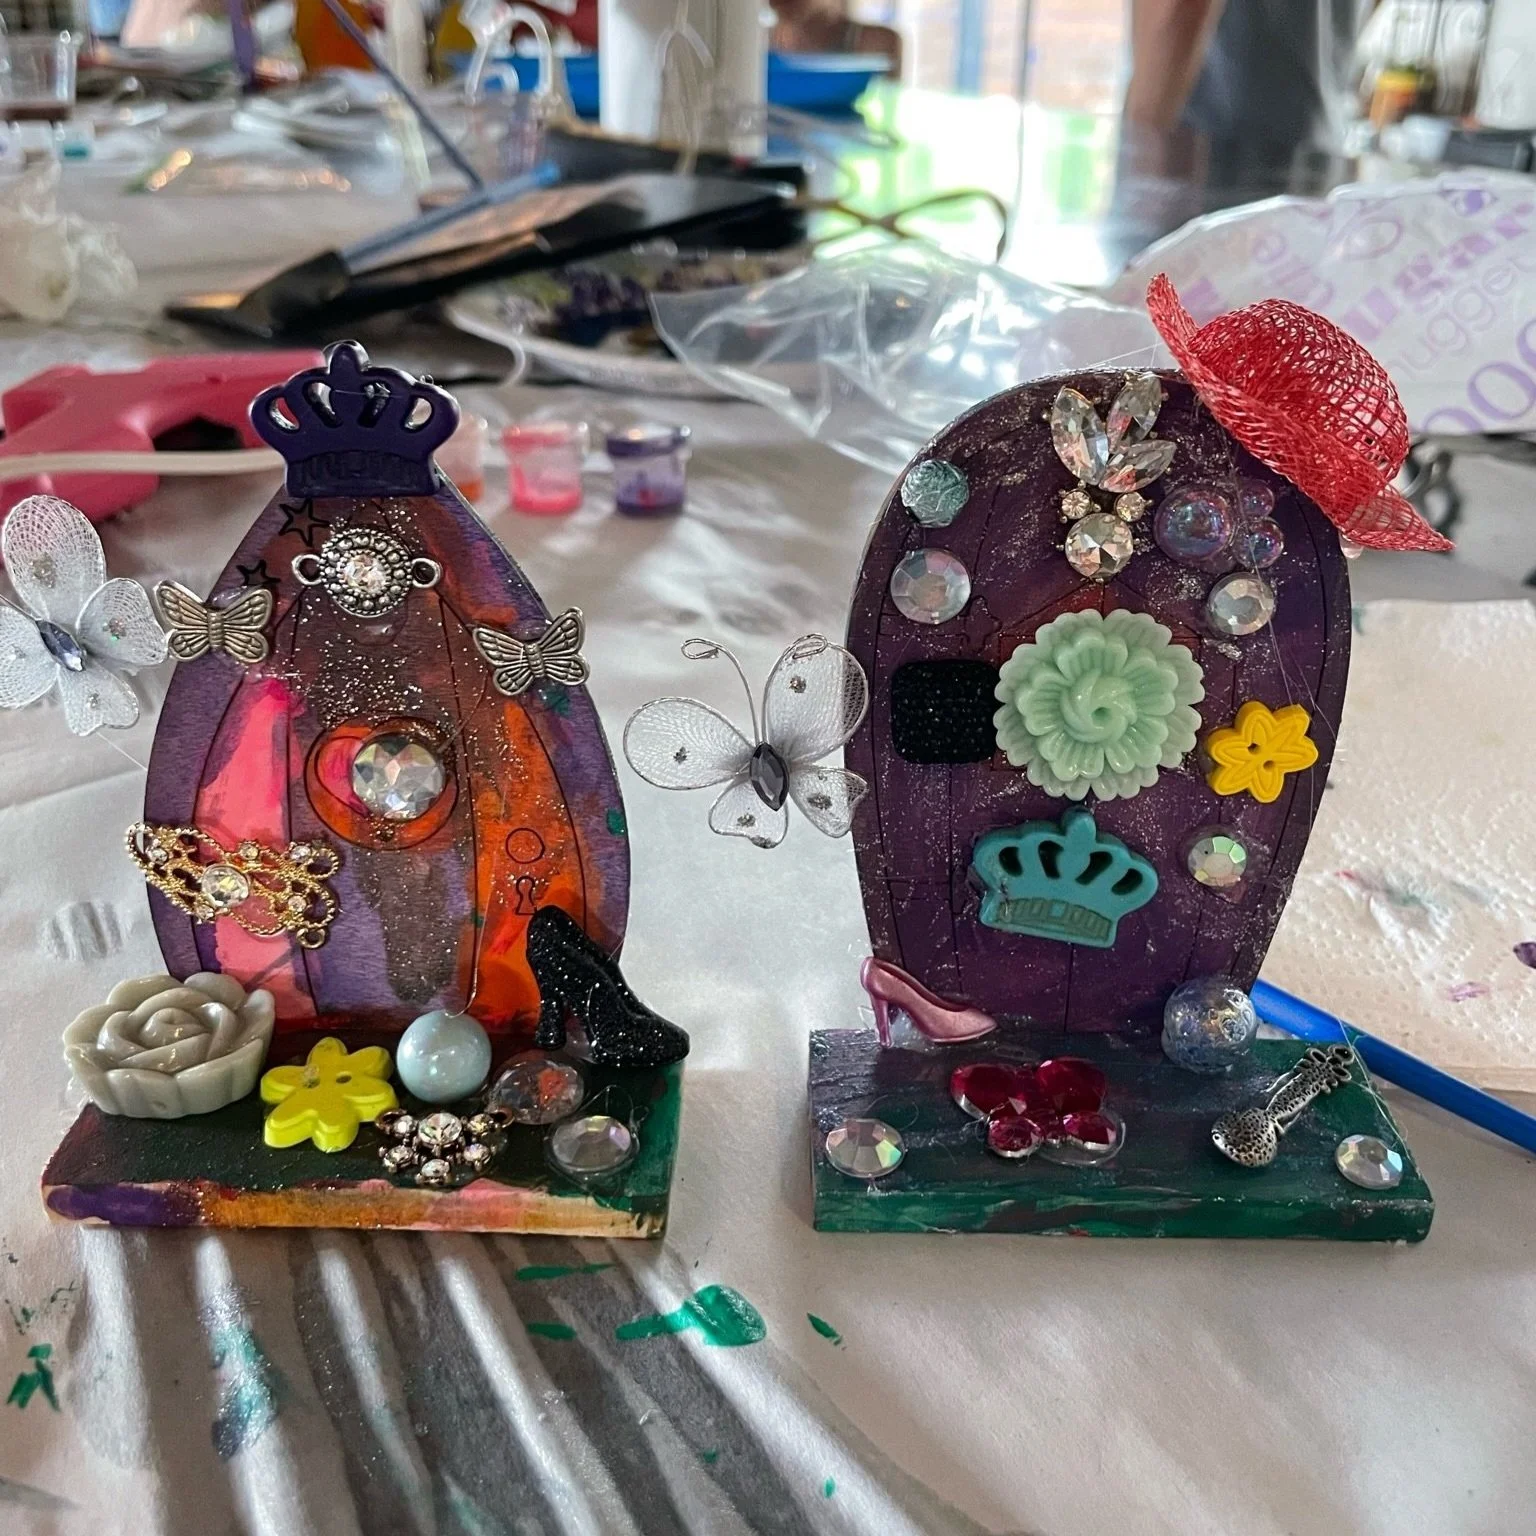
Fast forward several weeks, and now our house has fairy doors in every. single. room. Might be overkill, but I don’t think so. Part of the reason we have such a plethora is because we worked with Little Wooden Penguin to teach our first craft class! My friend Rebecca and I put kits together, and Mary and I made some example doors (the ones that are all over the house now). The class went great, Rebecca and I had so much fun (hopefully everyone else did, too)! See the photos below for the doors everyone made, they’re so cute!
This one is pretty easy, and one of my favorite things about this craft is that is uses up “craft bonepile” supplies. Beads, rhinestones, little *things* that you have that have all ended up in a pile in the craft room somewhere. That, and the magic.
The supplies below are what I bought to have enough kits for the class, but you can certainly find something around your house to make a fairy door. You can put them anywhere too; at the base of a tree, outside by the front door, inside by your bed, etc.
Supplies in the Kit
1 of the fairy door blanks from this set
Fairy door stoops - from here
Acrylic paint, pretty much any color
Glitter paint (optional) - I have this Martha Stewart paint, and it’s amazing. I sure don’t remember paying $10+ for a 2oz bottle though! I got mine in a set at Michael’s years ago (and the paint is still great).
Bonepile supplies - beads, rhinestones, button, sequins, old jewelry pieces, etc, etc…
Hot glue
How
Glue the stoop to the door with hot glue. Hold the door against a wall on something level, like a table. Put a thin line of hot glue down the stoop edge, and place it on the table and slide it against the door that’s up against the wall. Let it dry. This ensures that it stands up straight later.
Paint the door/stoop, using whatever colors you want. Let it dry.
I added a topcoat of glitter paint, because everything needs more glitter. Especially fairy doors. Let it dry.
While the paint dried, I picked out my pieces - a door knob, a door knocker, a window, some stuff to put on my stoop, etc.
Hot glue time - carefully glue it all down. Let it dry.
Find somewhere cute to put it! We put ours in our bedrooms, somewhat hidden. We also have the original one right outside the front door. I think putting one against a tree would be cute, but keep in mind the elements will take a toll on the paint, accessories, and hot glue.