DIY Snow People Toddler Handprint Ornament
/I’m starting to see a trend here - my crafts are involving my daughter more and more…and I LOVE it.
Especially around Christmas though; I get a bit more sentimental, I love making Christmas ornaments (see Salt Dough Ornaments for reference), and I can’t miss a chance to memorialize my kid’s cute handprint in glitter.
This year, I decided to make a version of these handprint snow-people ornaments. My version has red glitter ornaments as the base, so the white handprint “pops” even more (and so it glitters, obviously).
First thing’s first, gotta glitter-ize some ornaments. There are about a million methods to do this on Pinterest - anything from mod podge (tried it, not my fav), floor polish, polycrylic, etc. I was jazzed to try the polycrylic method this year because I thought I had a ton of it. I wasn’t wrong, I do, but it’s the matte kind (womp womp). I really need the glossy variety for any kind of glitter project so the sparkle of the glitter is maintained.
I went digging around in my paint supplies, and found some glossy clear coat - the can said it adheres to basically anything, so I figured it would work. Fingers crossed. [Later edit: I found some spray adhesive in my craft paint supplies (different paint supplies than the aforementioned supplies) - kicking myself, that probably woulda been perfect. The clear coat worked fine though, and there’s always next year.]
Supplies for the Glitterizing
Glass ornaments - these are always super cheap at Michael’s or Hobby Lobby this time of year. Buy-one-pack-get-one-free kind of cheap. Last year, I went a little crazy and bought waaaaay too many, so I still had plenty to use for this year. There are clear glass and iridescent ones - I have both, and I think it’s just a matter of preference for when to use which.
Glitter - fine glitter is best for this, and quite a bit is needed.
Small piece of paper to use as a funnel for the glitter (…I guess a small funnel would also work).
Protective gloves. I buy disposable latex ones in bulk.
Tray or surface to collect excess glitter
Glitterize Method
I did this outside to avoid breathing in fumes, and to keep the glitter mess out of the house.
First, I put on the gloves. As much as I love glitter, I don’t need it glued all over my hands. I have learned this the hard way.
Then I removed the metal hanger part from the top of the ornament.
After shaking the clear coat can for a minute, I sprayed just a little bit point-blank into the ornament. I put the nozzle right up against the opening so the spray didn’t go anywhere but inside the ornament.
Then I carefully rotated the ornament until the clear coat covered (coated?) the inside of the ornament completely. I figured if there was a little extra left over in the ornament, that was ok, but if there was a lot pooling inside, I let some of it drip out before putting in the glitter. It’s important to be careful here and not get any of the clear coat on the outside of the ornament.
I folded up the piece of paper into little funnel that would fit into the hole of the ornament, and then put it in there.
I dumped a bunch of glitter in (about a tablespoon probably) - I left the funnel in just in case I needed to put more glitter in, and to keep the glitter inside the ornament while I rotated the ornament to spread out the glitter. Once I knew I had enough glitter coverage, I took the funnel out, held my finger over the hole, and shook the ornament to make sure the glitter was covering the glass as much as possible.
I left the ornament upright to let the clear coat dry.
Repeated that 4 more times (5 ornaments total now).
Starting with the first ornament I finished, I turned them all over into my glitter collecting tray to dump out the excess glitter.
Using that excess glitter, I made one more ornament using the same method as before (now I have 6). I didn’t put any glitter back into my glitter bottle because it all had some of the clear coat on it, and I didn’t want it to contaminate my precious glitter.
I left these to dry overnight without the metal topper on.
All of that took me about 10 minutes. Super quick and easy.


The Handprints
The next day -
Arguably (although I don’t think any parent would argue with me) the hardest part of this project: getting my toddler to give me a decent handprint on the ornaments. I had 6 red glitter ones, plus 4 alcohol ink ones that I made on a whim. 10 is a lot of handprints. Mary did 5 before she was over it (she even told me “put away, clean up!”), so I did those 5, and then the other 5 after her nap.
I’m fortunate in that Mary’s nanny is amazing, and does art with her every day - much of this art involves handprints, so Mary is a practiced hand-printer. She knew exactly what to do, so most of them came out great (for an almost-2 year old).
I didn’t take any pictures of this step. It took all of my focus just to watch and guide her, I had no mental capacity for pictures. Here’s how it went though:
Rinsed the leftover glitter out of the tray
Put the metal tops back in the ornaments
Put on painting clothes
Set up paint spot outside (weather was nice today)
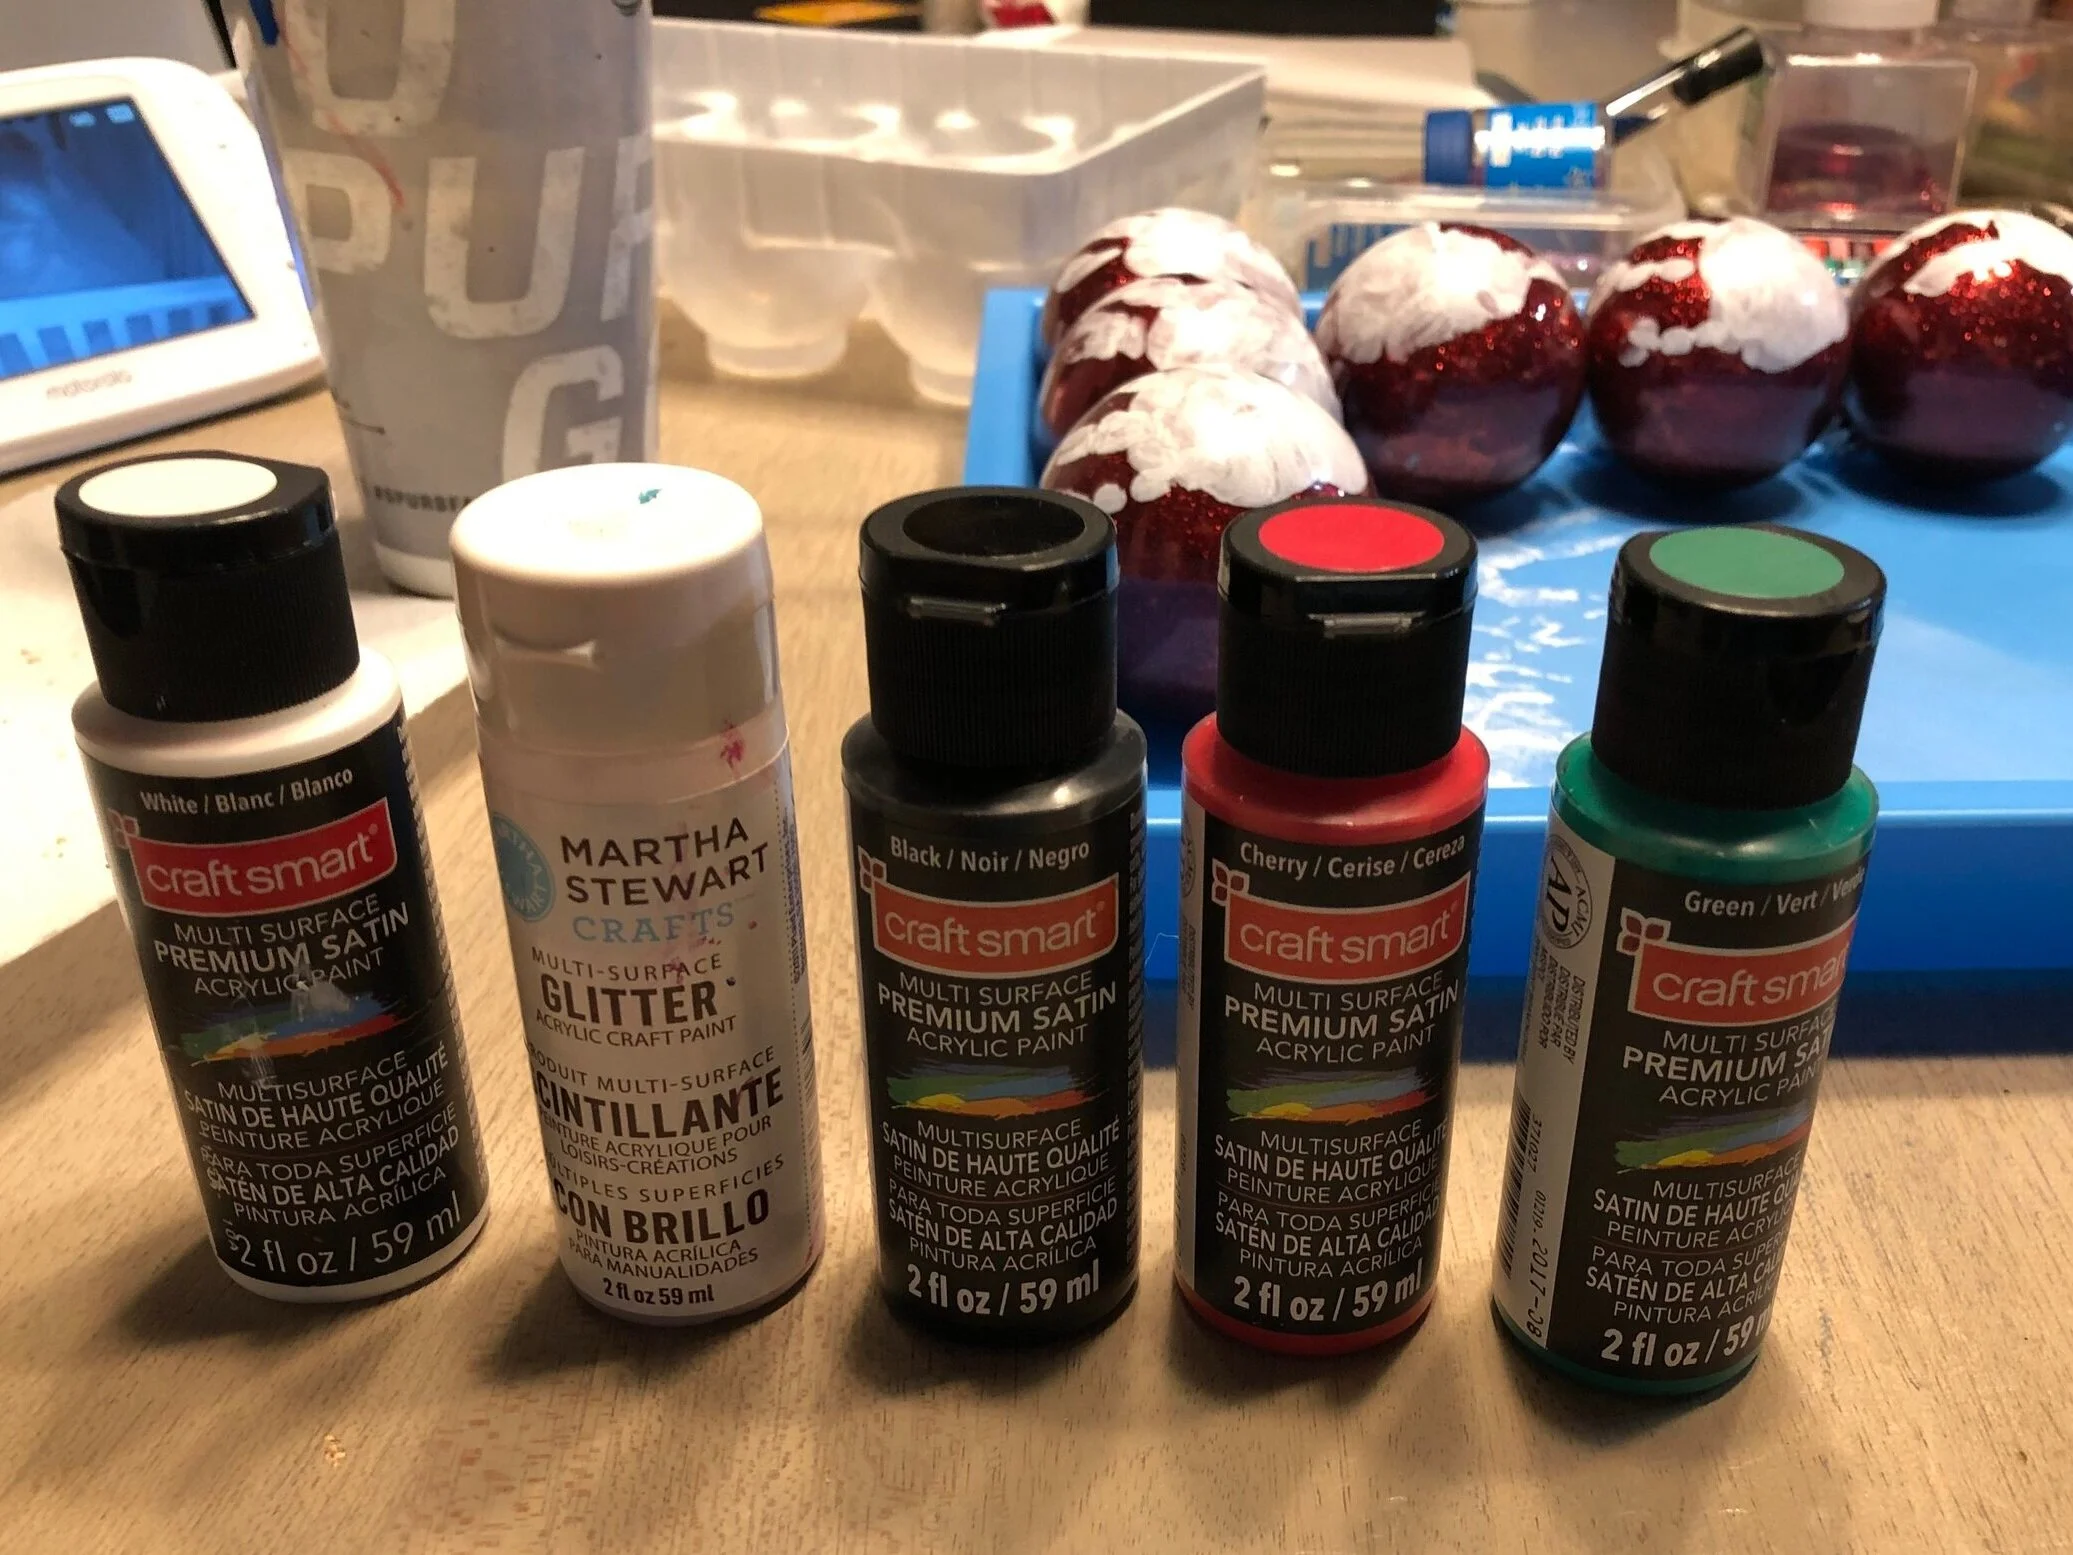
Painted Mary’s hand with white paint (“black!” “no baby, that’s white.” “white!”)
Had her carefully place her hand on the ornament before removing it
Placed the ornament in the tray to dry
The only pics I do have here are what the ornaments looked like in the morning, and what they looked like after they were hand-printed. Notice the handprints in the tray - those were practice. [This post isn’t about the alcohol ink ornaments, but I will say that the acrylic ink mixed with the alcohol ink in a cool way - those are the pink/purple ones.]


Painting Snow-People
Using the Pinterest post linked earlier as a guide, I painted snow people on Mary’s fingers. Had a couple pre-steps though:
Get a cookie and some milk for energy.
Used white paint to fill in fingers where needed, so I had complete snow-people to paint. Usually I consider this blasphemy when it comes to handprint crafts (that’s not really her finger!), but for this, I had to ignore my inner purist.
Used Martha Stewart’s glitter paint to paint over the white paint. I did this to protect the handprint from future wear, and also to make it glitter (duh).
Time to paint snow people:
I started with black paint, and painted the buttons, eyes, smiles, and a few top hats. I painted all 7 (6 red glitter, one alcohol ink) before moving on to the next color.
Moved to green, and painted more hats, and added some scarf dots. Again, painted all 7 before moving on.
Moved to red, and painted more scarf dots. I didn’t use red for hats because the ornaments are red. Again with the 7.
Lastly, used purple to paint the rest of the hats and fill in the scarves where needed. All 7.
Went back to black, and painted “Mary ‘19” on all 10 ornaments (6 red glitter, 4 alcohol ink - I didn’t paint snow people on all of the alcohol ink ones, only on 1 of them).
I thought about using glossy mod podge at this point to protect the paint, but decided against it. I don’t think it’s necessary.
Voila! Snow People Toddler Handprint Ornaments!