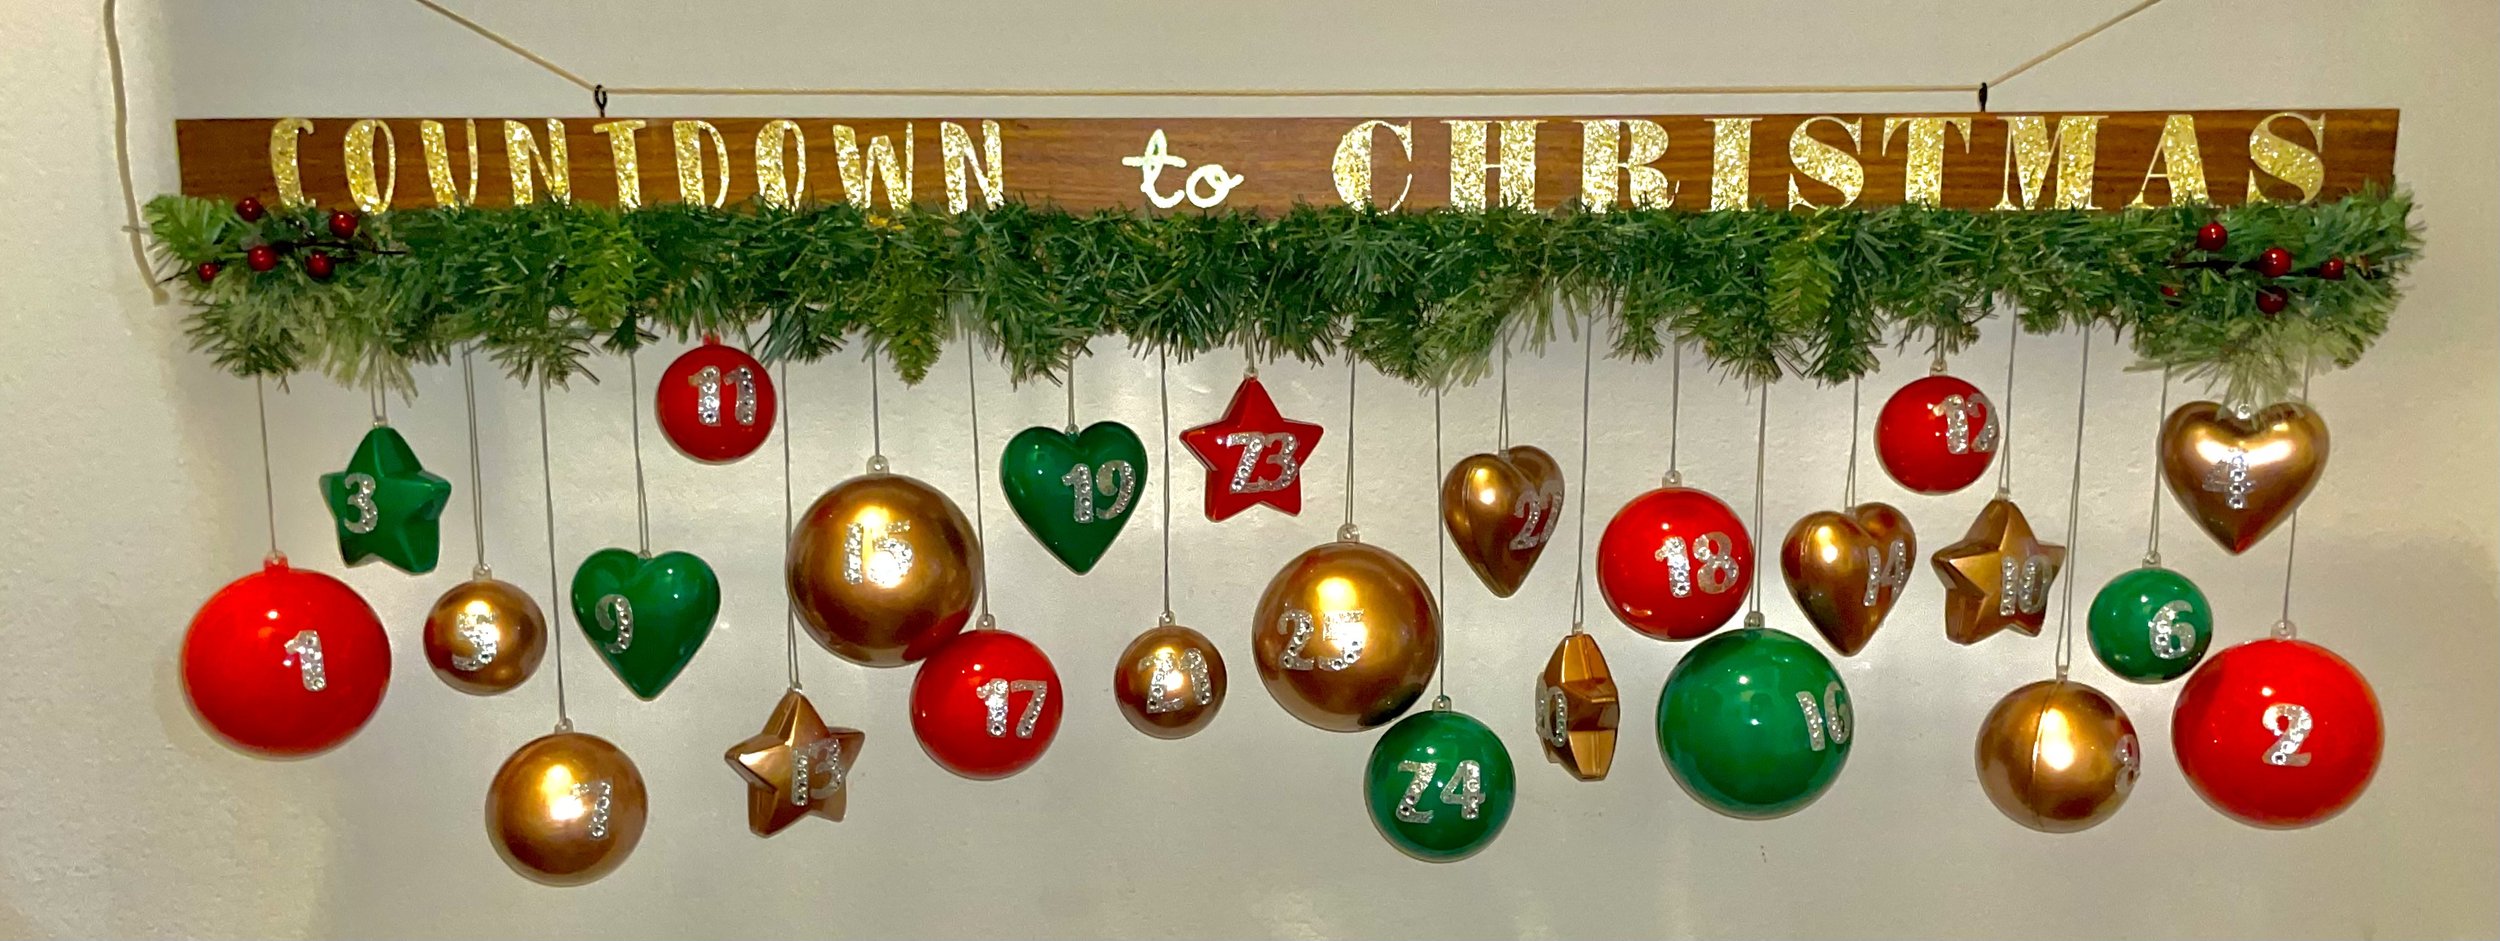
DIY Ornament Advent Calendar
/
I have been searching (SEARCHING) for the perfect advent calendar. That perfect mix of crafts, cuteness, and wonderment. Well friends, the search is over, thanks to Rebecca (who sent me the post), and to @agirlwithagluegun on Instagram. Here’s her post. Isn’t it cute!? And magical!? And crafty!? As soon as I saw it, I knew. This is the one.
Mine obviously ended up looking different, but the inspiration is the same.
Supplies
The wood - our neighbor moonlights as a carpenter (makes some cool stuff (cornhole boards!) with Thomas Woodworks), and has piles of scrap wood. I knew he would have the perfect piece for this, so when we were there for Thanksgiving (they’re awesome neighbors), I asked if he’d spare me a piece. As expected, he had the perfect one (teak, 42” long x 2” wide), and I took it home to turn it into my calendar.
Stencils - I used transfer tape. Once I figured out the right cut settings, these worked great. Maybe even better than stencil vinyl.
Cut settings for the Cricut Maker - I used “Premium Vinyl” with “more” pressure. This took some trial and error, and I definitely wasted a whole foot of transfer tape.
Since I was using transfer tape, I couldn’t put transfer tape on top to prepare them. It honestly worked out fine, I just carefully placed the middle-letter parts by hand.
Acrylic paint - for the wood, and for the ornaments
Glossy Mod Podge
Foam brushes (separate ones for paint and Mod Podge)
Paintbrushes
Glitter (is it a Christmas craft without it?)
A drill, with a 2mm bit, to pre-drill the holes for the eyelets
Eyelets to hang the ornaments. I used 3mm, 1”
Fillable plastic ornaments. I got these.
Numbers, 1 - 25. I had some sparkle/glitter alphabet (incl. numbers) stickers that my mom gave me in 2020. She passed away in 2021, and I know she would love this craft for her stickers.
String to hang the ornaments. I used nylon string.
I used brown paracord to hang the calendar, strung through the two eyelets on the top (more on this in the instructions).
Cute stuff, candy, etc. to put in the ornaments
The Method
I made a video, but read on below for the full how-to.
Part 1: The Wooden Hanger
I made a video of this part (half of the video above); see below for the writeup.
Place the stencils
See above for material and cut settings. These stencils are about 1.8” tall, with the letters spaced pretty far out to take up more space and make the words more legible.
I spaced the stencils out so that there was about an inch on either side. As stated above, I didn’t use transfer tape (since these are made out of transfer tape), but I didn’t have a problem carefully placing the inside parts of letters O(x2), D, R, and A.
Paint the stencils
For stencil painting, the method is always to dab the paint on with a foam brush, being careful not to use too much paint. If you swipe, you will get paint under the stencil and cause ugly lines instead of crisp, clean lines.
I dabbed paint on the entire project, and then went back and did it again.
I left the stencils on and let it dry since everything was about to get glittered.
Glitter
With a new foam brush, I moved in sections, dab-dab-dabbing on Mod Podge three letters at a time, and then dumping on glitter.
After dumping, I tapped the glitter down carefully with my fingers and then moved on to Mod Podge and glitterize the next three letters.
Once all the glitter was on, I dumped off the excess.
After another dab-dab-dab coat of Mod Podge, I removed the stencils.
I recommend removing stencils while they’re still wet - this helps keeps the lines crisp because the paint doesn’t have time to dry into a film. Just be careful not to touch the wet paint/Mod Podge!
Oil
This is teak wood, which is beautiful, but even more beautiful when it’s oiled (that’s probably any wood, really). Any oil will do - I had extra grapeseed on hand, so I used that.
I started with a paper towel, but quickly moved to a paintbrush and used the paper towel to wipe the excess off instead.
It’s ok to get a little oil on the letters/glitter, but I tried not to get too much on there.
The ornament eyelets
On the bottom 1” edge of my 42”x2”x1”, I measured an inch inside of both ends, and made those marks too. Then i measured the distance between the marks and divided by 25 to get the distance between each mark. Measured all that out and marked each spot. Look at me, using math in real life.
Using a 2mm drill bit, I drilled small pilot holes in the vicinity of each mark. I didn’t want them to be perfectly aligned, or even perfectly spaced.
I always use pilot holes so I don’t have to work so hard to screw things in, and so I don’t split the wood.
In each hole, I screwed the 3mm eyelet.
The hanger eyelets
Same method as above, but 2 eyelets in the top for the hanging ribbon, about ~7” from each end (I just used my hand to measure).

cricut cut settings for the transfer tape
Drilling pilot hoes in the calendar
Part 2: The Ornaments
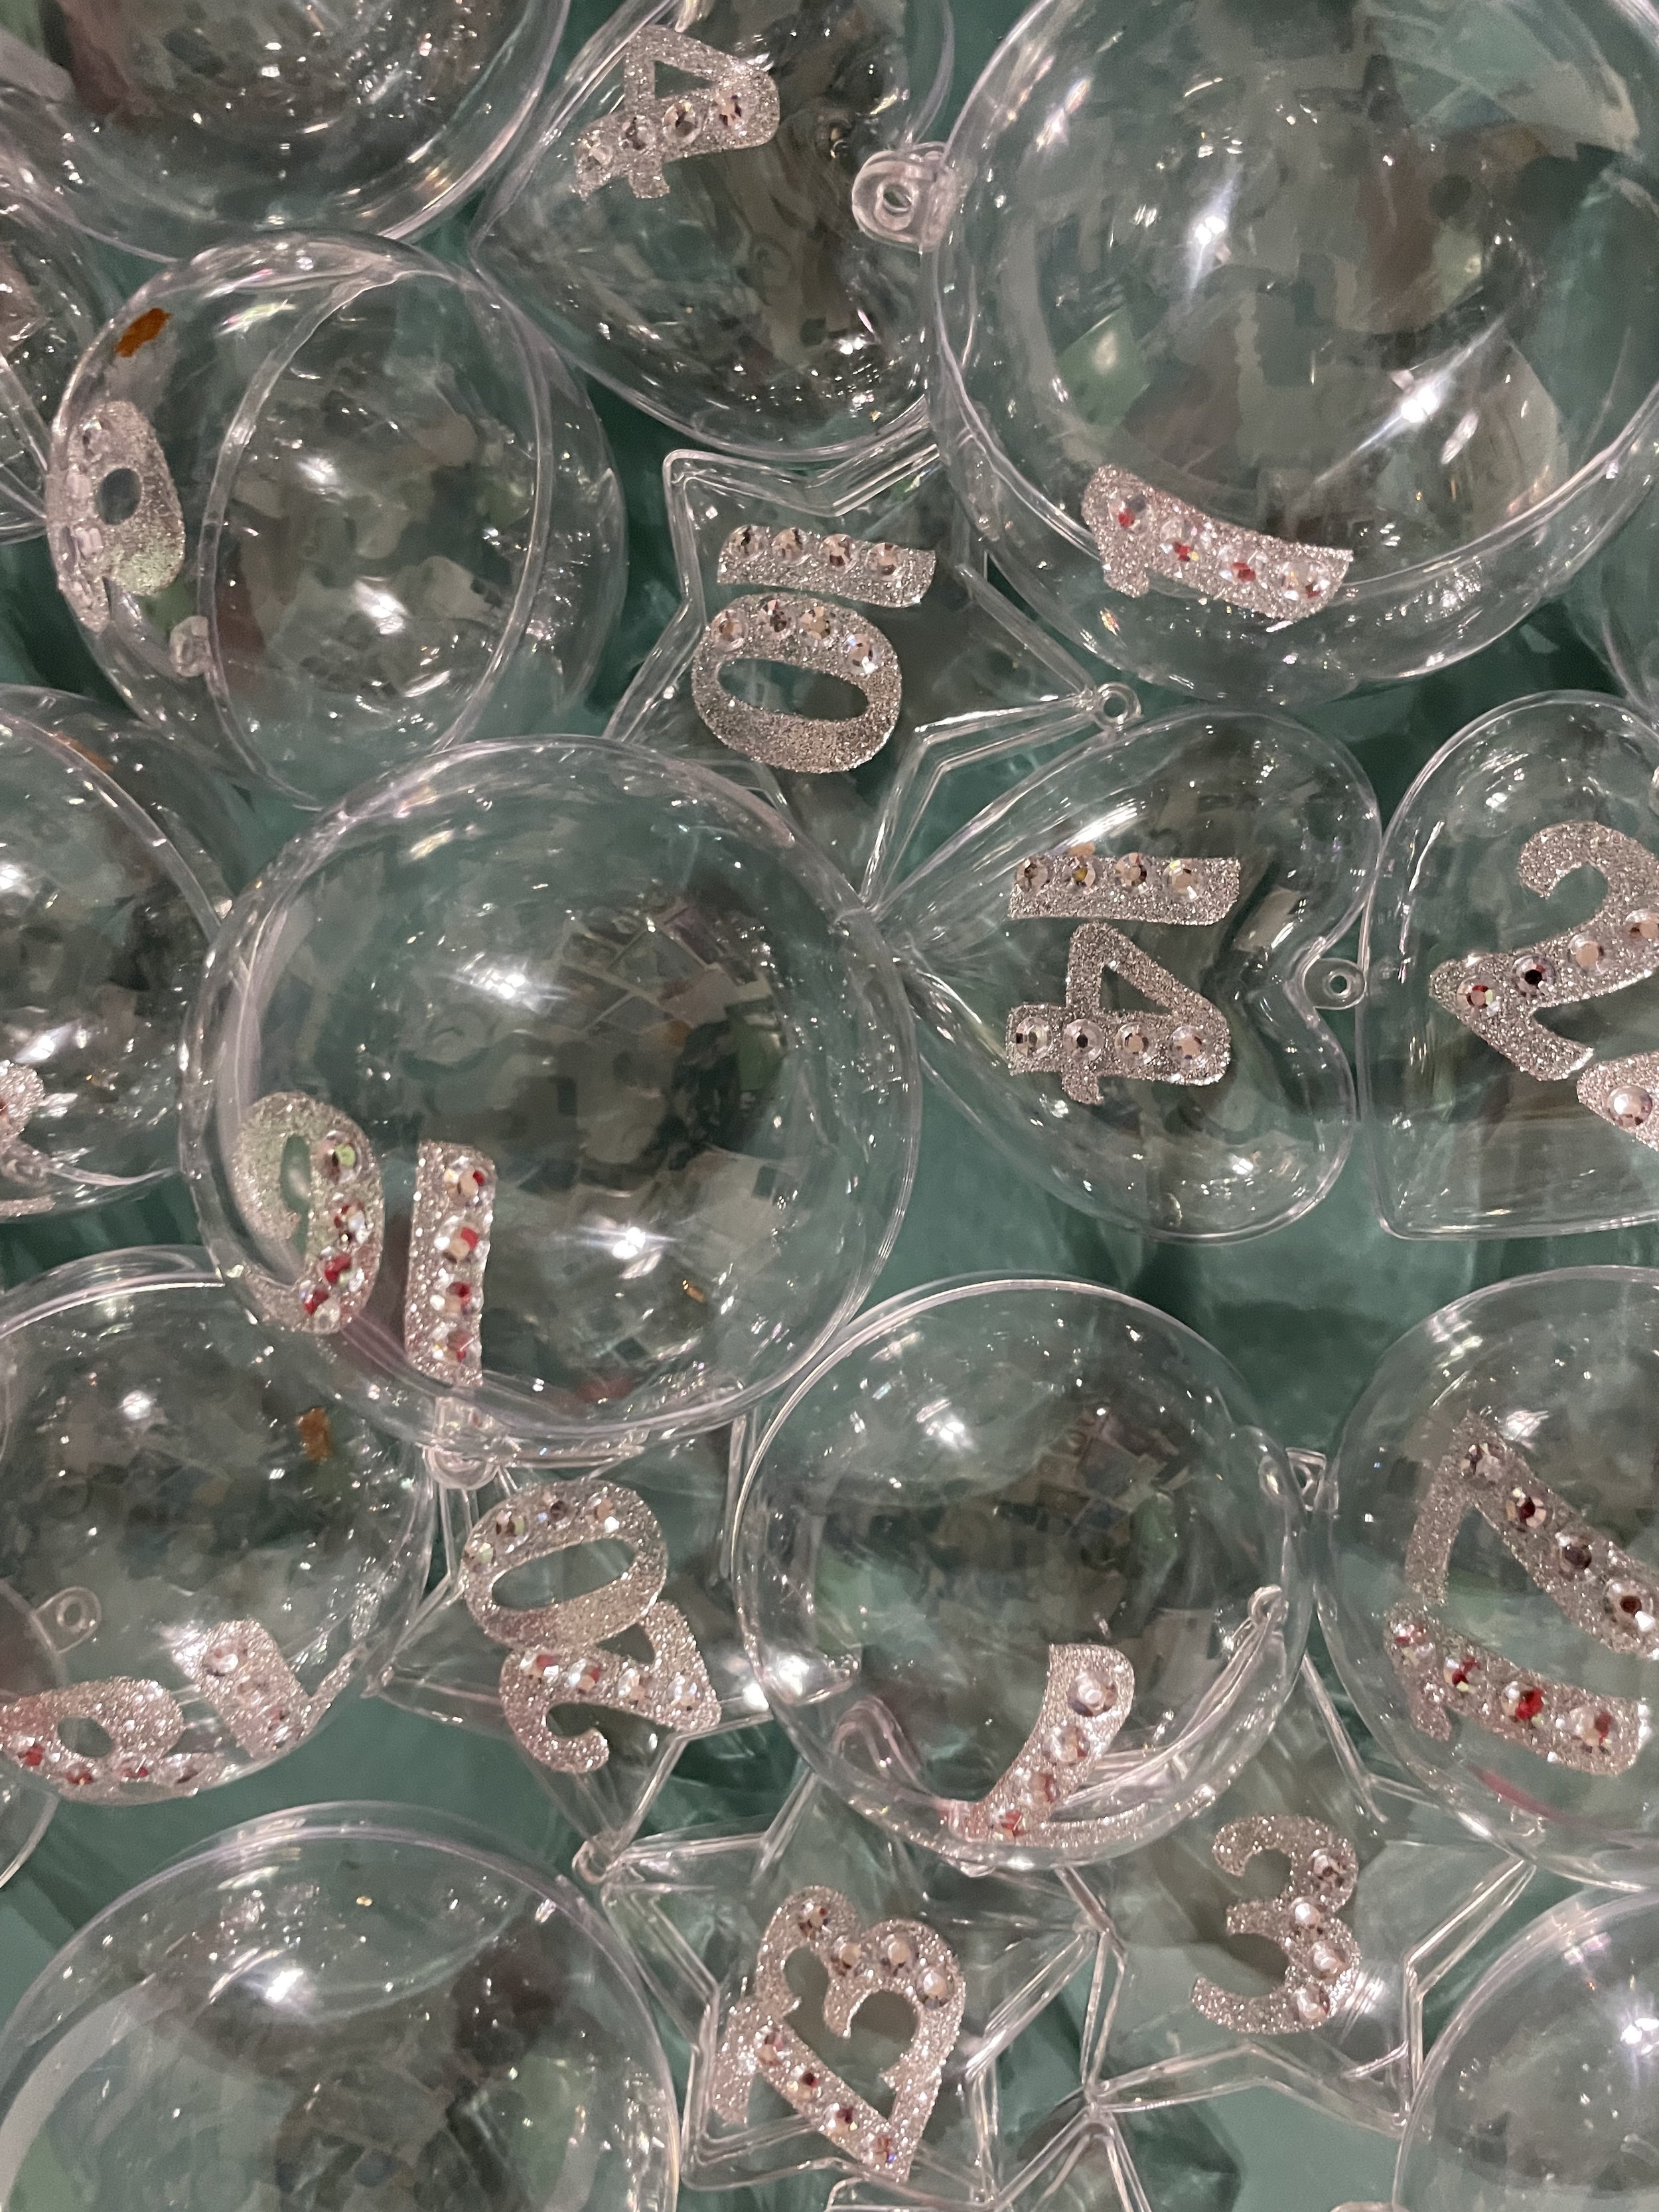
The first thing I did was put all the ornaments together to make sure I had the right parts and pieces, and that everything fit together right.
Once my OCD was satisfied, I lined the ornaments up the way I wanted them to hang on the calendar, and put on the numbers.
I decided to alternate numbers from one side to the other to manage the weight distribution. For example, “1” is on the far right, and “2” is on the far left; “3” on the right, “4” on the left, etc. This way, 25 ends up in the middle, which I like.
No exact science for sticker placement, I just aimed for the front middle.
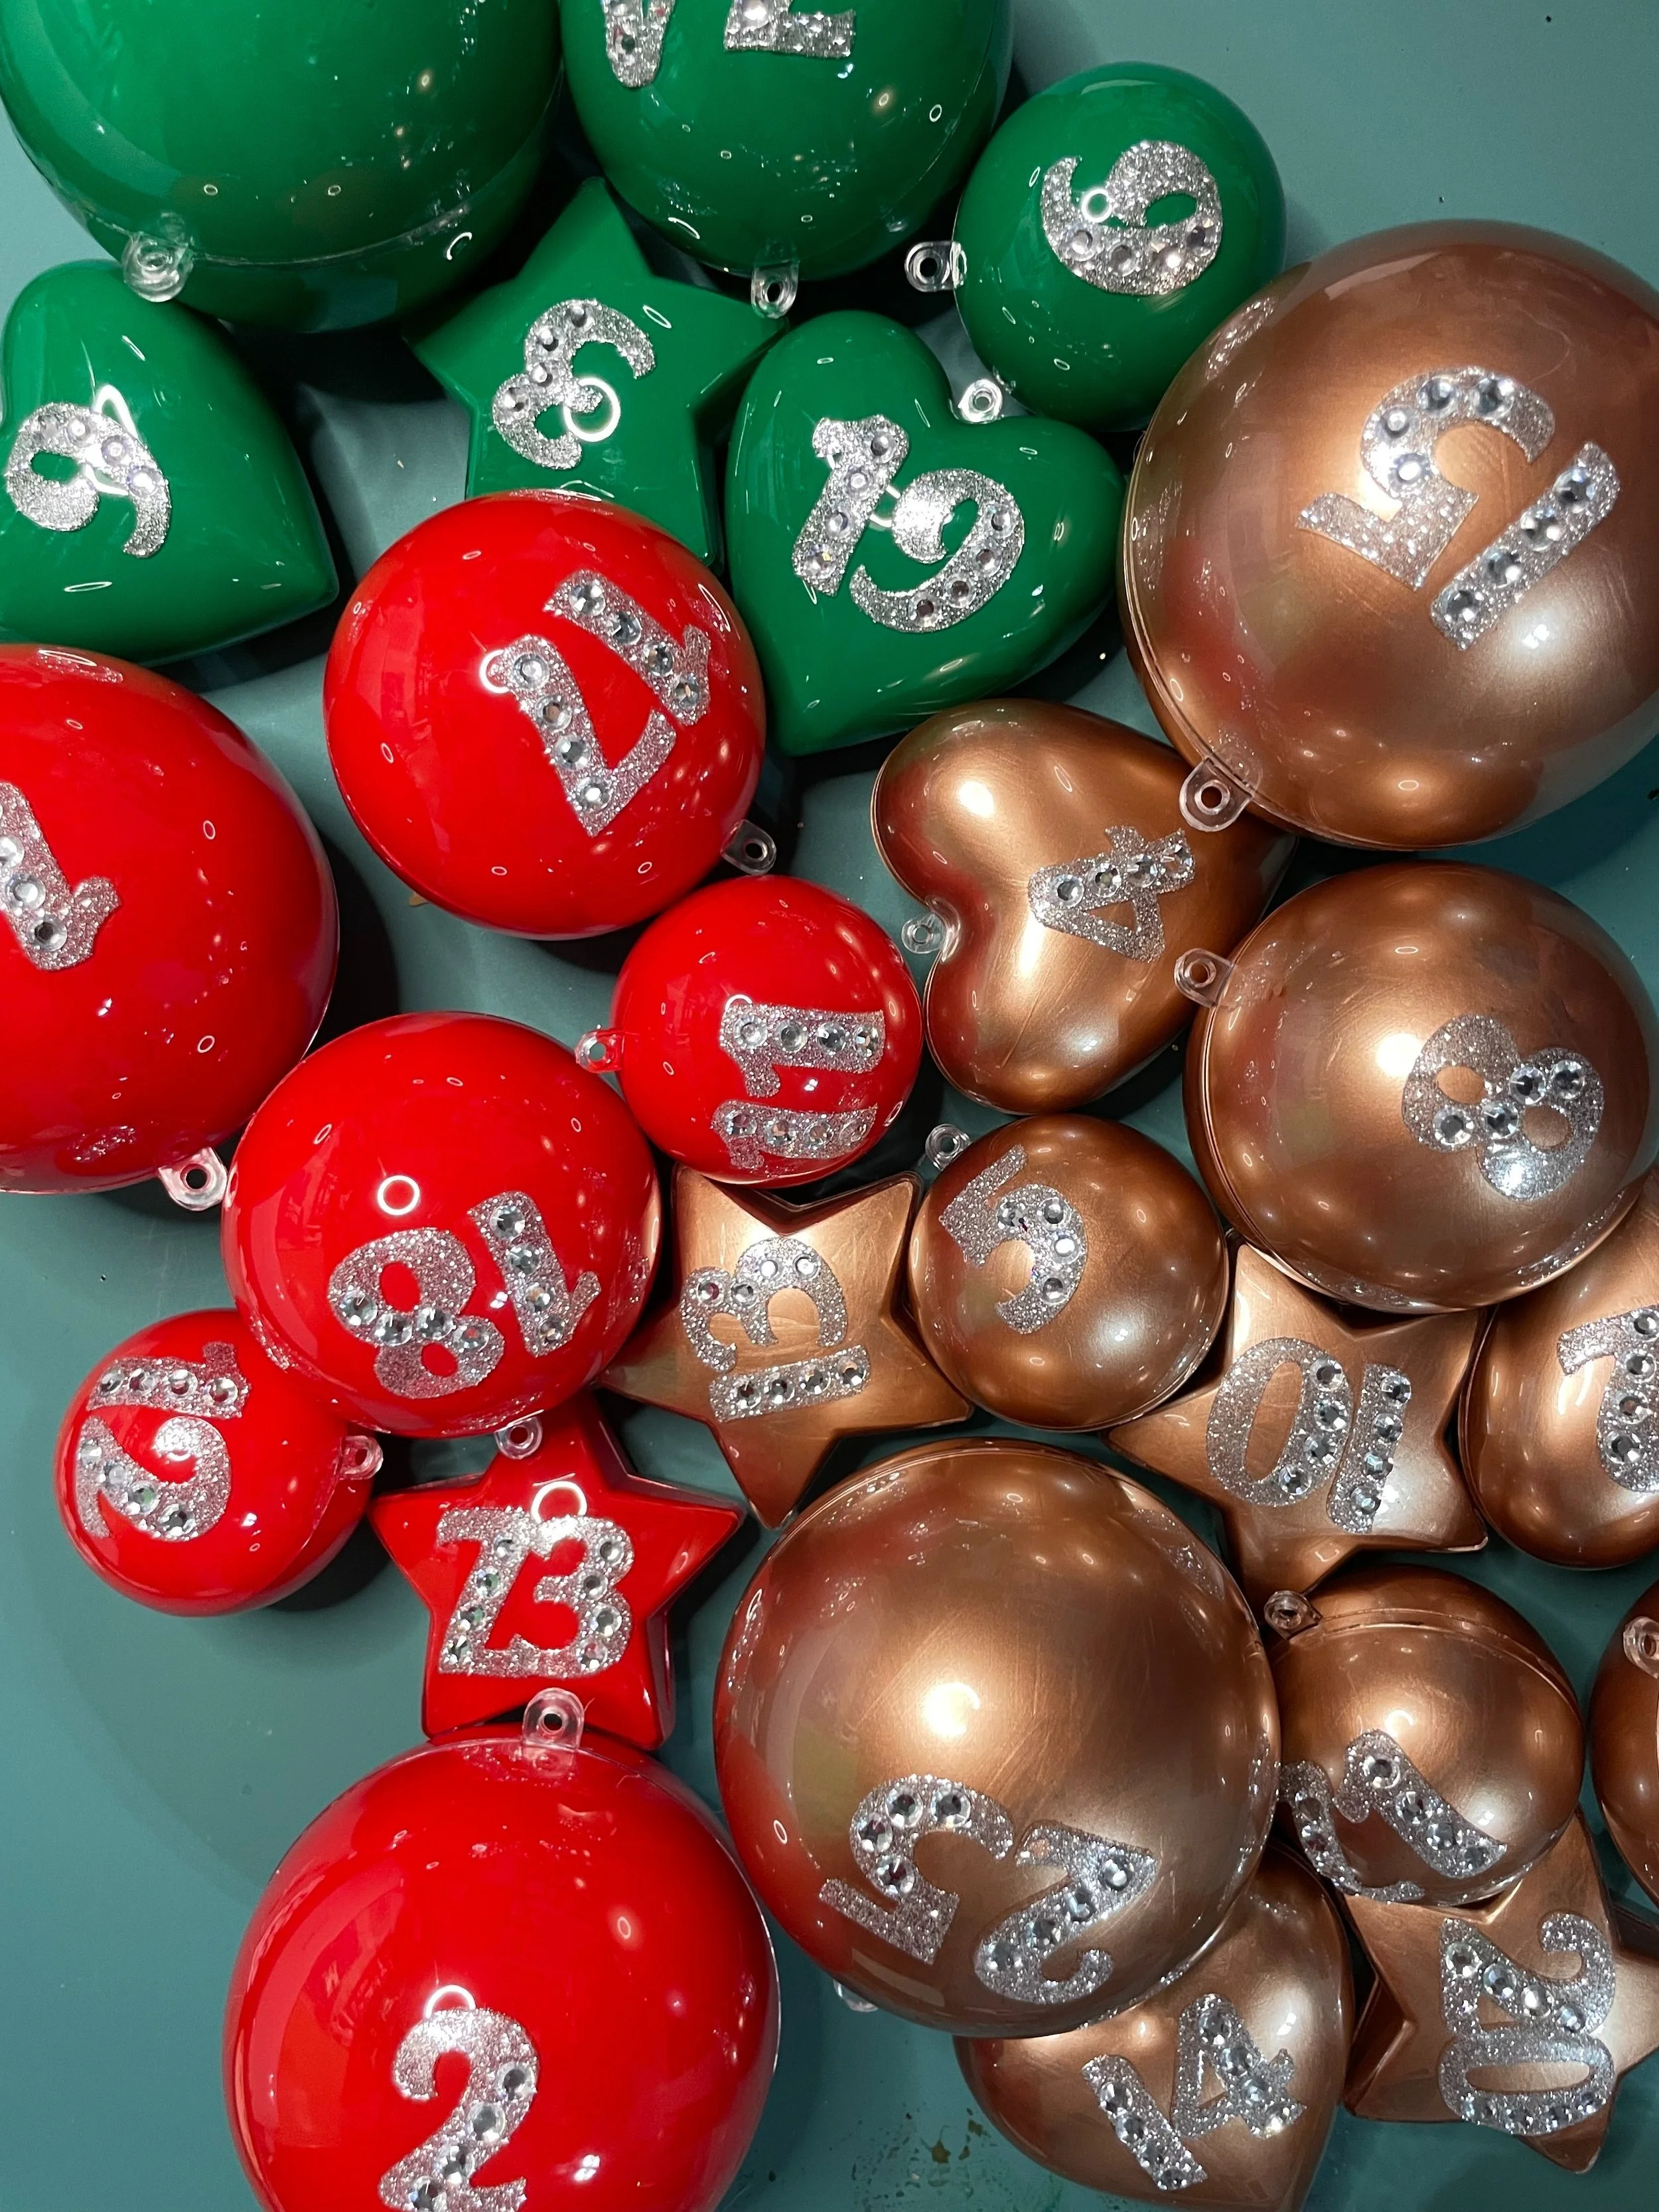
Now, paint.
I painted the inside of the balls until they were opaque, then let them dry completely before putting them back together.
There are different methods to do this. For mine, I painted a couple layers, let them dry, and then did squirted a bunch of paint in the ball, closed it, and shook it until it was covered. I painted the layers first to give the rest of the paint something to stick to - otherwise it slides down the walls of the ornament leaving bare spots. Once they were covered, I opened them and let them sit for about 10 minutes to let the paint puddle in the middle. I don’t like this big puddle of paint, so I used my paintbrush to scoop out as much as possible (while maintaining the coverage). Then I left them open to let them dry.

Stickers for the ornaments
Ornaments with Stickers

Ornaments being painted
ornaments done
Painting ornaments while mary paints a banner
Closing up the finished ornaments
Part 3: Put it Together
Close the ornaments.
If any have caked on paint that prevents them from closing completely, that’ll need to be carefully scraped off or otherwise removed. I used an x-acto blade for this, and only had to do it on one ornament. Of course it was one of the bigger ones, but such is life.
Using the two eyelets on top, and enough paracord to make sure I have extra for later, I hung the calendar on my mantle with enough room to suspend the ornaments beneath it.
I just used a slip knot - this is a temporary location while I get the ornaments right.
Tie Up the Ornaments
i used about 3’ of nylon string for each ornament, and tied them up with slip knots first so I could untie and change the lengths of the ornaments until I liked the look.
I tied up all of the ornaments and adjusted them all before finishing the knots or cutting any string.
Once I was happy, I pulled the slip knot through, tied a cute little bow, and trimmed the extra string.
Final Adjustments
Of course none of the numbers were facing front when I was done, so I twisted each eyelet just enough until all of the numbers were facing forward.
This isn’t in the picture, but the last thing I did was put some garland across the calendar to cover the eyelets and knots. This isn’t necessary, but I like the look.
That’s it! Put some cute stuff/candy in those ornaments and let the kids open one every night in December leading up to Christmas! Cutest advent calendar ever.