

DIY Clock
/I’ve made a clock before, but we had to leave it behind when we moved (sad). It wouldn’t have matched our new house, we didn’t want to deal with patching the wall, and I had another blank wood round. So behind it stayed, and I finally found the time and inclination to make the new one.

Materials
This list got really long...
Wood round - I got mine at Home Depot
Cricut
Stencil vinyl and transfer paper
Clock face template (printed)
Matte Mod Podge
Acrylic paint in the colors I needed - black, blue, white
String - I used crochet thread, as I needed quite a long string
Hammer and nail (1)
Glitter paint, because everything needs to have glitter
Handheld drill with a drillbit that fits the clock kit spindle
Clock kit - I got mine on Amazon. i had learned from the first clock that the the spindle needed to be as long as possible - the wood round is 1.5” thick and I wanted the clock mechanism to be flush with the back of the clock.
Chalk
A Dremel, or some way to carve out a cavity on the back of the clock for the battery/mechanism
Eyelet screws
Nylon string
Method
I painted the wood round black using acrylic paint. Did a couple coats.

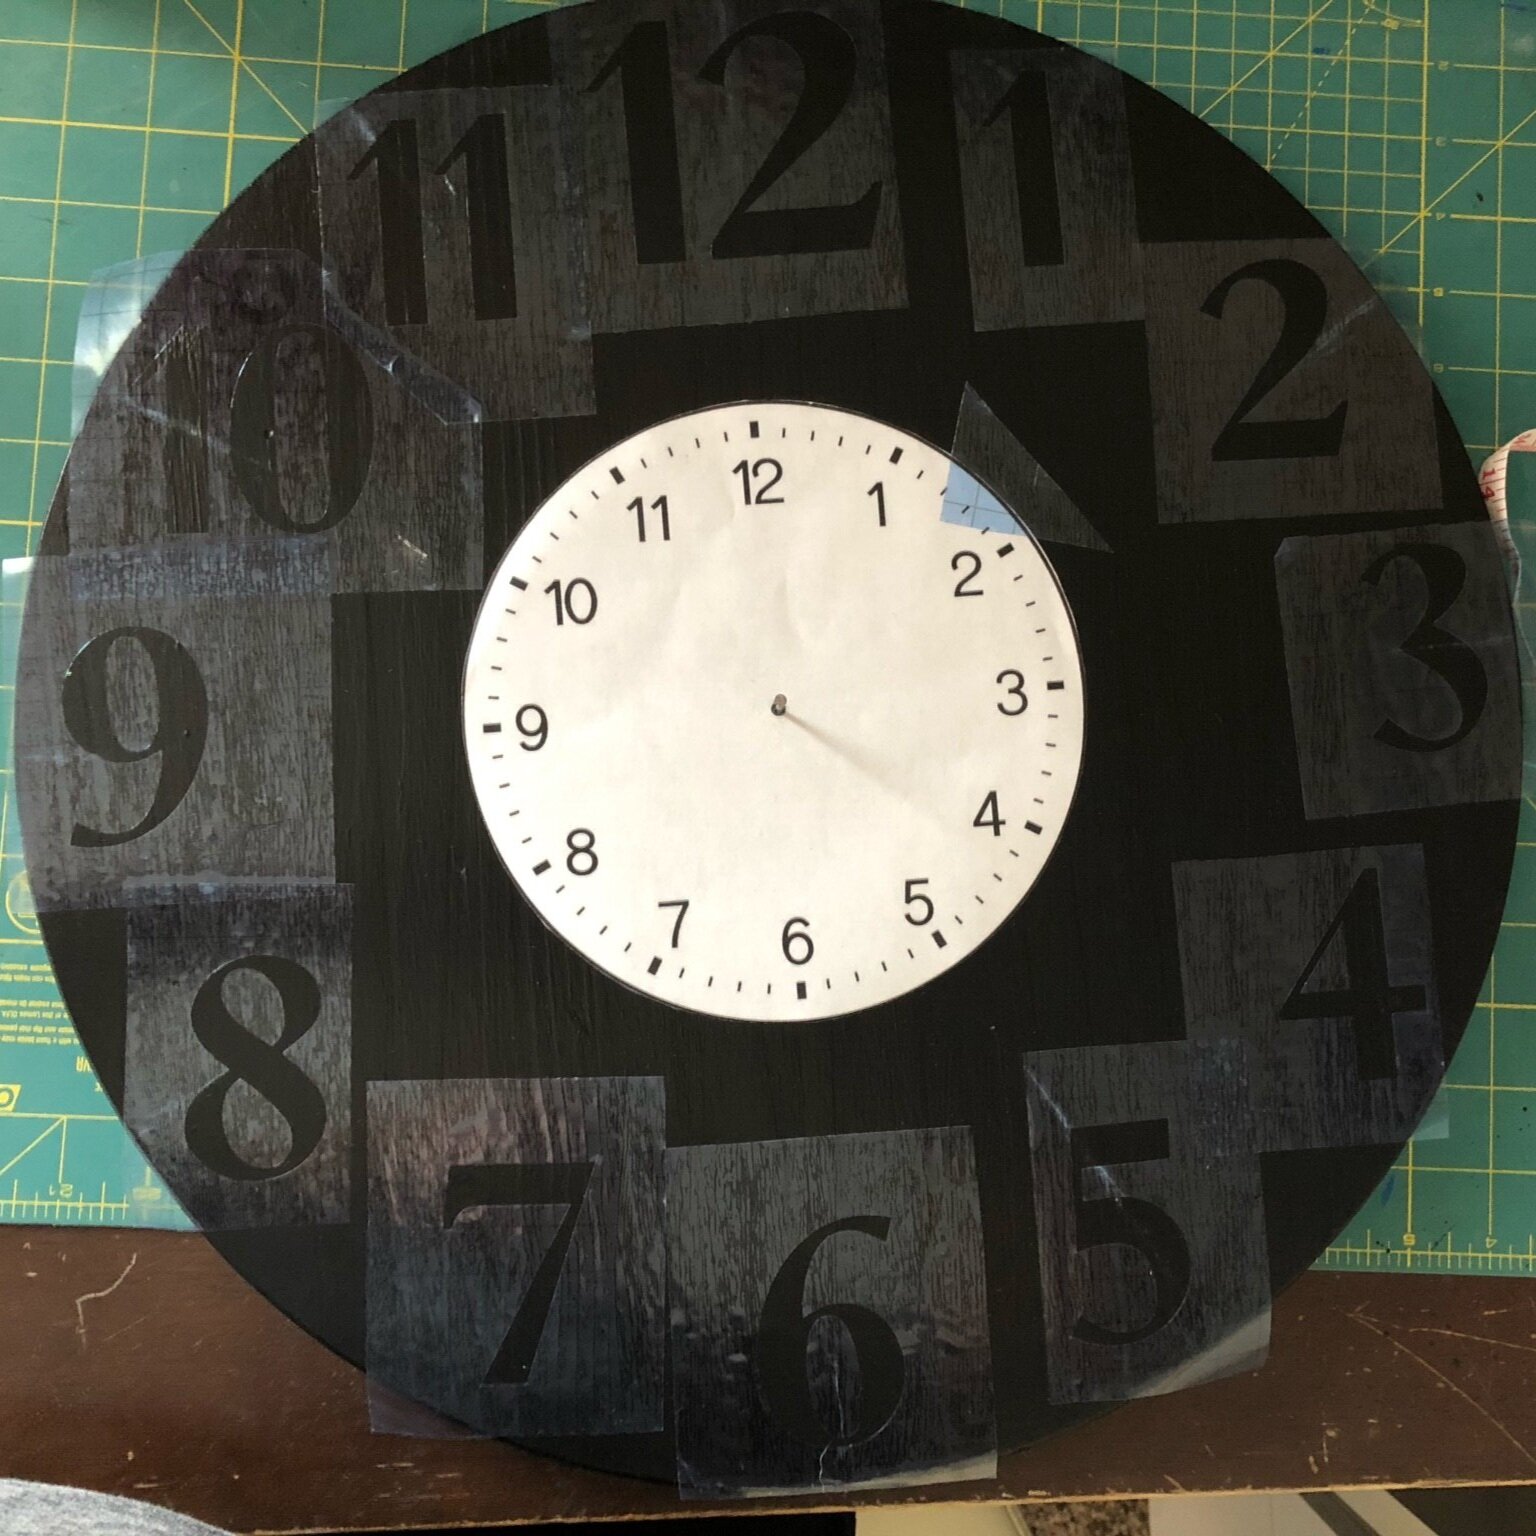
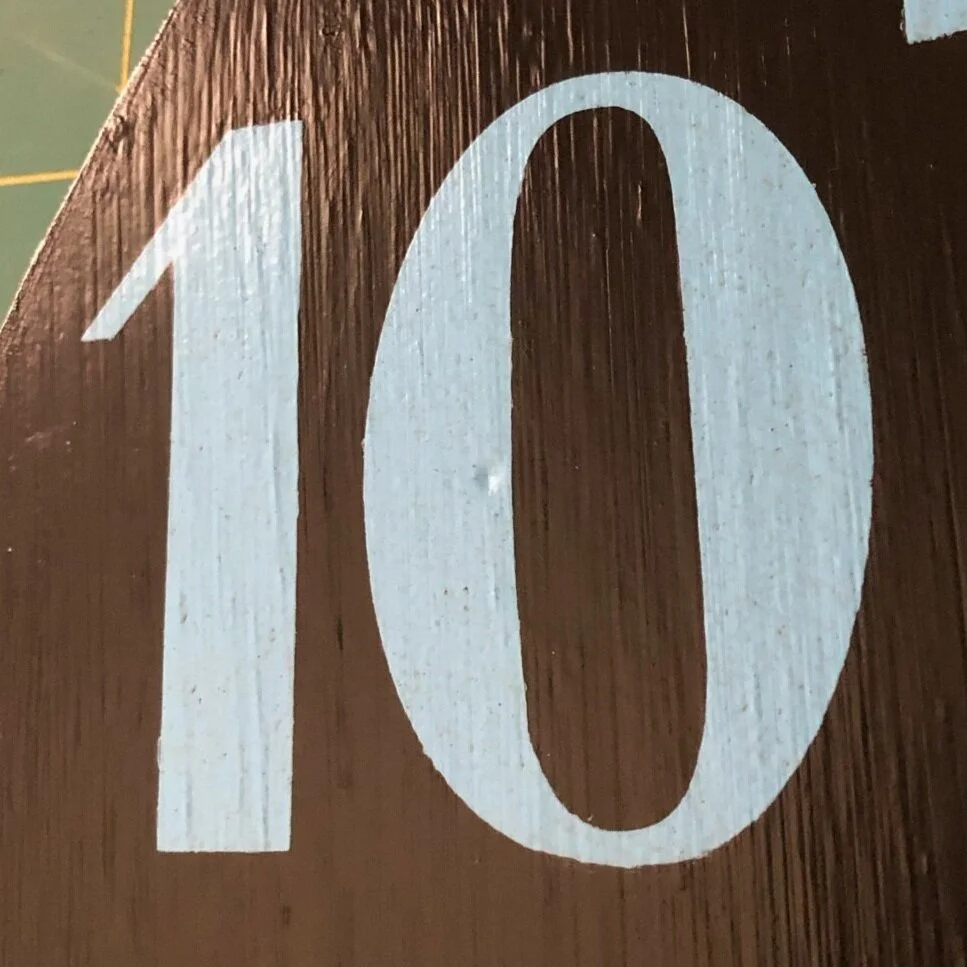
While it was drying, I cut numbers out of stencil vinyl with the Cricut. After weeding out the numbers themselves so I had a stencil, I used transfer paper on the numbers that had multiple pieces (4, 6, 8, 9, and 10).
I also printed a clock face and cut it out.


Using string and significant educated approximation, I located the center of the round and hammered a nail in about 1/4”.
I made an X on the round with string
Measured from the center out to make sure each line segment was the same length
Measured a few other distances around from the center to make sure it measured the same
Tweaked the string as necessary
Hammered in the nail
Put the center of the clock template over and through the nail
Taped it down
Removed the string

Next is basically string art using the nail and the clock template.
Taped an end of string on the back
Wrapped the string around to the nail, going through the center of the thick black mark for the 12
Wrapped the string around the nail, reversing direction and wrapping the string around the back of the round, going through the center of the thick black mark for the 1
Kept doing that
For the last number (6, in this case), I tied off the string around the nail without securing the string to the round so that I had a free length of string at the end that I could use for the last number, but also in case I needed it to measure anything else around the clock face (spoiler alert: I did).
In the picture below, the string across number 6 is my last one - I taped it in place to keep it still.

Using chalk to “color” the string, I snapped a chalk line to mark where the number stencils needed to go.
One by one, I moved each string out of the way, placed the stencil. and then moved the string back.

I used a straightedge to make sure the numbers lined up across from each other as well.
After A LOT of repositioning, I was finally happy with the placement, and removed the strings.
Time to paint. I used a sponge brush and acrylic paint, and dabbed the paint on. Dabbing paint on stencils helps ensure that the lines are crisp when you pull the stencil up.
I pulled the stencils up as I went - it’s better to remove stencils when the paint is wet/semi wet so that the stencil doesn’t pull up the edge of the paint too.

Remember how I said something earlier about crisp lines? Yeah, well….

It would’ve been worse if I didn’t do the dab method…at least that’s what I’m telling myself. To fix this, I used a small paintbrush with black paint.
I also took this opportunity to use glitter paint on the 12, 3, 6, and 9. Because I love glitter.

Fixed
I did a coat of matte mod podge here

After the mod podge dried, I used the drill to go through the center of the clock.
On the back of the clock, I put the spindle through the hole, and then traced around the clock mechanism to know where I needed to carve out a cavity
Using the dremel, I carved out a space for the clock mechanism to fit into the clock and give the spindle enough threads on the front of the clock for the nut to go on

Following the instructions on the kit, I assembled the clock.
All done!


