DIY Vintage Jewelry Collage Wooden Letters
/These were fun. Not gonna say they were more fun than the glitter letters, because I’m a sucker for glitter, but these are sparkly, so they’re up there as far as favorite projects go. I would definitely make more of these, so that’s a good sign.
I inherited a lot of vintage jewelry from my grandmothers, my mom/dad, and my husband’s mom. A LOT. Even after making these 8” letters, I still have enough left to make more. I wasn’t sure what I was going to do with it all at first, but I’m so glad this is where it all ended up, and I know they are/would be too.
As a side note, if you have a pile of vintage jewelry lying around, use it for crafts, or sell it! I’ve seen buckets of this stuff at garage sales and the like, and it’s not cheap. In fact, I just bought one piece over the weekend for $10! I didn’t end up using it here (didn’t need it like I thought I would), but it’ll end up somewhere - it’s a cool piece.
Ok, moving on.

I didn’t take a whole lot of pictures along the way for a typical “how I did this” post, because it’s largely self directed. Here’s what I’ve got for you though:
Materials
Gorilla Glue of the Gel variety - I used one bottle of this for all four 8” letters, with some left over
The same wooden letters from my previous post on the ombre glitter letters
Needle nose side cutting pliers - something like these
LOTS of vintage jewelry
Method
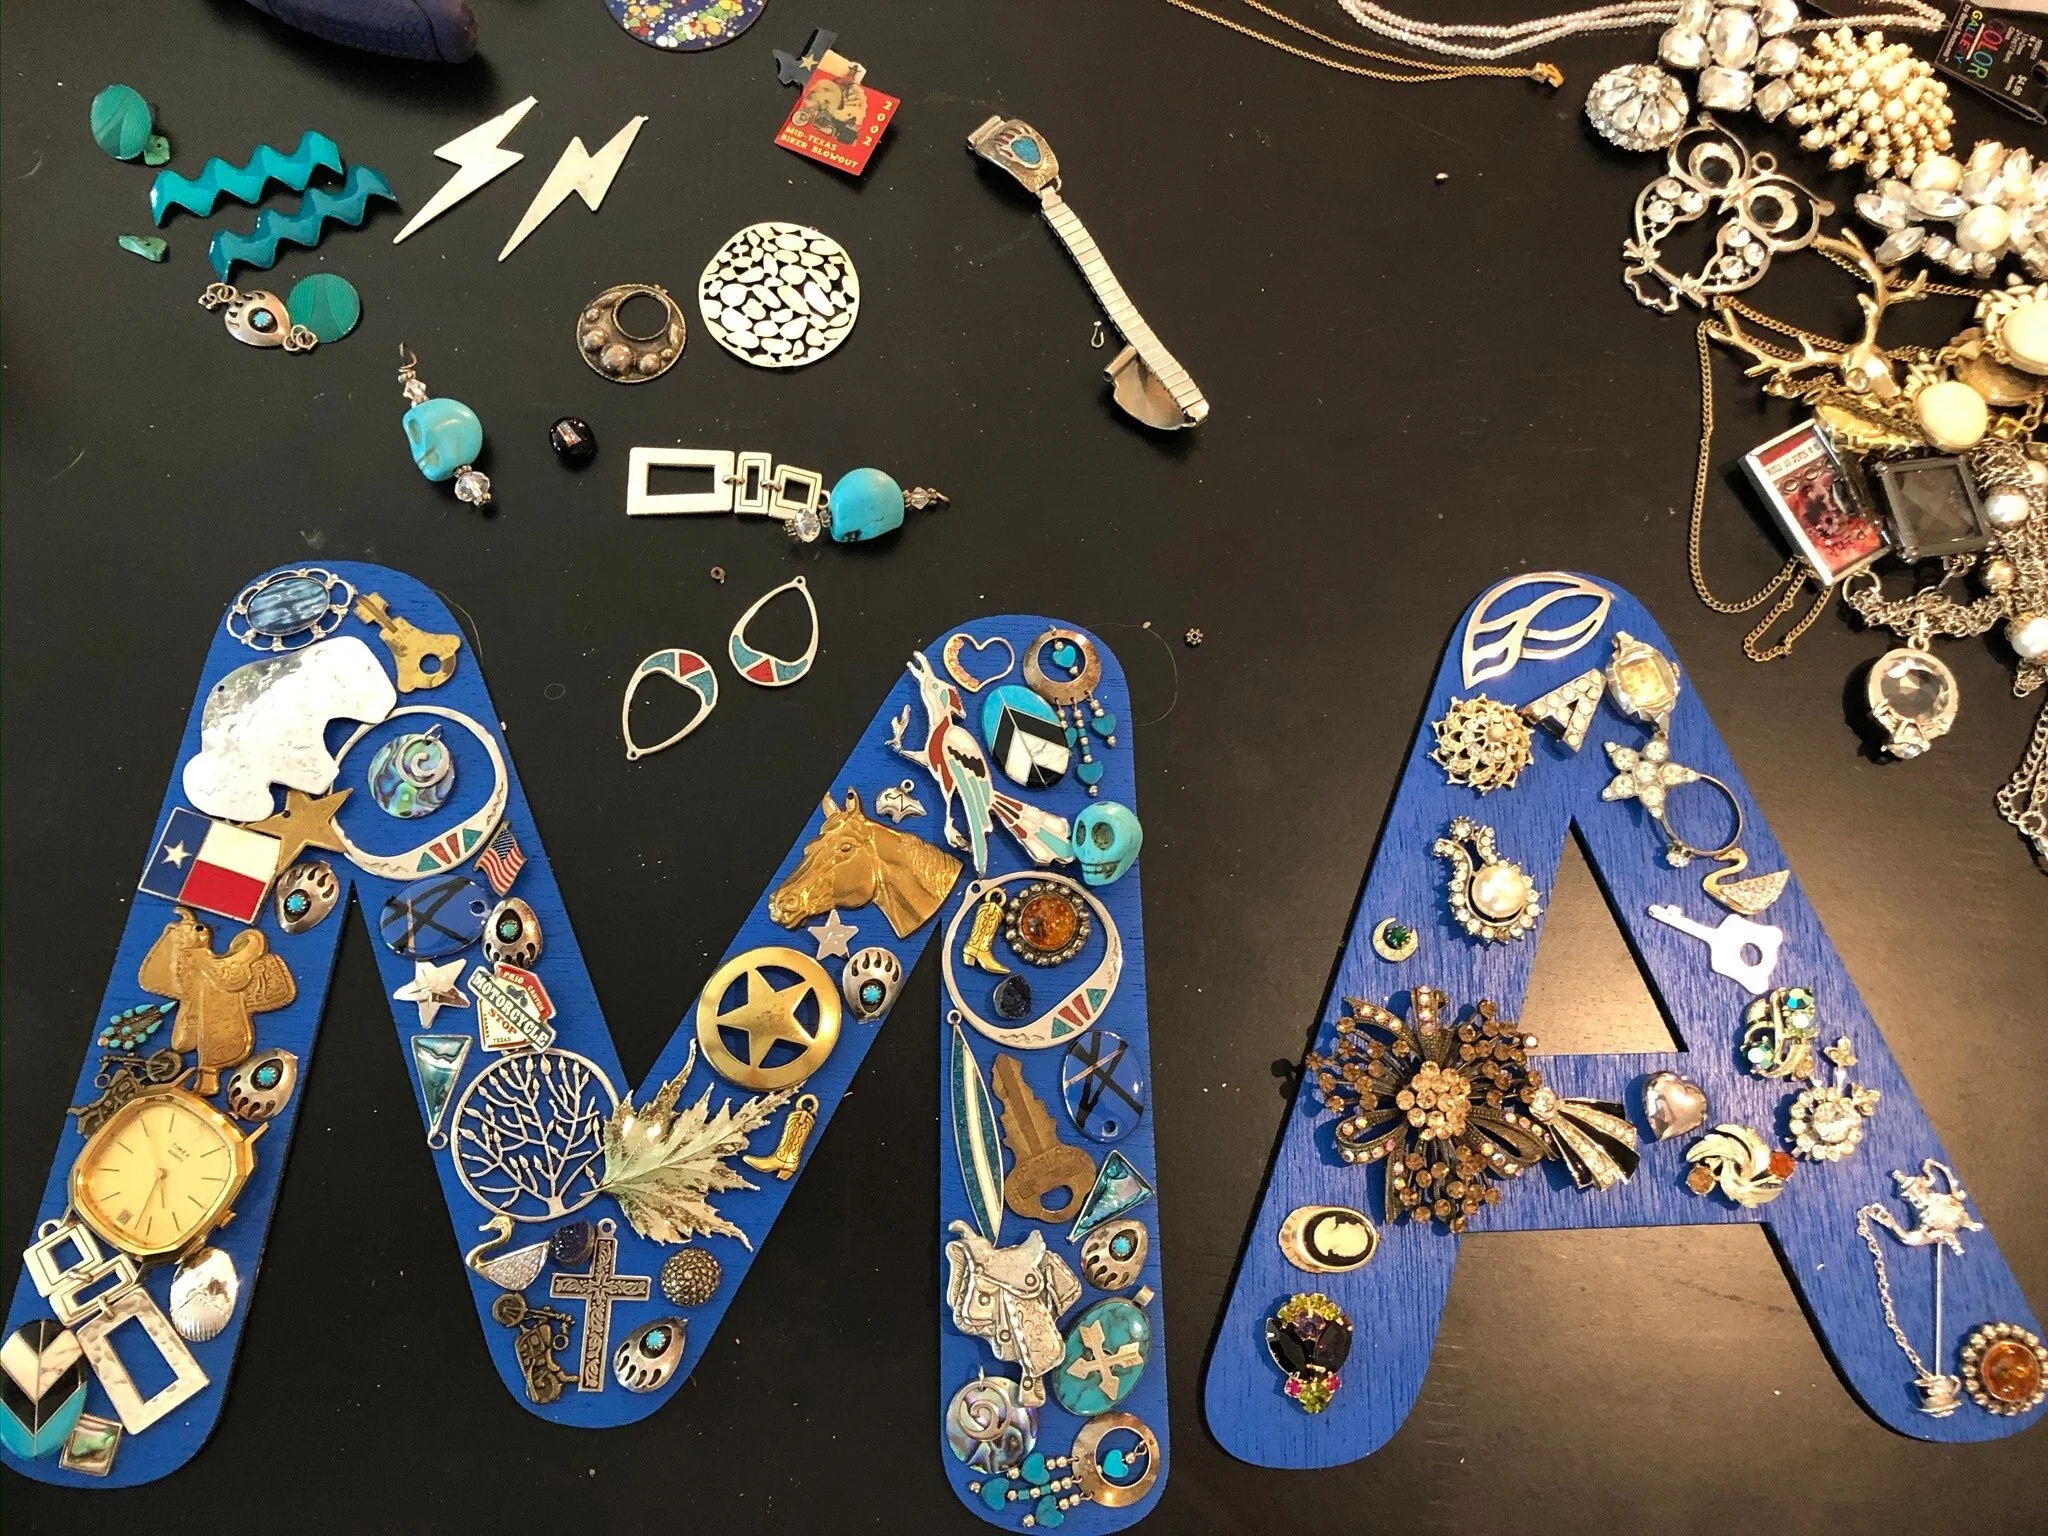
I spread all my jewelry out on the table to identify the important pieces that I wanted to make sure made it onto the letters. To start to make sense of it all, I grouped like things together, and my friend helped me identify themes - Vintage, Nature, and Western. 2 letters (E and A) of vintage, and one each of the other two (the Ms).
Once I knew what pieces I wanted to use, I started cutting findings, loops, etc off of the jewelry using the needle nose cutting pliers. The goal was to make sure the jewelry could lay as flat as possible on the letter. This took WAY longer than I thought it would, and absolutely destroyed my hands. It was probably one of my favorite parts though - being so destructive to then make something so pretty was very satisfying.

I planned out the layout before I started gluing by placing the pieces on the letters how I wanted them. This planning/placing took some considerable time on the vintage letters - since I had SO many pieces, they were closer together so had to “fit” better (like a puzzle). On the Ms where I had a finite number of pieces, it went faster; there was more blank space, but I filled that in later.
Because some pieces were under others, or because pieces invariably moved while I was gluing them, I took pictures so I could refer to how the pieces were placed before I actually glued them down. This was especially important on the vintage letters (E and A) because the pieces were so close together.
The pic below is during layout planning for the Ms.

Glue, glue, glue. Remember when I said I destroyed my hands when I was cutting the jewelry apart? That was nothing compared to the glue. It basically covered my entire fingerprint on my thumb and index finger. I could have robbed a bank and not left a print. I used just a dab of glue on the parts of the jewelry that would touch something else (either another piece of jewelry or the letter itself).
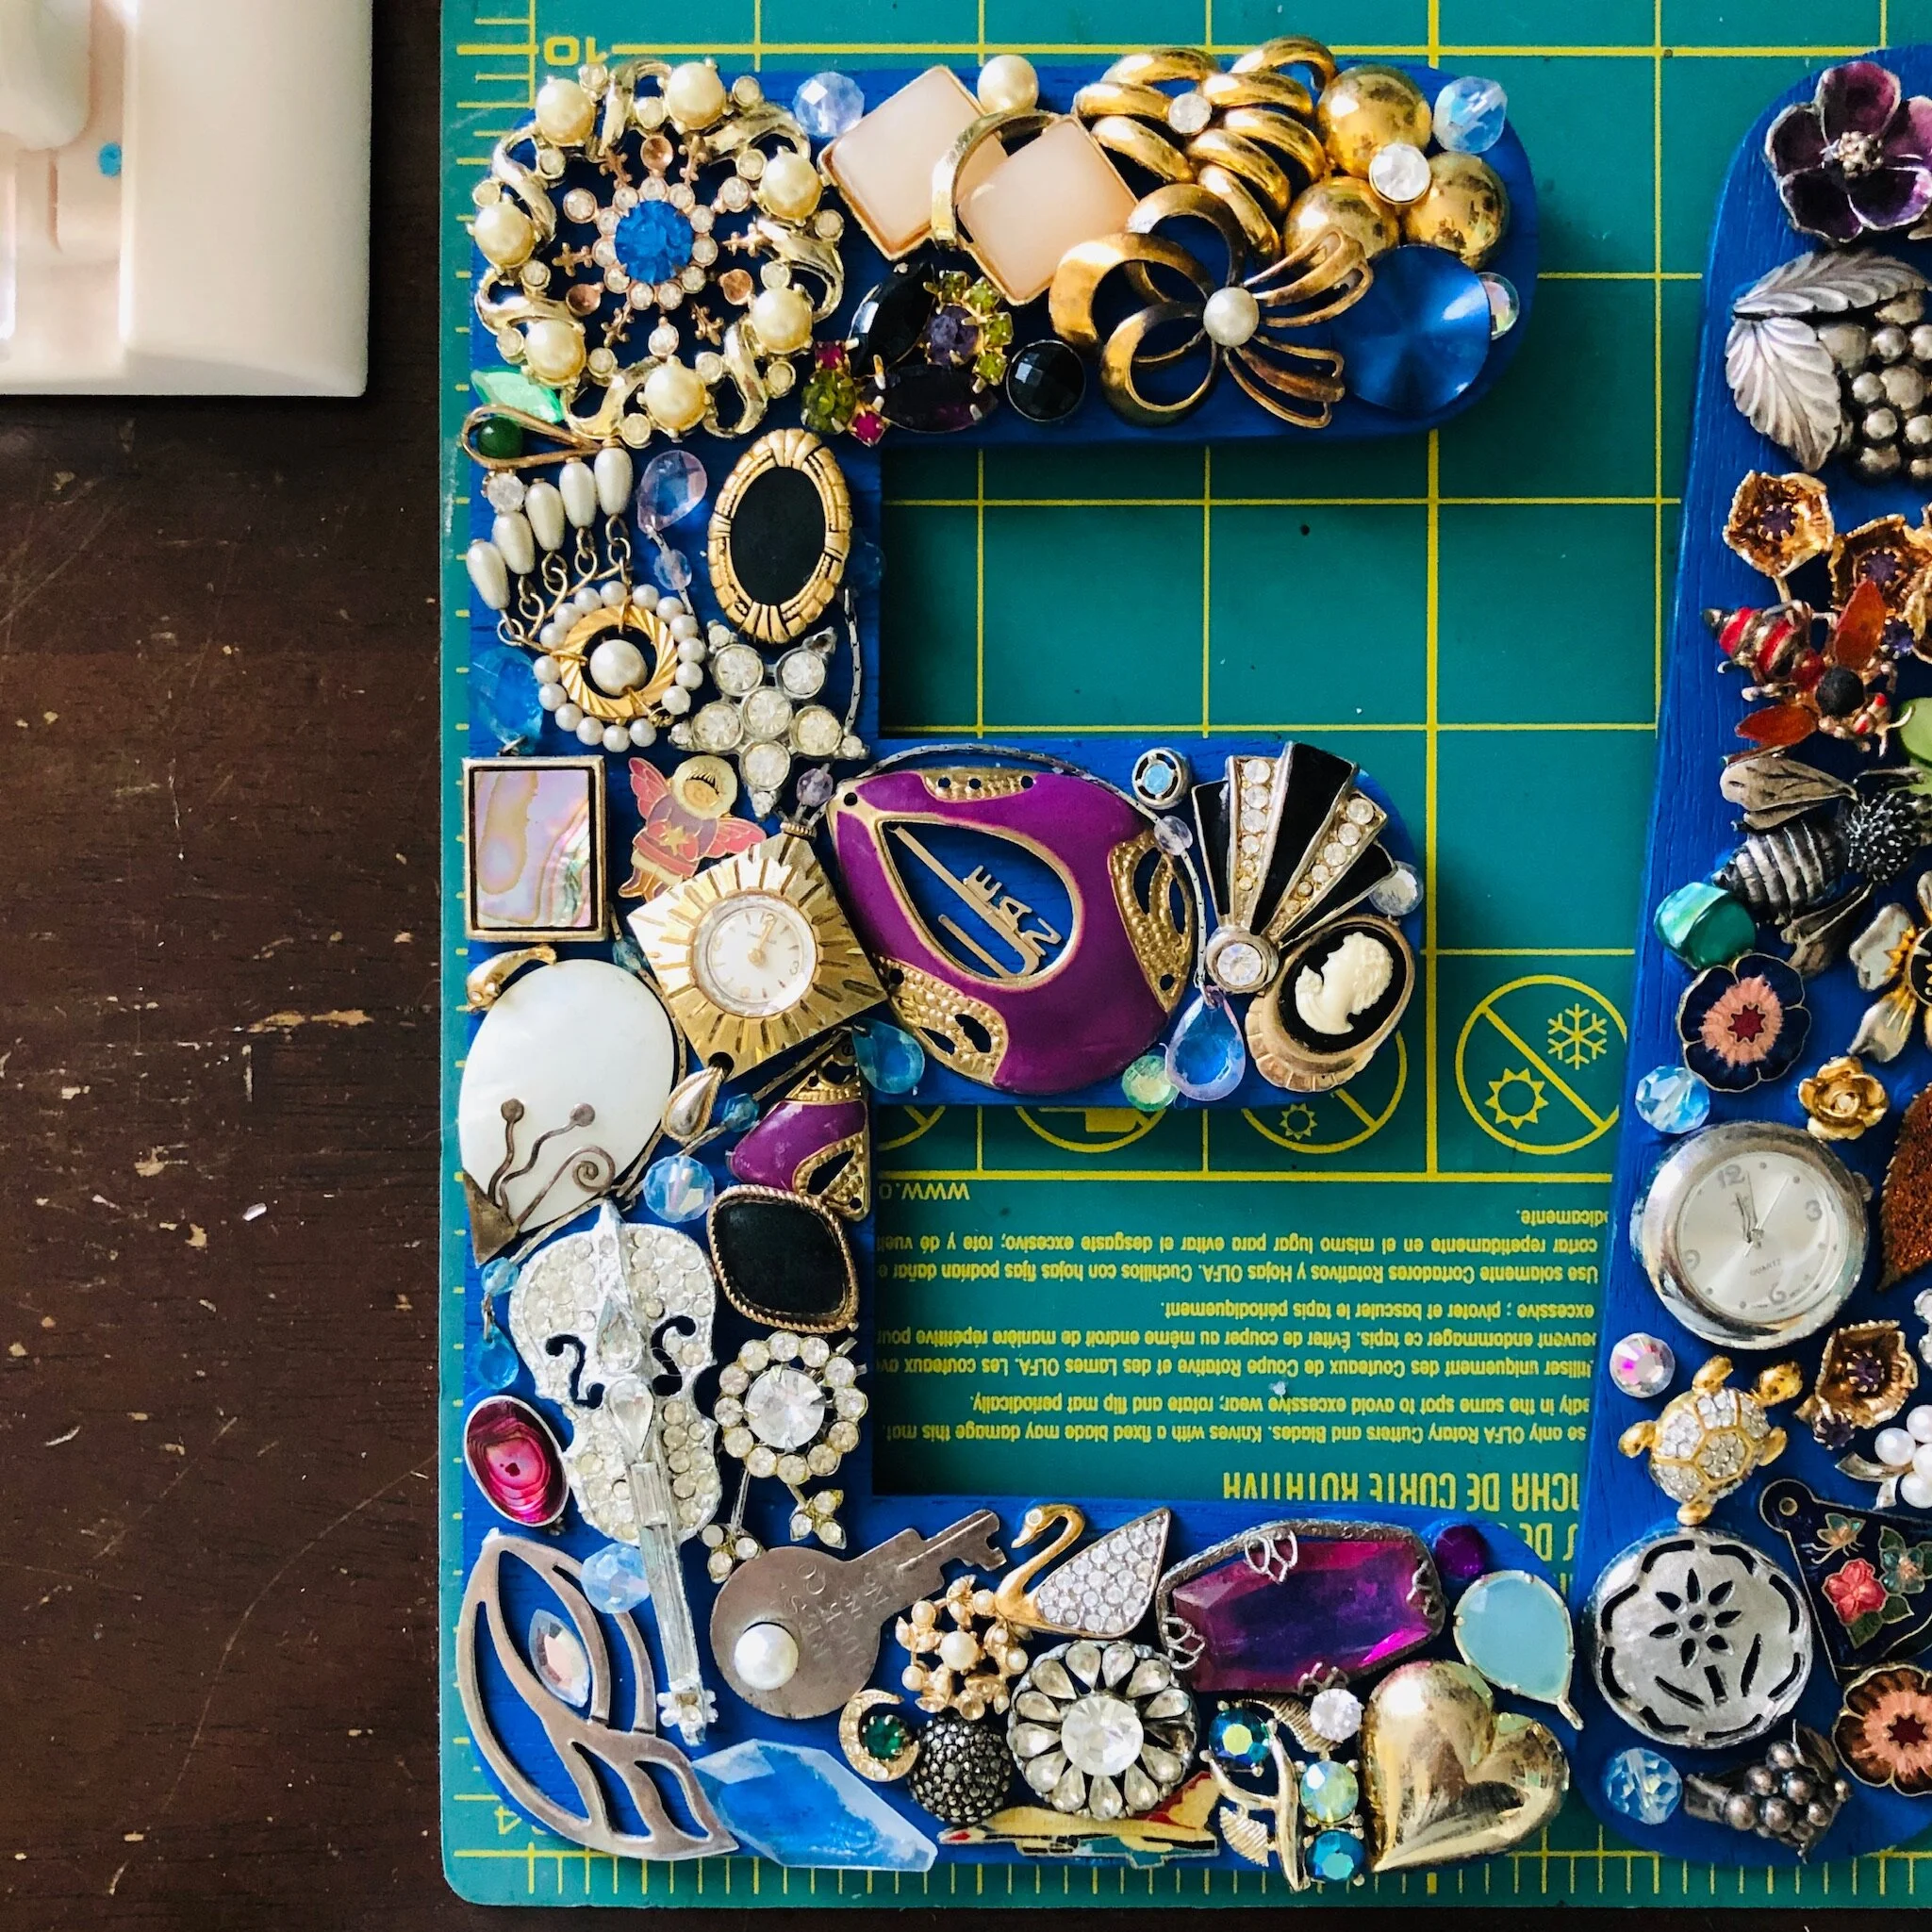
the pic below is while gluing the E.

Once the main collage was done, I filled in gaps and spaces with pearls, moonstone beads, other beads, rhinestones, etc. The goal was to see as little blue letter as possible.
I love how these turned out!