

DIY Kids TShirt Jersey
/My first DIY post! I thought it was going to be the calendar I’ve been working on, but the rain put a stop to that this weekend. That’s ok though, I got to make this super cute shirt instead!
My work friend and I bonded over the mutual love of crafting. She has a Silhouette machine, and makes a lot of cute things with it, like tshirts for her sons’ sporting events. I aspire to be as good at crafty-DIY-momming as she is one day. When I told her I had just gotten a Cricut for my birthday, she brought me a TON of her scrap heat transfer vinyl (HTV) (aka iron-on). She had a lot of different kinds (glitter, foil, standard, sport-flex), so I was excited to get to practice with a lot of different materials. However, I quickly realized that beyond the obvious (make something for Mary), I didn’t know what to do with it. I didn’t want to make something for Mary, because I knew she would quickly outgrow it. So there it sat in my craft cabinet.
And then, another friend of mine from work needed a shirt for her daughter to wear to support her older brother at his football games. YES!! Since I had limited HTV to work with, I decided to make the shirt look like a football jersey, but glittery and glamorous. The design was simple, and all I needed was the Extreme Fonts - Little League font in Cricut Design Space.
Something to know about heat transfer vinyl projects is that you have to finish once you start. There is no concept of transfer paper like there is with traditional vinyl - once you cut and weed the design, you’re essentially left with a sticker that you need to put somewhere. Which is on your shirt, under an iron, because you’re going to finish the project. Here we go -
Supplies:
This design file (will require purchase of the Extreme Fonts - Little League font if you don’t have it)
Cricut Explore Air 2
Heat Transfer Vinyl (HTV) - I used sport flex for the 7 on the front of the “jersey”, and glitter for the back.
Vinyl weeding tools
Iron or heat press
Measuring tape
Hard surface to iron on (I used cardboard folded up)
A T-Shirt, in whatever size/color you want
Step1 - The Design
Measure how big you want the design to be on your tshirt, and make adjustments to the design file.
You’ll see little footballs in the picture below, but they are not in the actual design - I didn’t end up using them because they didn’t fit on my tshirt’s sleeves. They’re in the Cricut Design Space image catalog though, just search for “football” - this particular football image costs $0.99.

Step 2 - The Vinyl
Use your Cricut to cut out the design elements. Make sure that:
Your HTV is shiny-side down (you are cutting the “back”)
Your Cricut is cutting in MIRROR MODE - mirror mode is necessary so that your design is facing the correct way when you flip it over to iron onto the shirt. I’ve wasted quite a bit of vinyl by forgetting this step, and remember, all I had was scraps to start with!
Cricut settings that I used:
For sport flex: Custom on wheel, Everyday iron on, default pressure
For glitter: Custom on wheel, Glitter iron on, default pressure
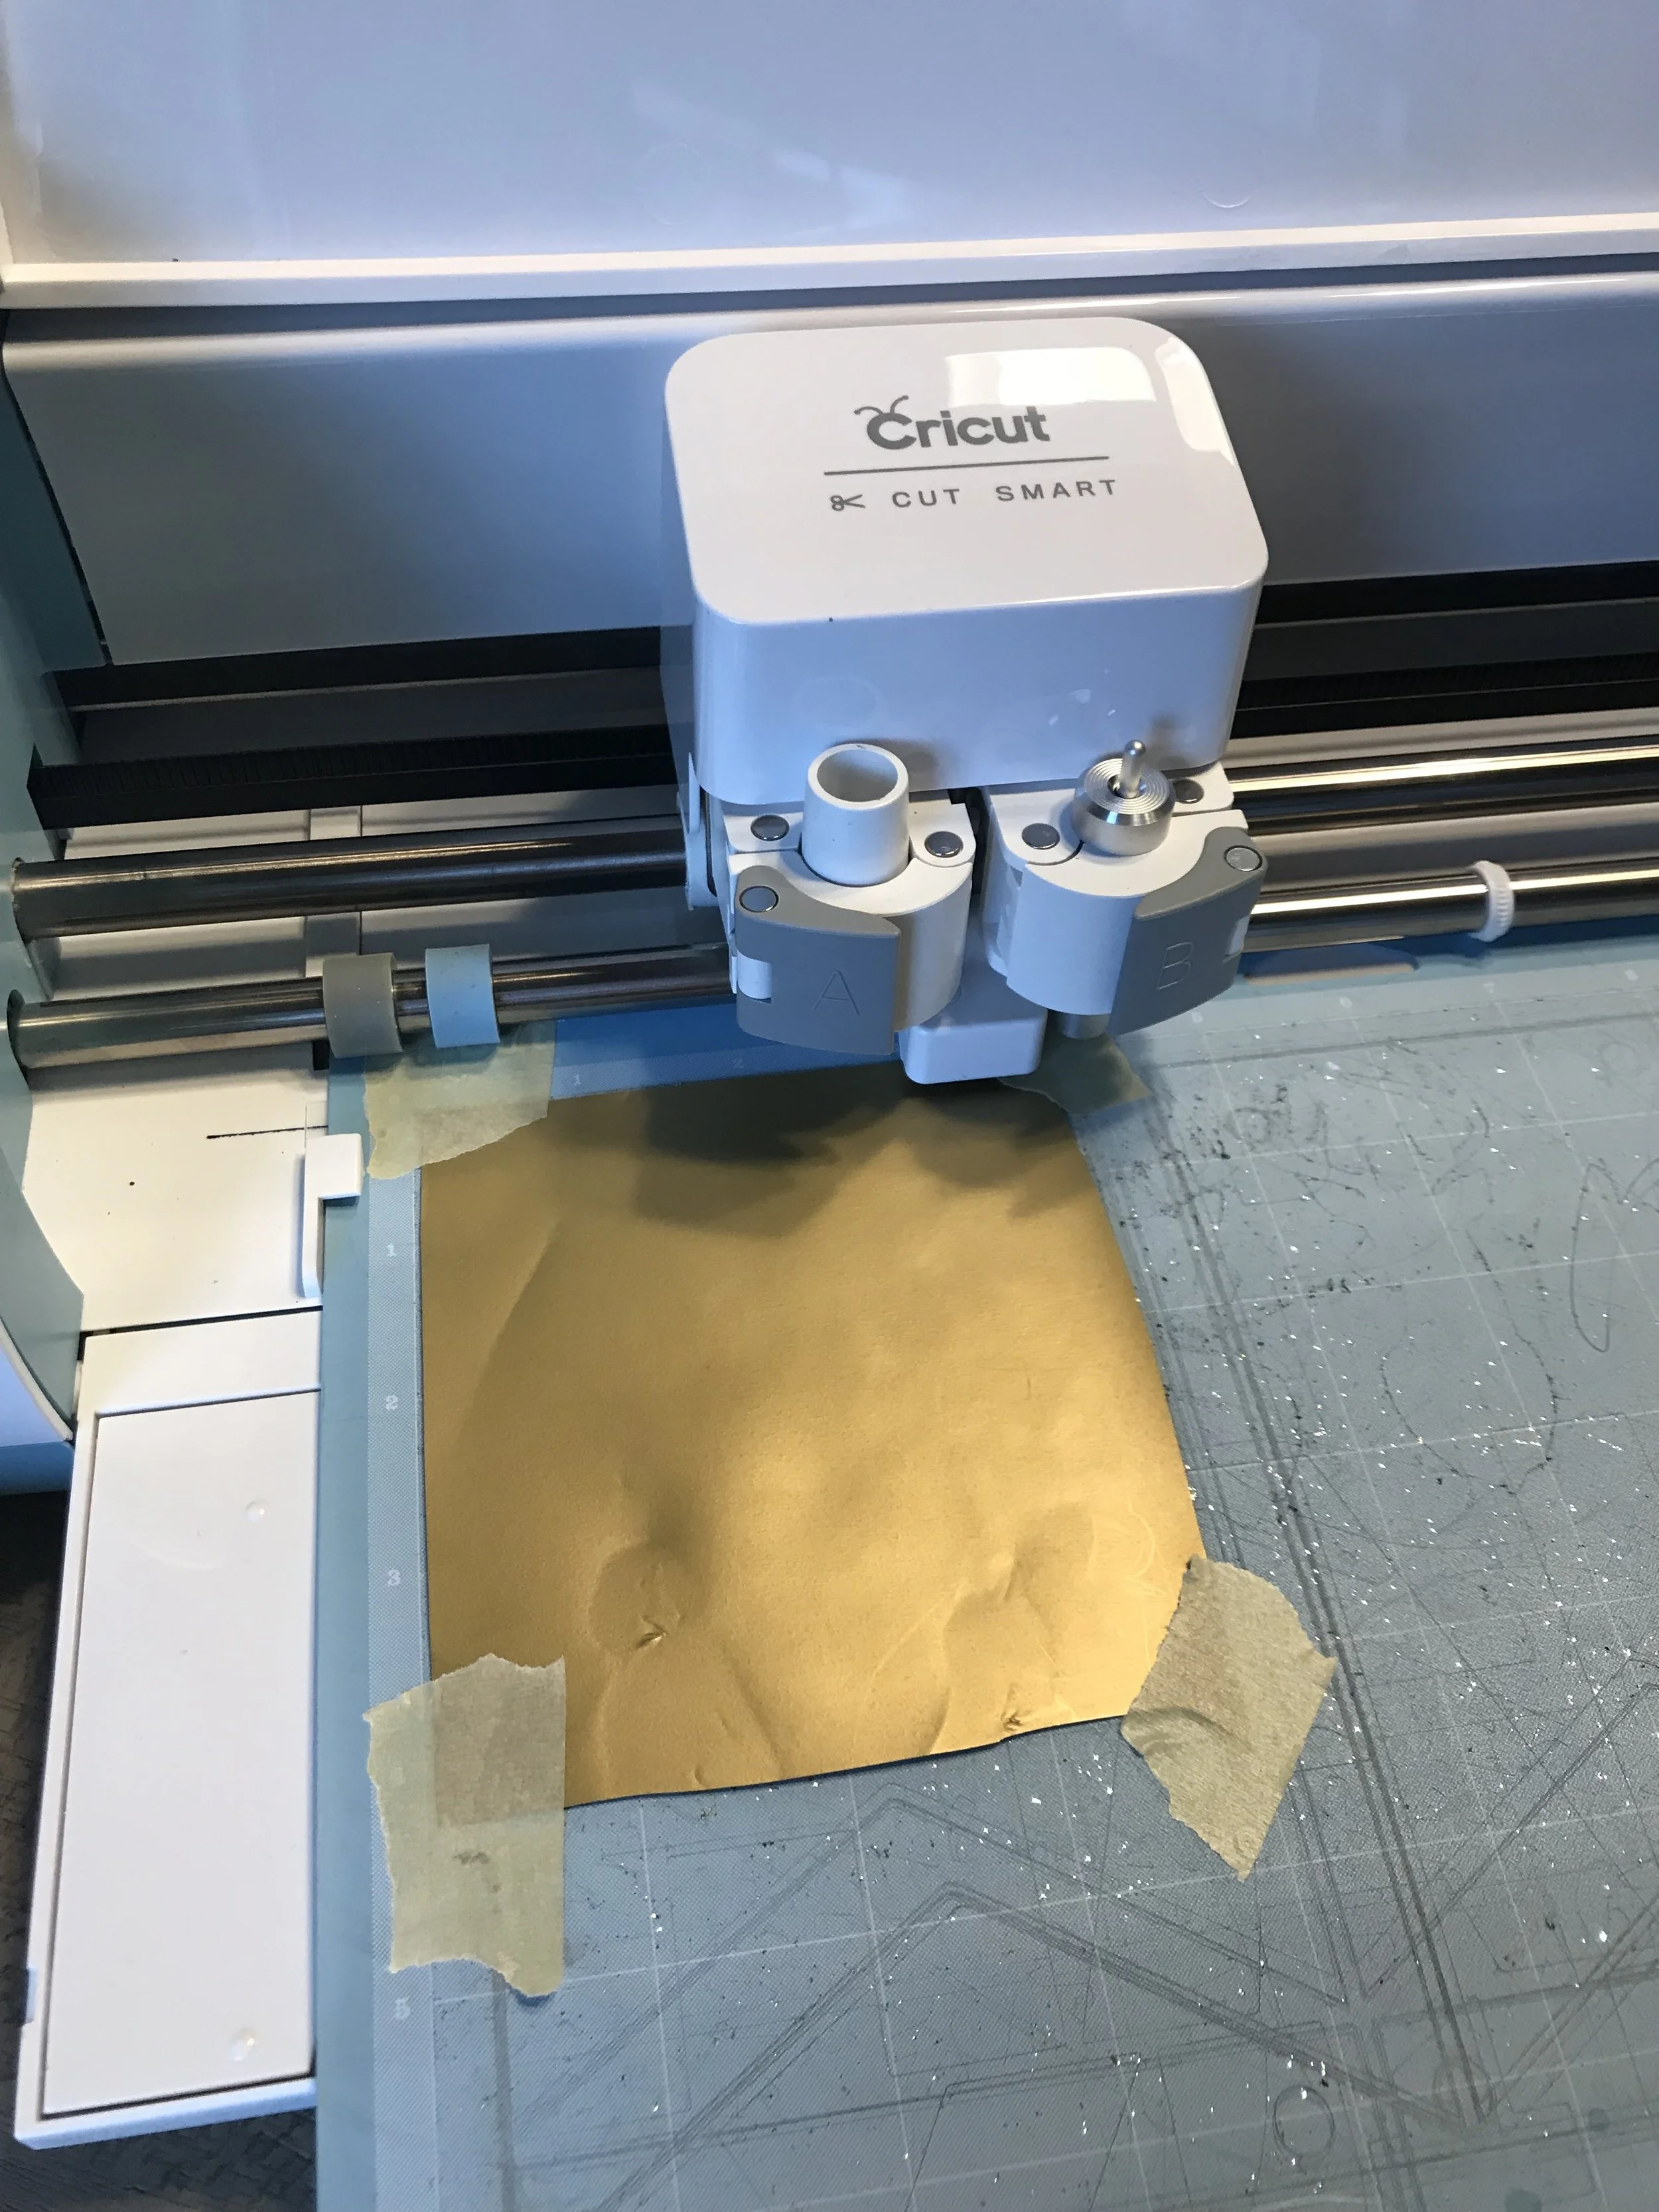
Note: as you can see, my mat has seen better days. This is also a light-hold mat, so the corners of my materials always lift on me when I’m making things. I saw this masking tape trick on someone else’s blog the other day, and I’m so glad I did. I’ll never need another mat! I feel like such a shmuck for not thinking of this myself!

Step 3 - The Design Elements
Weed the extra vinyl away from your design with your vinyl weeding tools.
Use sharp scissors to perfect cuts if necessary. Since I was using scraps, I had to correct quite a few.


Step 4 - The Shirt
Heat your iron up to the next to highest setting. Do not use the steam feature/setting.
Place your shirt over your solid surface.
Ironing boards are not recommended here, you need something that won’t give when you press on it. I used a piece of cardboard, folded in half so that it was about the width of my shirt.
Carefully place your design element on your shirt, and make sure it’s where you want it to be before moving on.
Press the iron onto the design element. No steam.
I’ve read that you can iron directly on the plastic, but I would rather not, so I use a thin cloth in between the iron and the design.
Press hard in each area of the design for 12-15 seconds before moving on and repeating. Don’t slide the iron - you can kinda wiggle it while you press, but leave it in one spot for 12-15 seconds.


Press hard! 12-15 seconds in each area.

This is what you want to see - vinyl bonded to fabric
Step 5 - Finish
Peel away the plastic.
If your design sticks to the plastic, put the plastic back and apply more heat.

front

back
That’s it! Have fun at the game with your little sparkler!
Wash your shirts inside out on the delicate cycle in cold water. Dry on low heat for a few minutes, and then hang up to finish drying.
-Dotti-