A Halloween Tradition: DIY Painted Pumpkins
/Late October is probably my favorite time of year, next to Summer. It’s the time in between Summer and Christmas (that’s a season, right?), everyone starts to get a little nicer, and there are lots of reasons to make crafts.
Halloween is of course the trademark of this time of year, and to me, that means jack-o-lanterns (among other things, like candy and costumes).
There’s just one problem: I don’t like carving pumpkins.
It’s a mess, it never turns out the way I want it to, and they eventually rot and need to be thrown away. The ONLY good thing about pumpkin carving is roasted pumpkin seeds, but if I really want those, I can make that happen without the hassle of pumpkin carving. So there.
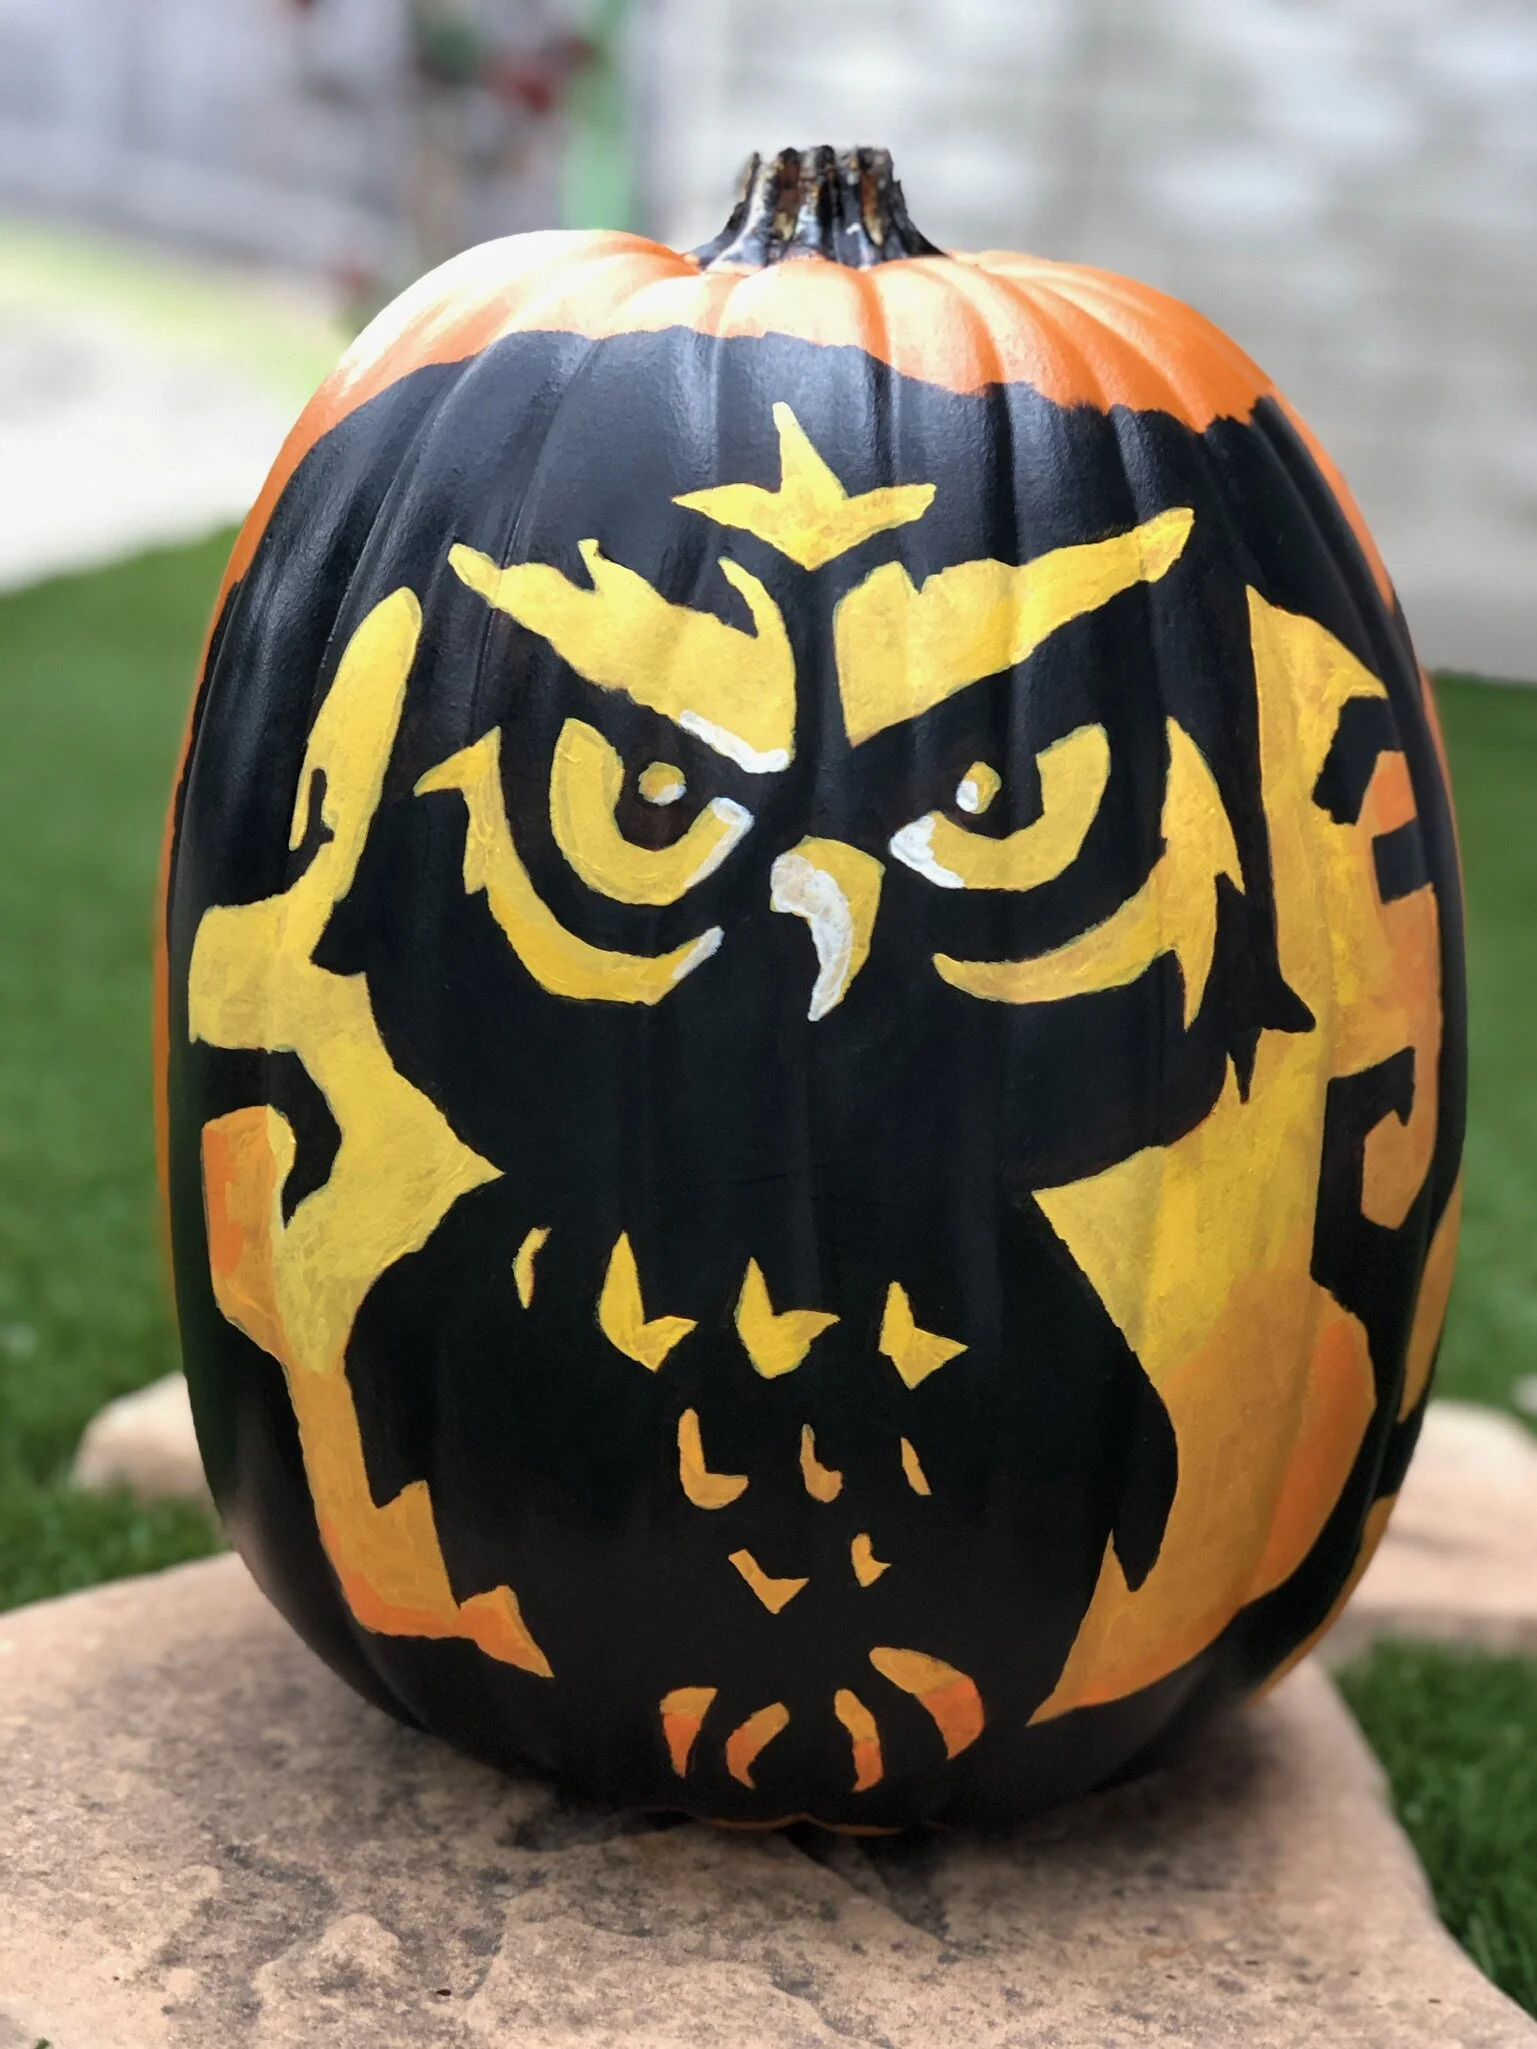
Instead, we opt to paint pumpkins! I get to keep those for as long as I want (so forever), and my husband gets to exercise his creative talent once a year - he’s really good. And now that Mary is old enough to participate, it’s even more fun.
So, off to my happy place (any craft store will do) I go to get fake pumpkins for the family to paint!
Materials:
Fake pumpkins. Any size will do. This year I got a hollow pumpkin and a small pumpkin to fit inside. Since I’m pregnant, I’ll make a pregnant pumpkin! I did this a couple years ago for Mary too. I also got a smallish pumpkin for Mary, and two other pumpkins for my husband.
Acrylic paint - lots of colors
Glitter. It’s not a painted pumpkin if it doesn’t have glitter, if you ask me.
Glossy Mod Podge - I use this on top of the glitter so it doesn’t fall off everywhere.
Paint brushes - a few sizes. I’ve also used paint sponges before. Really just need anything that will transfer paint from a puddle of paint to the pumpkin.
Method
Decide on a design
Paint pumpkin
Ta-da!
As mentioned, any time I use glitter, I follow it up with a layer of glossy mod podge so it doesn’t fall off everywhere - I just dab it on with a paintbrush over the glitter.