DIY Poured Resin Kit from The Crafter’s Box
/
Recently, thanks to my super cool niece, I tried out the Poured Resin Premium Workshop from The Crafter’s Box, curated by Christie Lothrop from Mad Potters. I highly recommend it if you want to see if resin crafts are for you!
First, let me just say that I was shocked at how much came with the kit! If I were to buy all of these supplies individually at a craft store, I could easily see it costing more than the price of this kit. Very high quality, and I used a fraction of the materials (except the resin, I did use most of that).
I’m not going to list all the supplies included because it’s listed on their website, but it has literally everything you need for this whole project except alcohol (which is required to clean up messes).
Before I started this project, I was intimidated. I was worried I would make a huge mess, or ruin the pieces. I even started putting everything away one night, telling myself I’d get to it another time. As I was in the middle of that, I changed my mind. I told myself to stop being a chicken, and just go for it. I pulled everything back out, got my alcohol ready and my gloves on, and got started. And you know what? It wasn’t hard! And they came out gorgeous!
Some things I learned along the way:
Watch Christie’s how-to video. All of it. BEFORE you do anything else.
Wear gloves. Safety goggles are optional.
You’ll need some patience - stir for the full 5 minutes, and let it sit the full 5 minutes. It’s worth it to have a crystal clear finished piece.
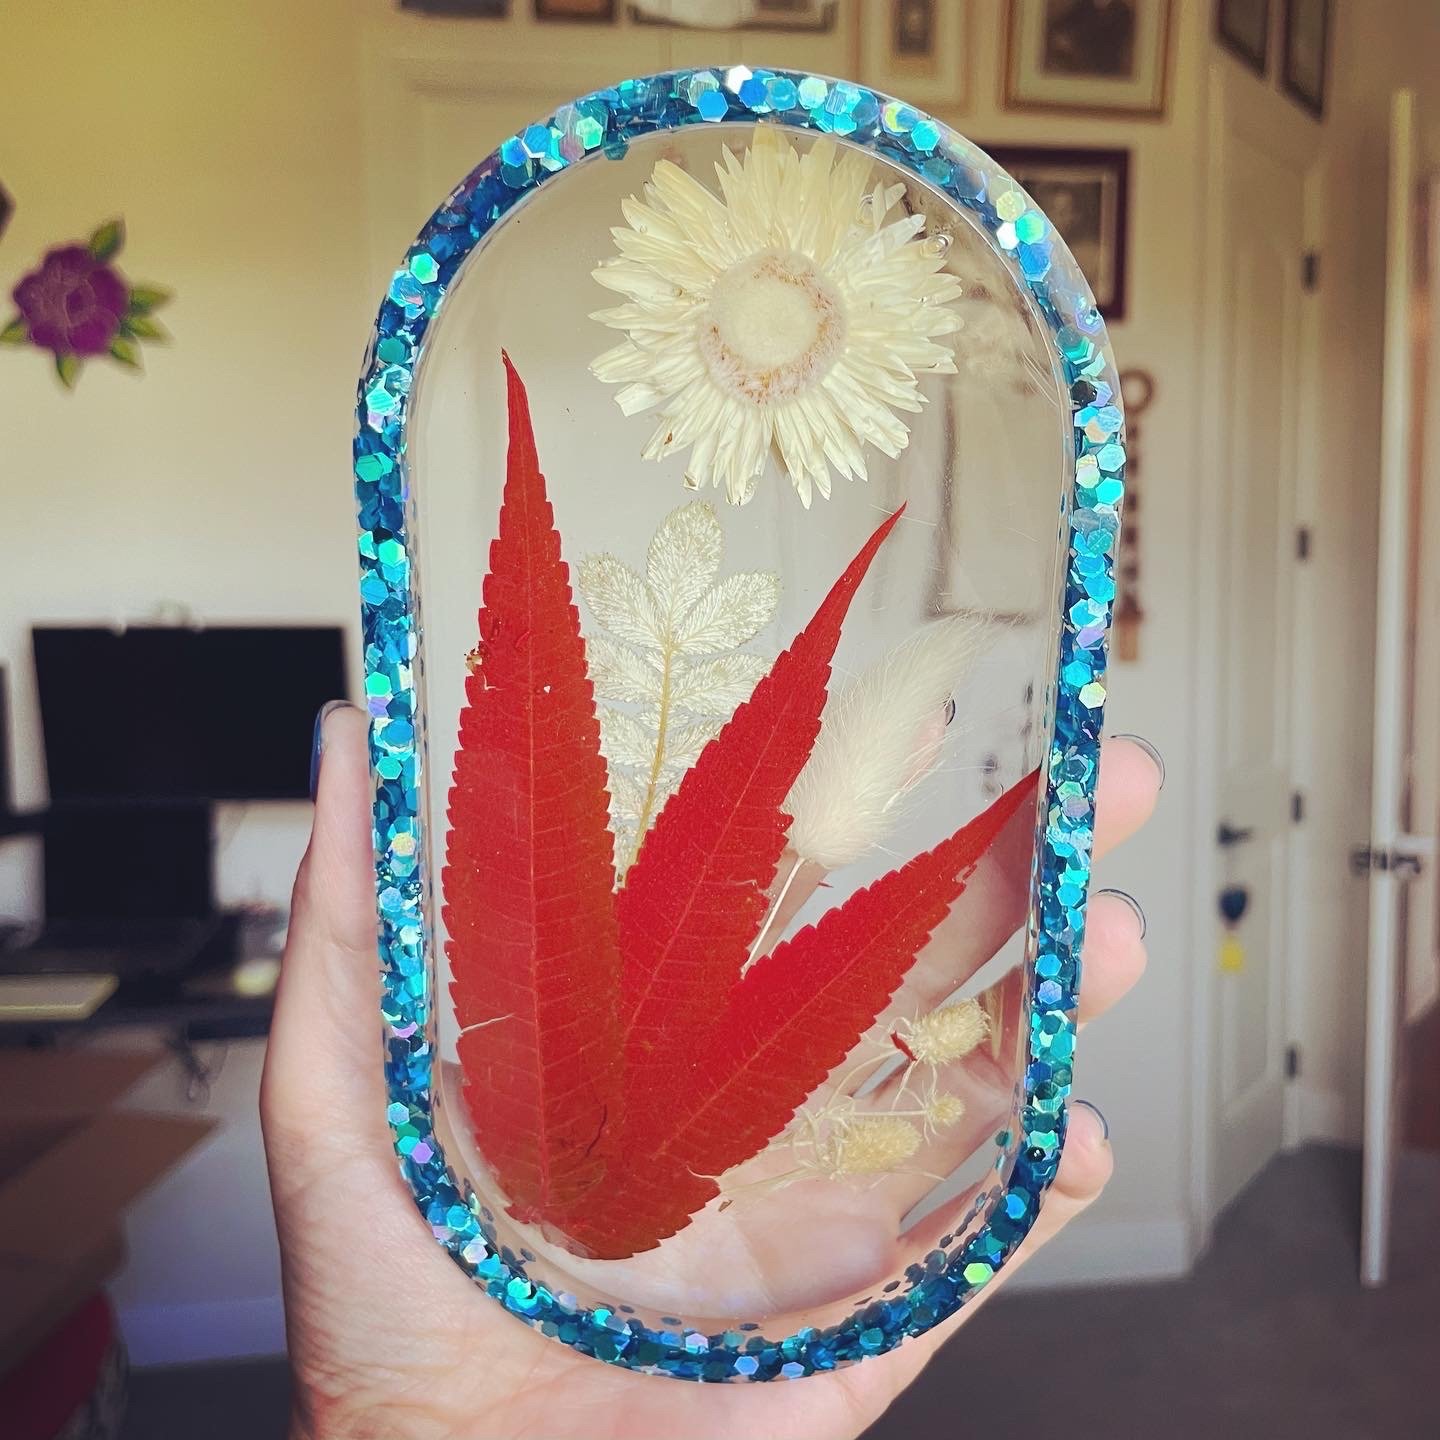
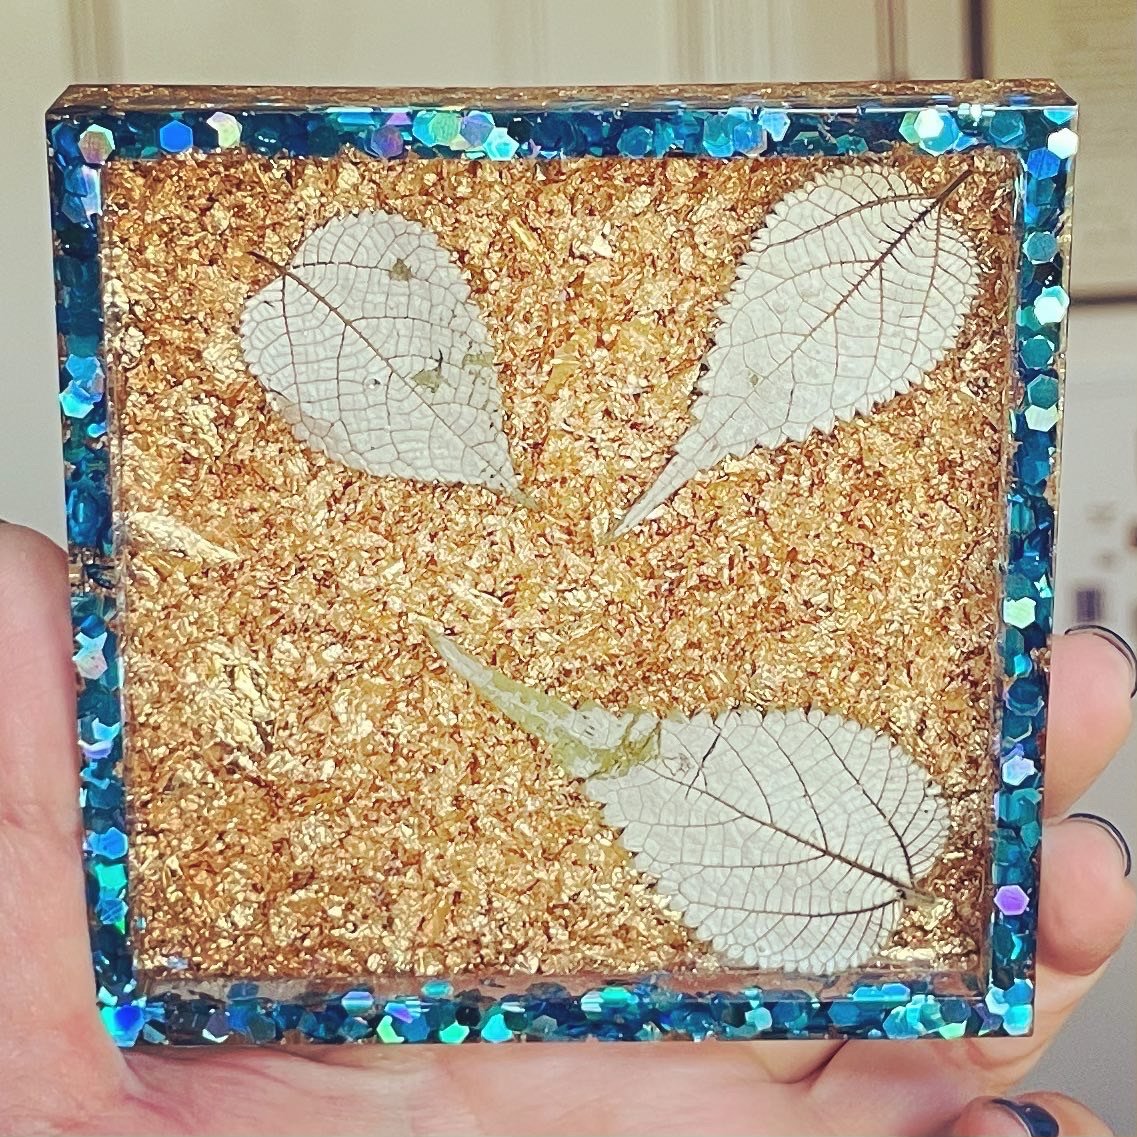
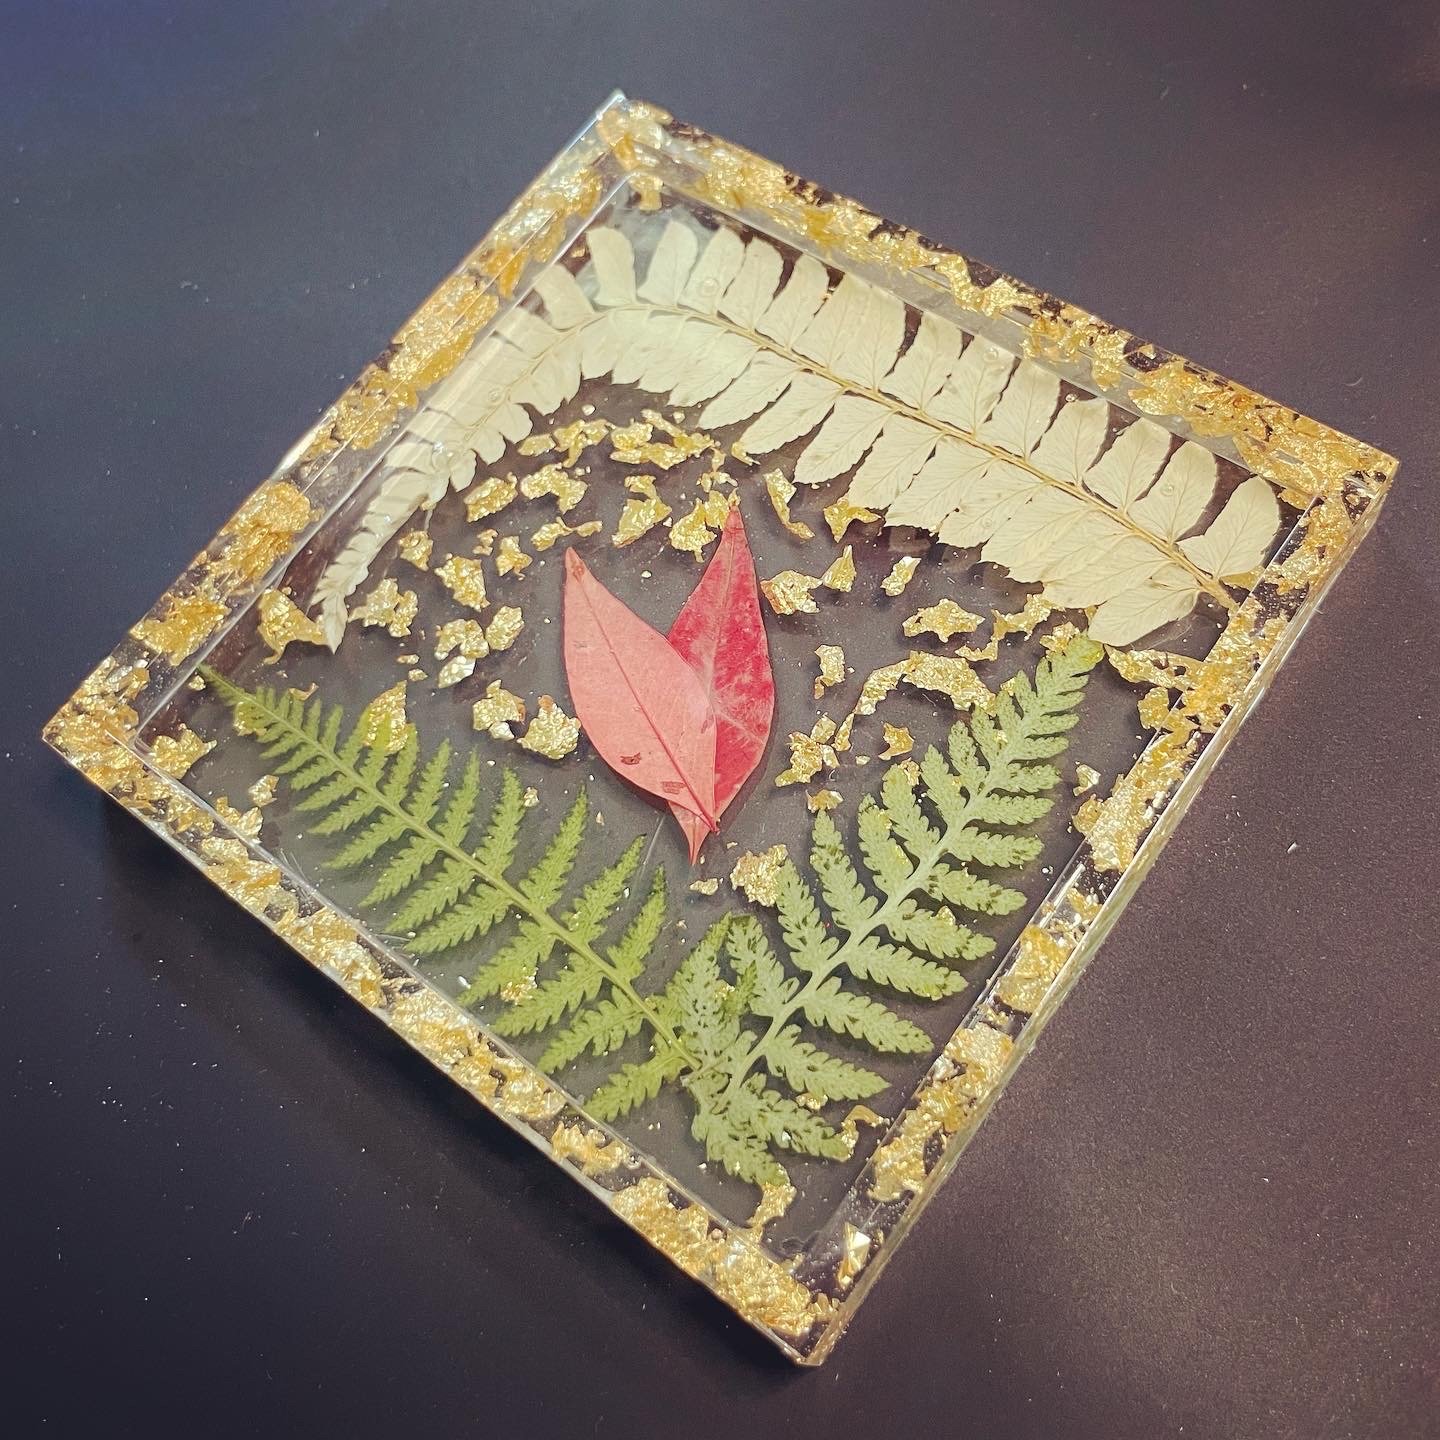
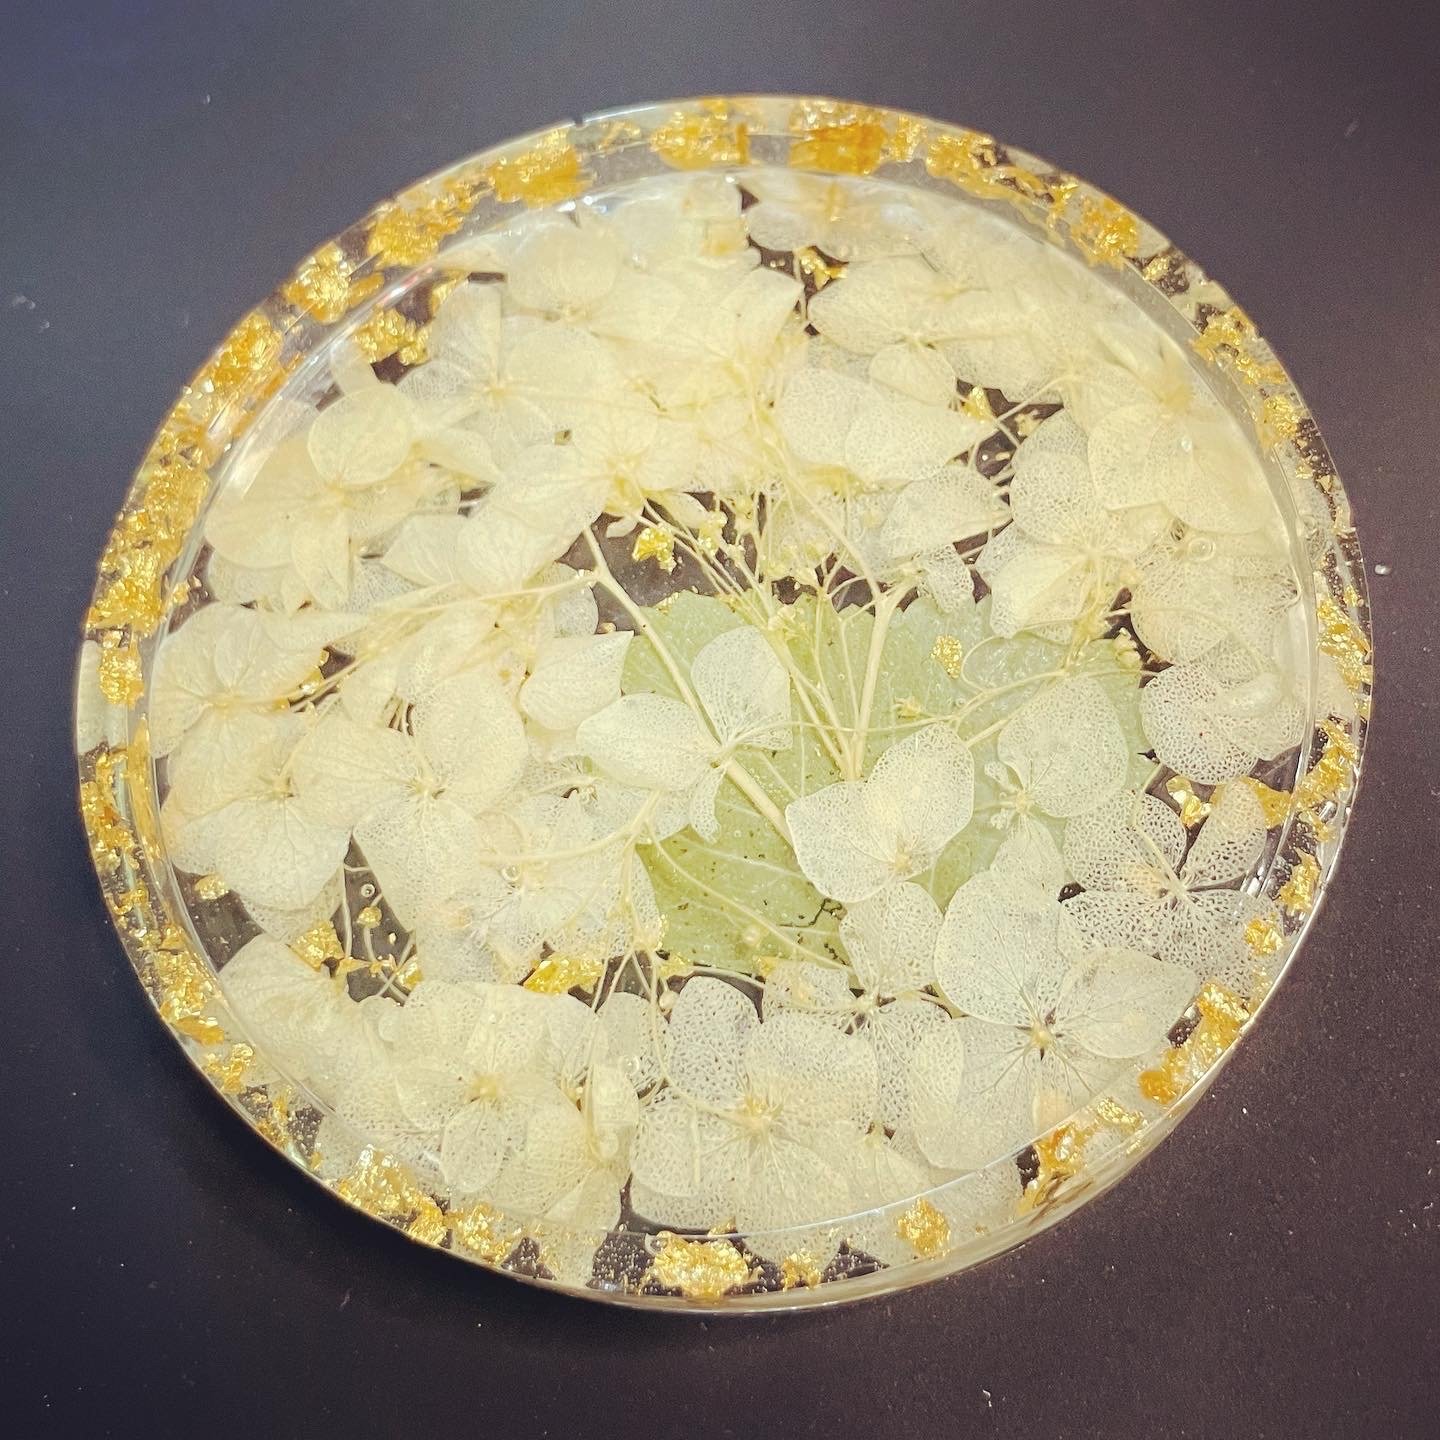
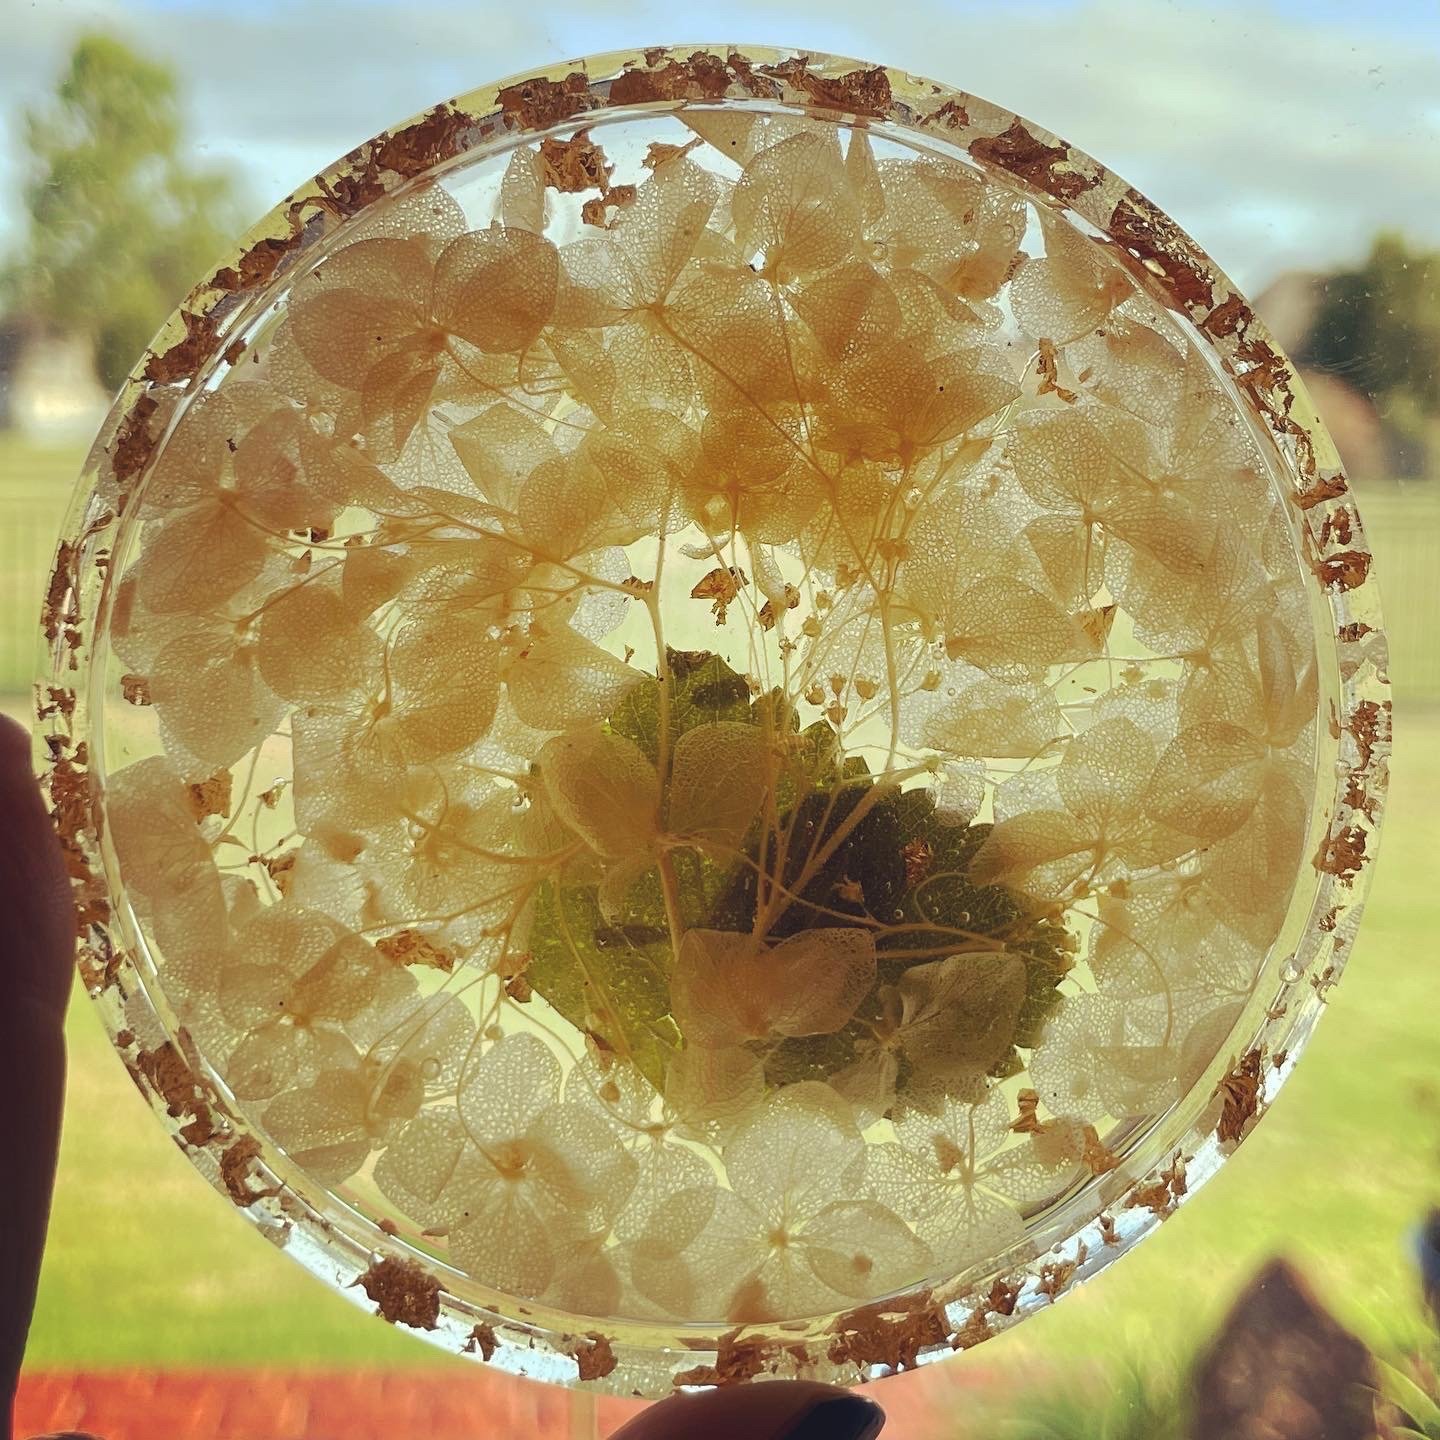
I found that less is more with the flowers and leaves. Maybe that’s just me, but I like about 50% clear resin and 50% material.
More patience is necessary here; multiple thin layers that are cured in between are the key to not having bubbles in the finished product.
The heat gun also helps with lessening bubbles, but don’t use it too much or it’ll melt the silicone and the resin.
I also used a toothpick extensively to get into nooks and crannies around the flowers and remove big, deep bubbles. The trick there is not to try to pop the bubble, but displace it with resin so it comes to the top.
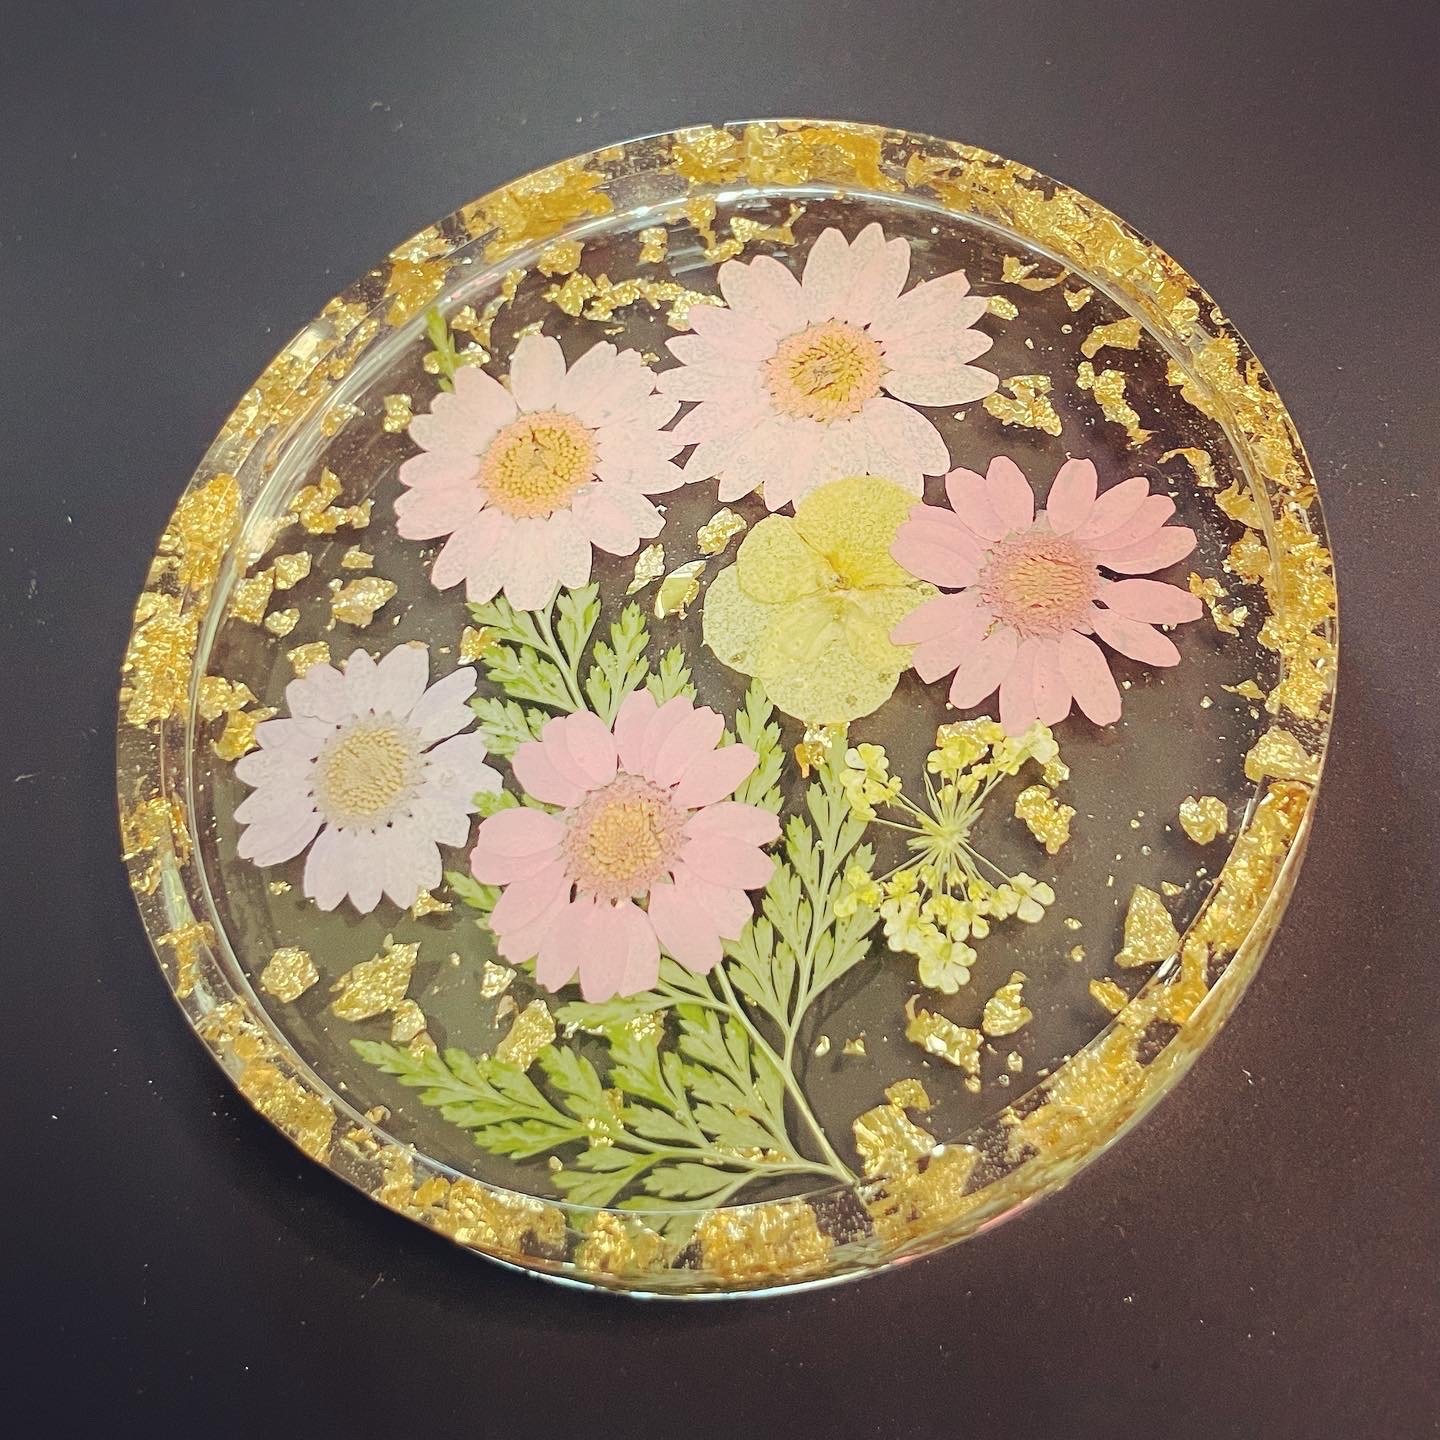
Be careful with the sandpaper and only get the edge, like Christie says in the video. It’ll very easily scratch the resin. You can see this in the picture of the tray below, to the right of the flower at the top.
Use alcohol and clean up as much as you can while the resin is wet. Any little spills, the silicone stir stick, etc. If you wait for it to dry it’s much more tedious to get off. I didn’t have any alcohol at the house when the kit came, and after watching Christie’s video I decided to get some before starting; I’m so glad I did! Otherwise I would’ve had a huge, un-cleanable, mess.
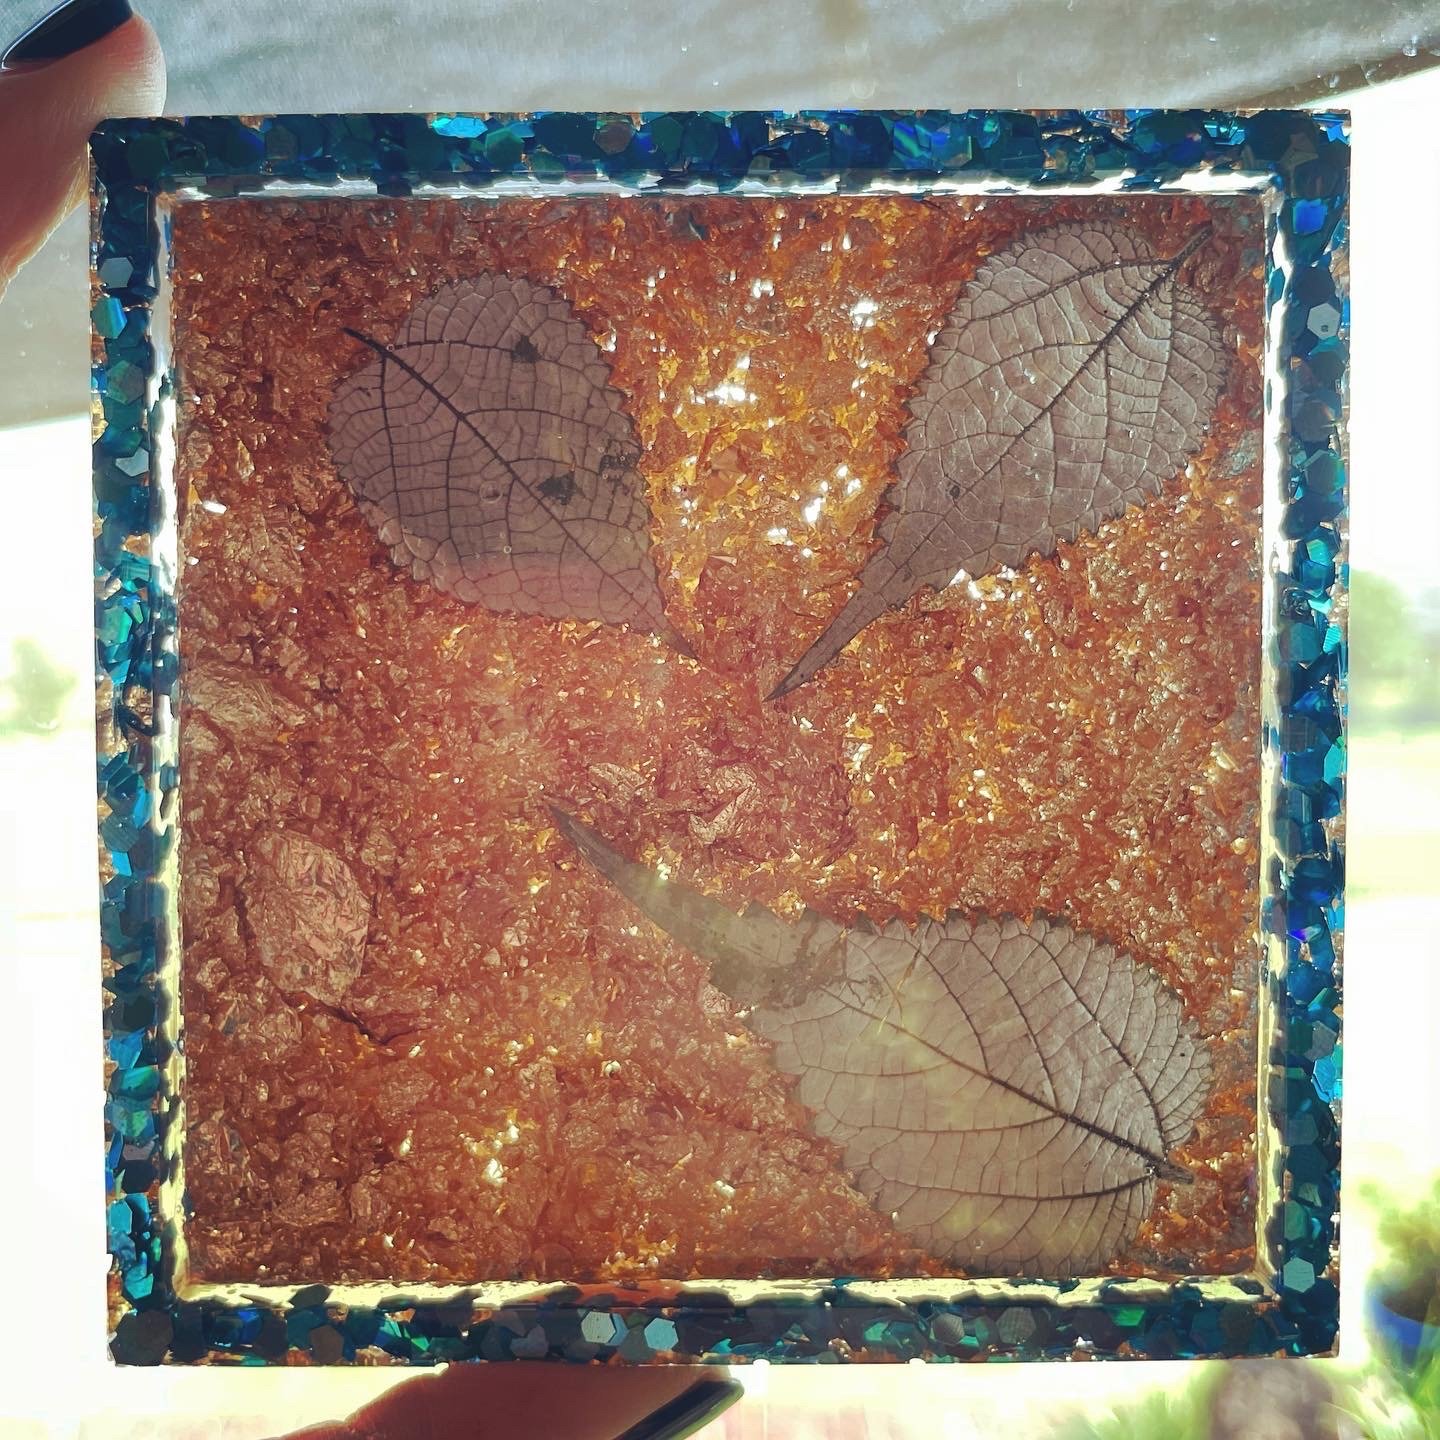
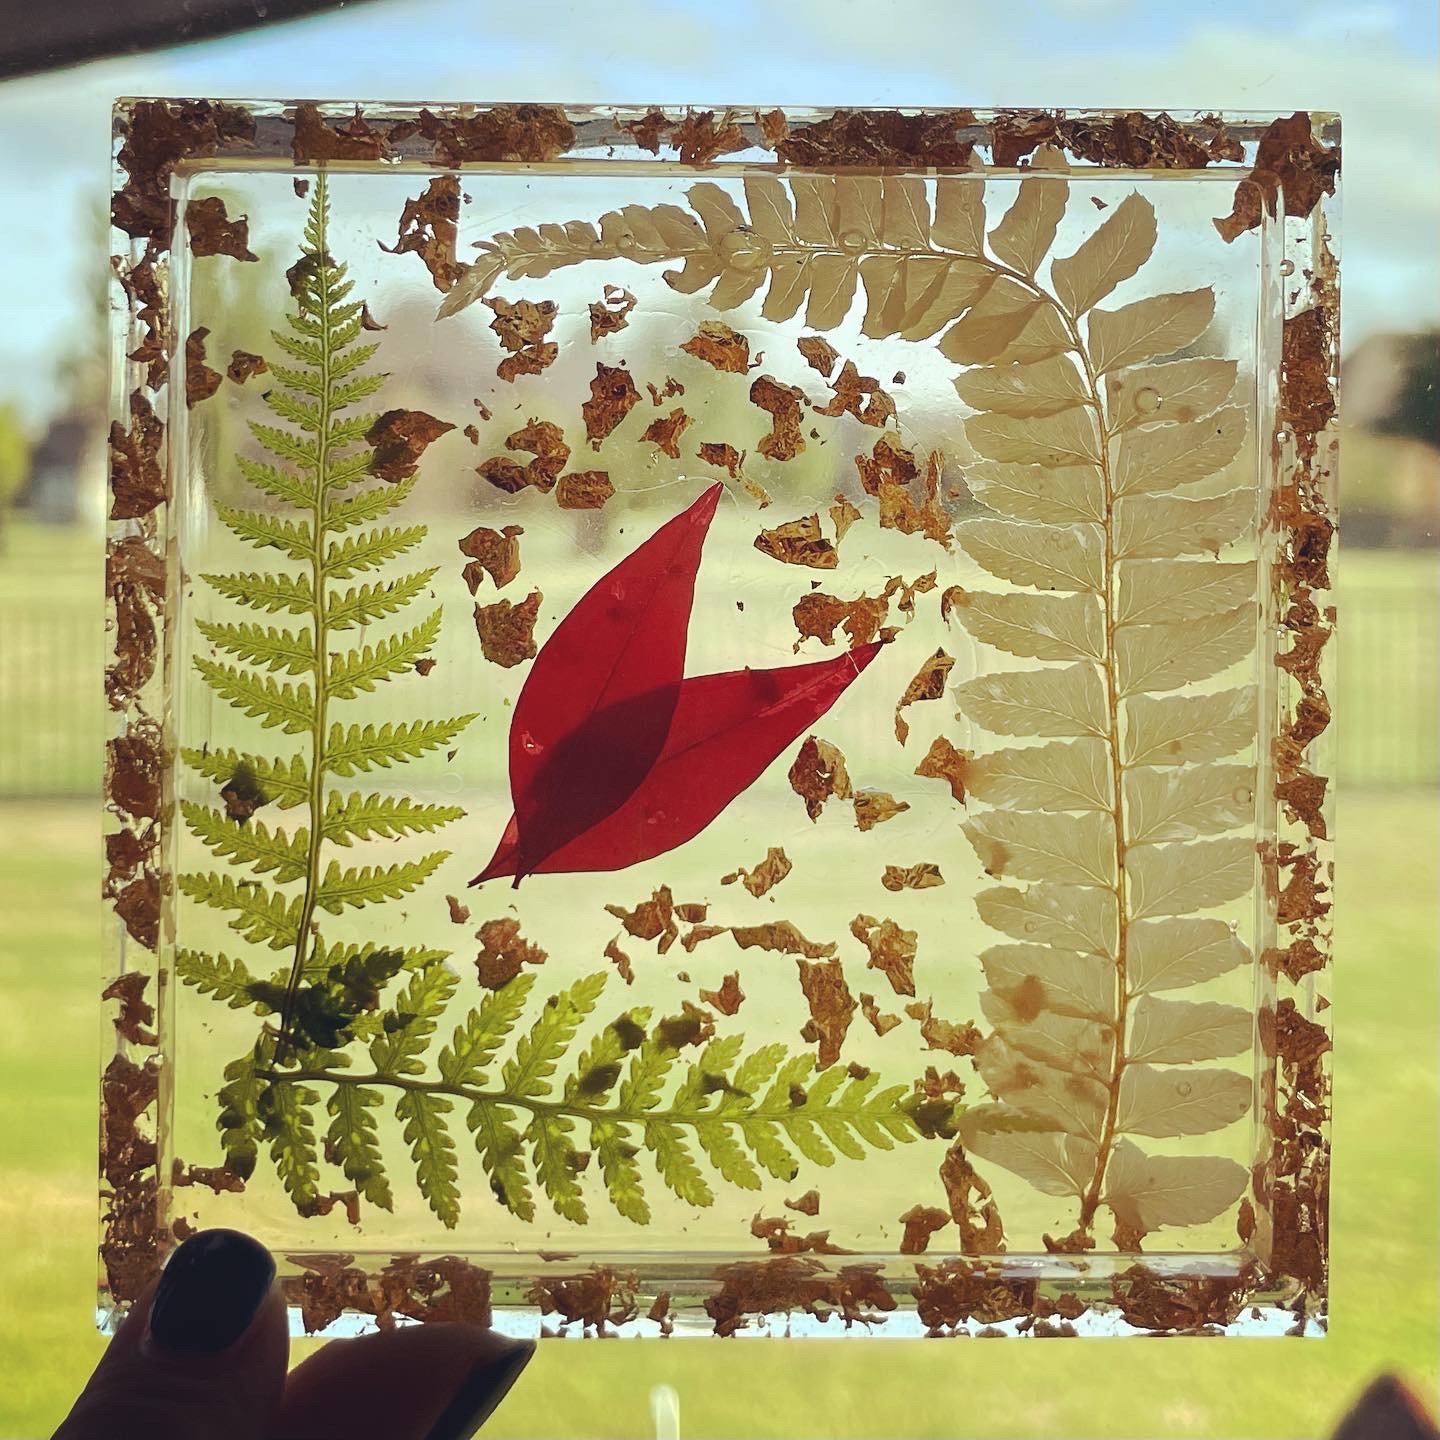
The pieces came out gorgeous - my daughters thought so too, because they quickly claimed the two best pieces for their rooms before I had a say in it!
That being said, I don’t think I’ll be starting any new resin crafts soon. Remember all that patience I mentioned that’s required? Yeah, that’s not me. This project took about 5 hours of actual work, but 5 days total for letting the layers cure. That, coupled with the cleanup, and I think I’m good for a while.
They really are pretty though, and I’ll cherish them forever (because they seem like they’ll last that long)!