

DIY Flower Crown (with Fake Flowers)
/My grandma is turning NINETY y’all. 9-0. 90. That’s 10 years shy of a century.
This grandma taught me how to crochet when I was 7, and was a big part of blessing me with the passion I have for all things crafts. She’s a special lady, and a wonderful grandma.
So what does a grandma need for her 90th birthday? A flower crown, obviously. Her birthday is in March, so we’re throwing her a Spring Fling, with purples, greens, pinks, blues, etc, for the color scheme. Spring-y, if you will. To that end, I got some spring-colored fake flowers for this crown from Michael’s.
I’ve made a flower crown before, for the flower girl in my wedding. I just winged it, but it turned out pretty great I thought. As you can see from the picture, I just used floral wire (flexible green wire), and wrapped it around itself and the flowers strategically. Obviously, you can see the “stems” on the back of the crown, but that doesn’t matter once it’s on someone’s head. Particularly a three year old’s head with extremely curly hair.
[To answer the question, we got married at Lake Tahoe. Yes, it was absolutely beautiful.]


For Grandma Jean’s Spring Flower Crown, I figured I’d use the same method, but have the flowers go all the way around this time. I looked up some other methods on Pinterest, but I didn’t see any that used fake flowers and gave me the look I wanted, so I stuck with what I did the first time.
Supplies
Fake flowers (duh)
Green floral wire (flexible wire)
Super glue
Scissors
Some general principles I tried to stick with:
Use only one piece of wire for the entire crown to avoid too many poke-y wires. This meant I had to deal with the spool of wire the whole time, but I think it was worth it.
Always wrap the “stem” on the same side (top or bottom) of the main crown wire. This helps keep the flowers in a straight line and make the crown look more uniform.
Use leaves behind the flowers to make the crown look more “natural”.
Alternate flower colors, but don’t make it the same pattern over and over. I didn’t want the crown too look overly uniform.
The Base Crown
I measured a length of wire around my head, and once I liked the fit, I wrapped the wire around itself to make a large loop.
[In hindsight, I should have made this loop a little bigger - it got smaller once I did the rest of the flower crown.}
Then I continued wrapping around the original single wire to reinforce the crown before I started adding flowers.


Flower Prep
I pulled all the flowers and leaves off their stems. Threw away the stems.


The Crown
Using my general principles from above, I started tying on flowers. I had to manhandle the wire and flowers quite a bit for this. Every so often, I stopped to make sure the crown was still in a circle shape, and that the flowers were pointed in the direction I wanted them to be in. This was the hard part for sure, the real labor of love. I just kept wrestling with it, all the way around. I had a moment where I almost lost the faith, and asked my husband if I should make the flowers go all the way around or not. He gave me a pep talk in the form of “yeah, duh.” and so I continued.


The Finishing Touches
Once I had made it all the way around, I cut the wire with scissors with bit of a tail remaining. Then I carefully wrapped it around a little more to preserve the flower placement, but to finish off the crown. Then I cut it down as close as I possibly could.
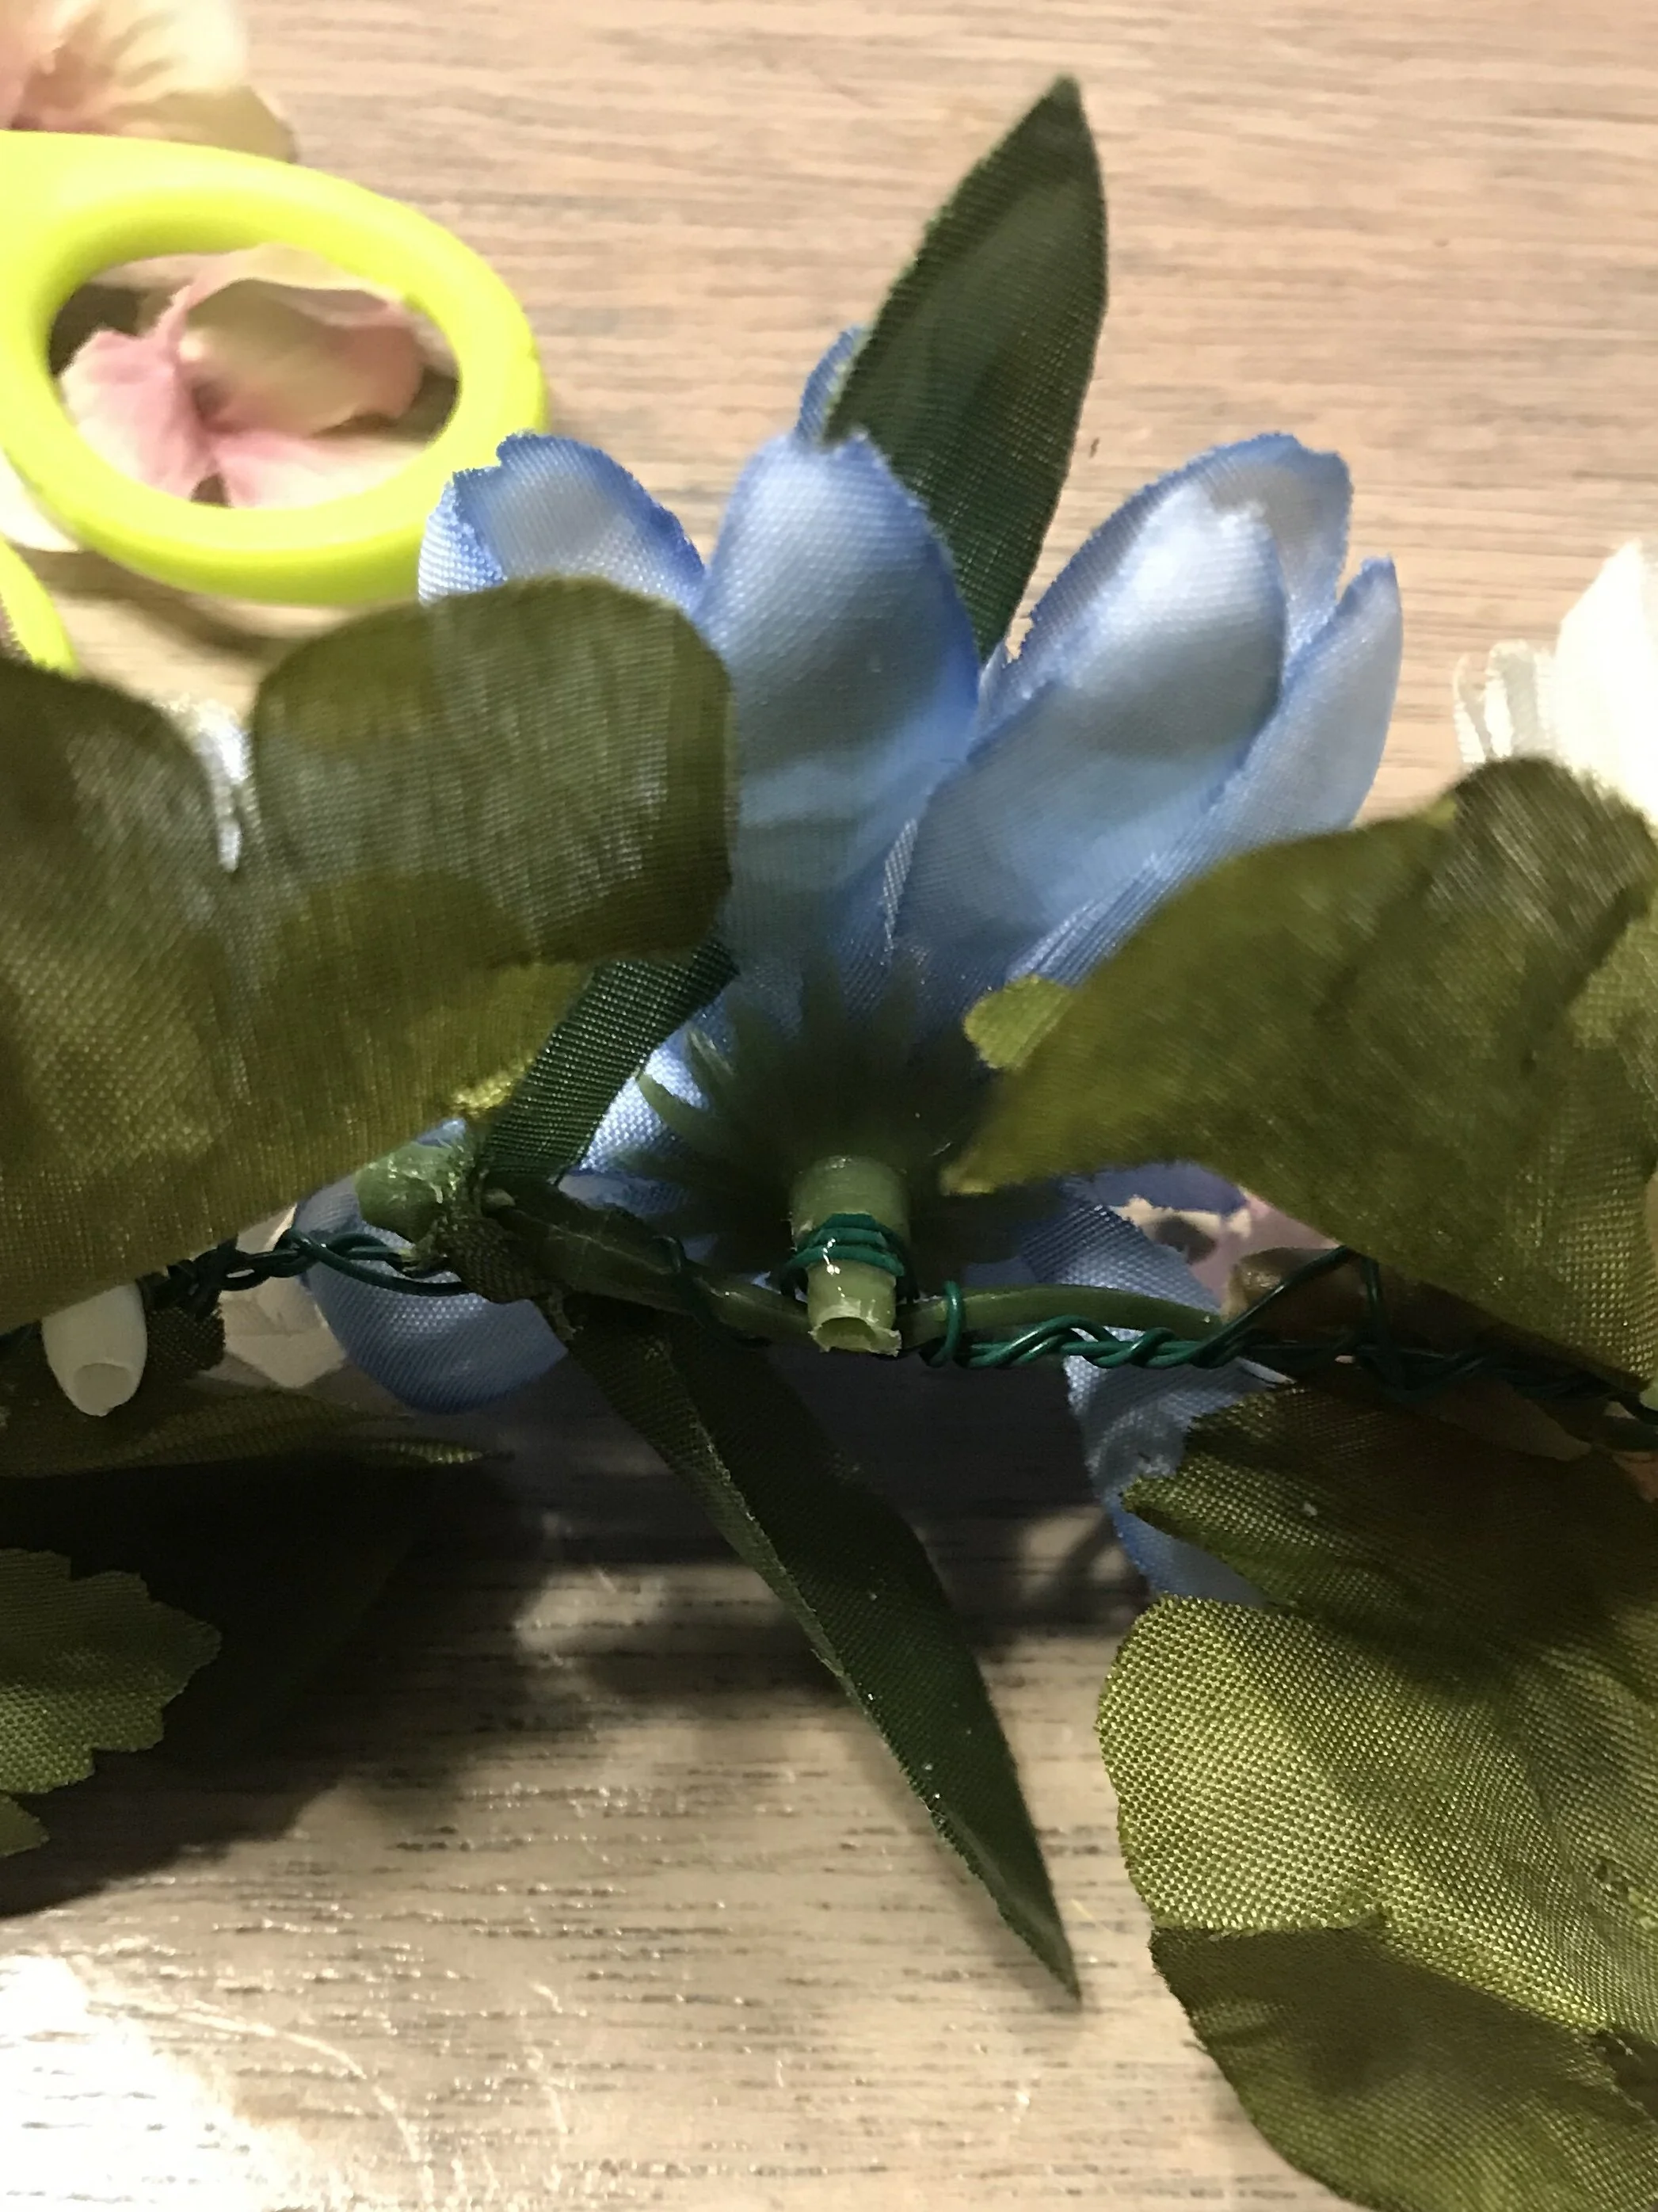
The blue flowers were especially problematic. The stems were too slick, so the flower kept sliding out of the wire loop. The double-flowers were a pain too, the stems were too long so they stuck out all over the place. Super glue was the solution to the first problem; manhandling, scissors, and extra wire the solution to the second. I also trimmed a few of the leaves that were sticking up kinda wonky when it was done.


Done!
Don’t make fun of my bathroom modeling!


