

DIY Ombre Glitter Wooden Letters
/This might be my favorite thing I’ve made - right now anyway. I can’t wait to put these up in Emma’s room.

Mary has MARY CRISTIE letters in her room, so obviously Emma needs EMMA DELAINE letters, but I didn’t know what I wanted to do until recently. The plan for the EMMA letters is to do a jewelry collage, so there will be a post about those eventually, but the DELAINE letters had to be glitter. My best friend that her middle name is for (Sarah Delaine) passed away in 2016, and she LOVED glitter. As do I. So, obvious choice.
Materials:
Wooden Letters. I got mine on Etsy here, but you can find these at Michaels, Hobby Lobby, etc. What I like about these is that they’re thin - I didn’t want big bulky letters, especially for the jewelry collage since those will get heavy. I also like that the vendors on Etsy have lots of different styles.
Acrylic paint - any complementing color to the glitter. I used black.
Glossy Mod Podge. This project takes a lot, so I got a new big bottle.
Glitter. Can use any glitter, but I found this really pretty chunky glitter on Amazon that I absolutely love. I was worried I wouldn’t have enough, but a little bit goes a LONG way. They have lots of color options too.
A wide paintbrush. Foam brushes are usually used for Mod Podge projects, but with this one I wanted the paintbrush so I could more easily control the glitter distribution. I used something like the far left paintbrush here.
Steps
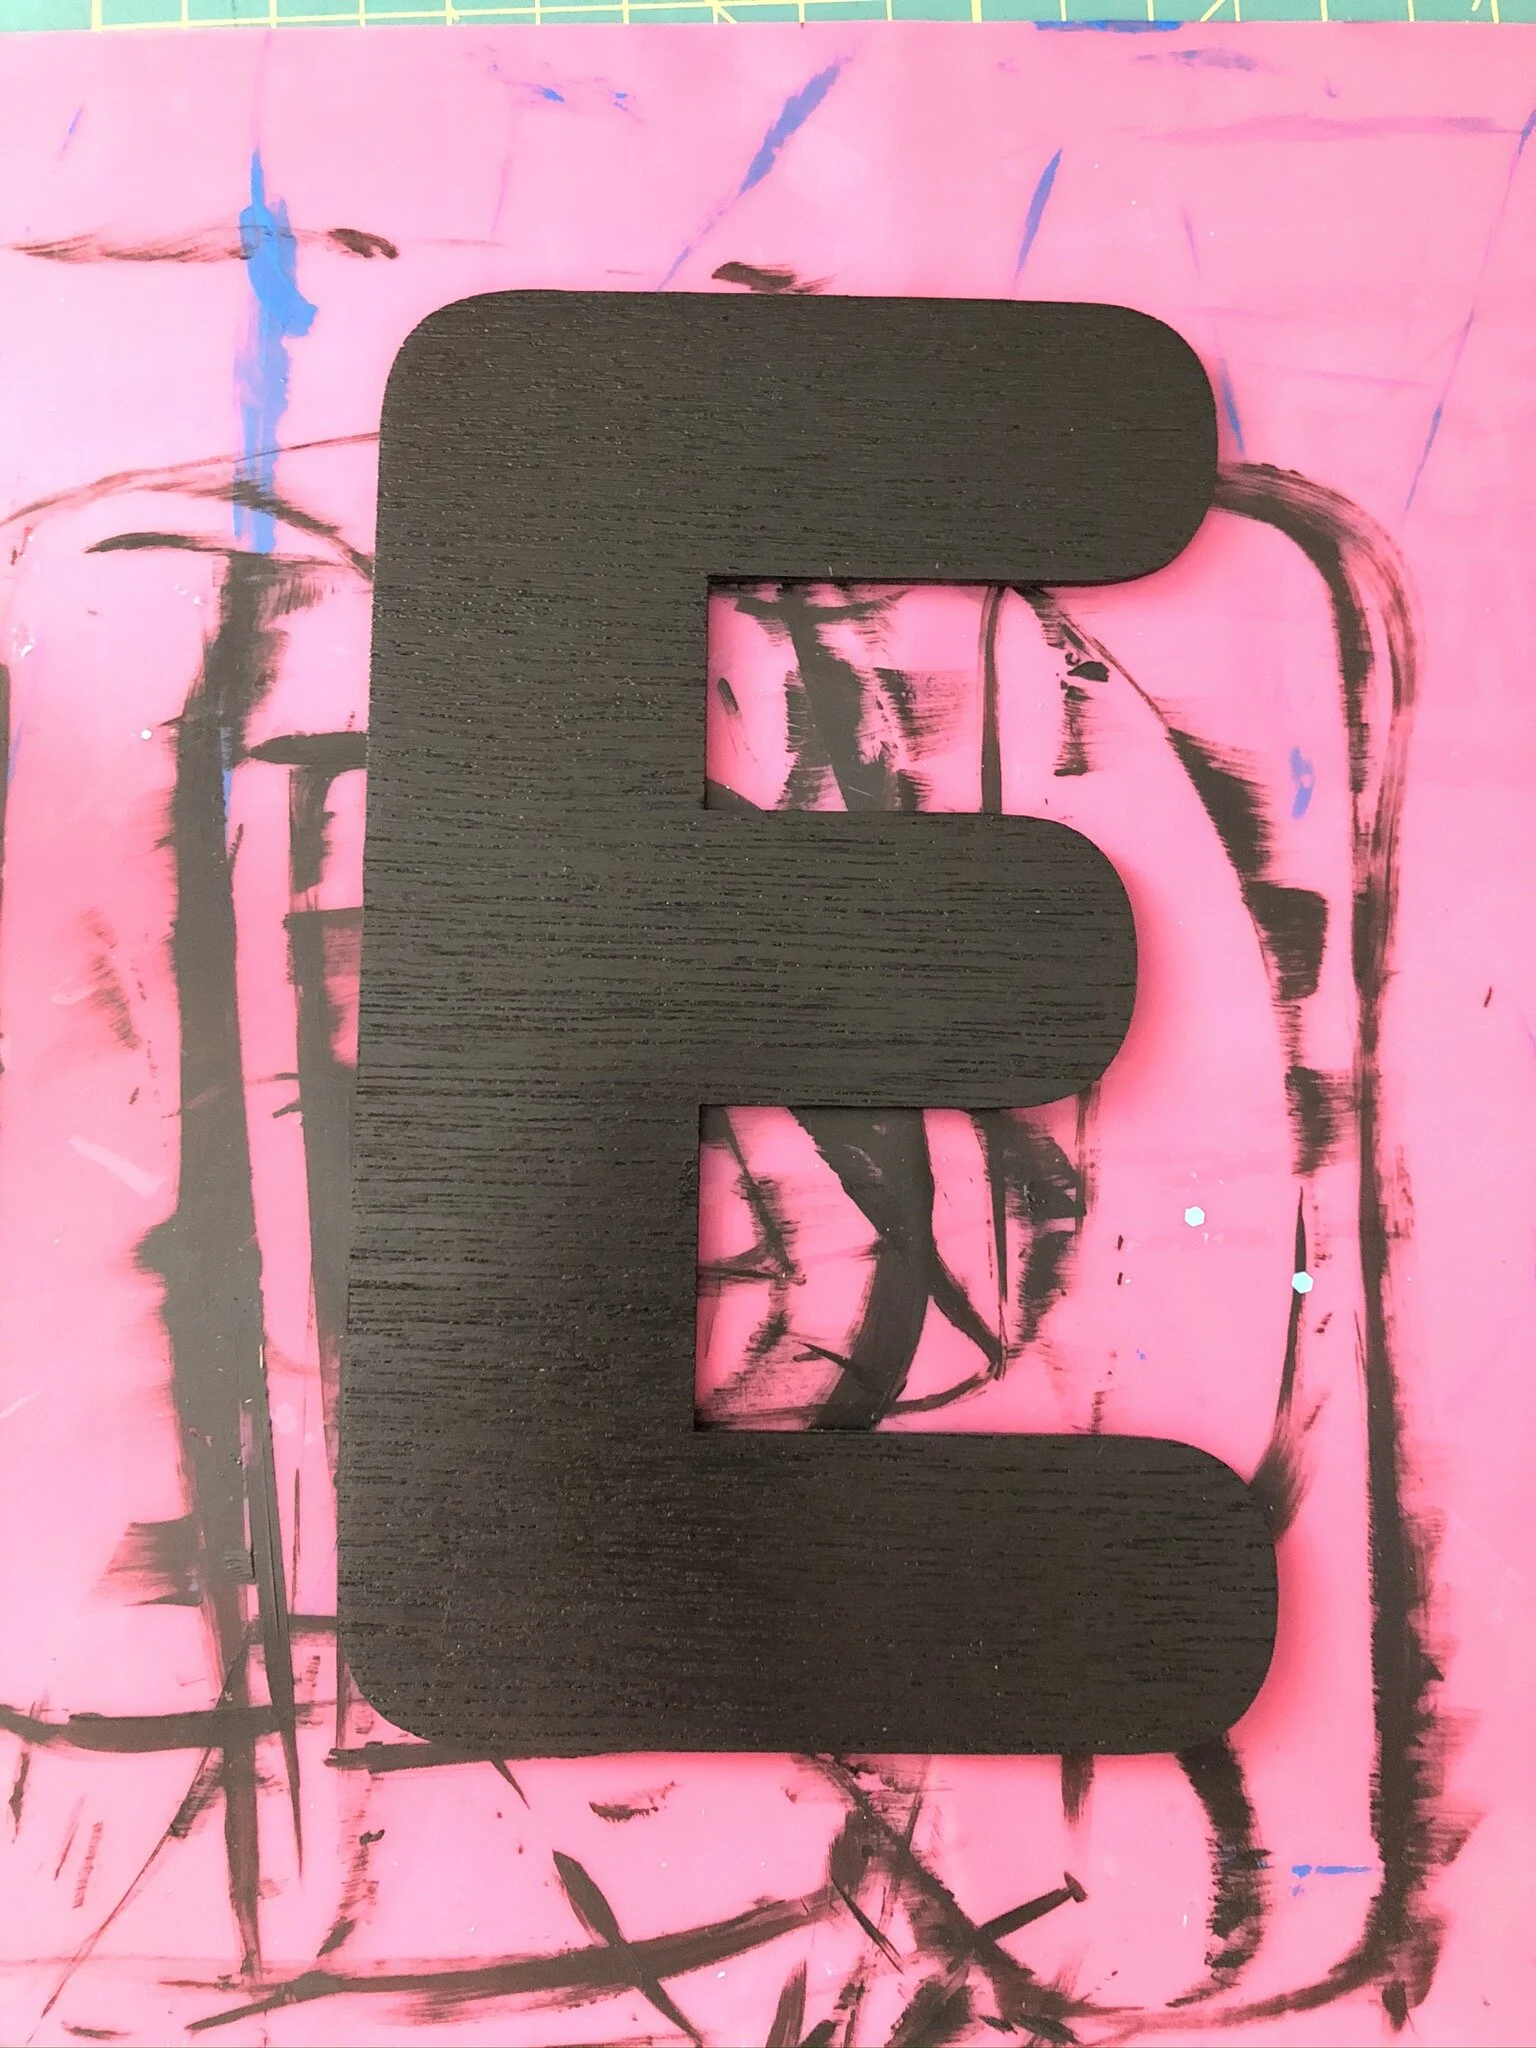
I painted the letters black, two coats.
Once they dried, I painted about half of the letter from the top down with Mod Podge. I always pour my Mod Podge onto a plate before using it so that I don’t contaminate the bottle with stray glitter or paint (learned that lesson the hard way).


My favorite step of any glitter project is pouring the glitter! This took some finesse though. I went to town with the glitter at the very top where I knew it needed to be solid, and then lifted the letter up to let the glitter “fall” down the letter and help with the ombre look.

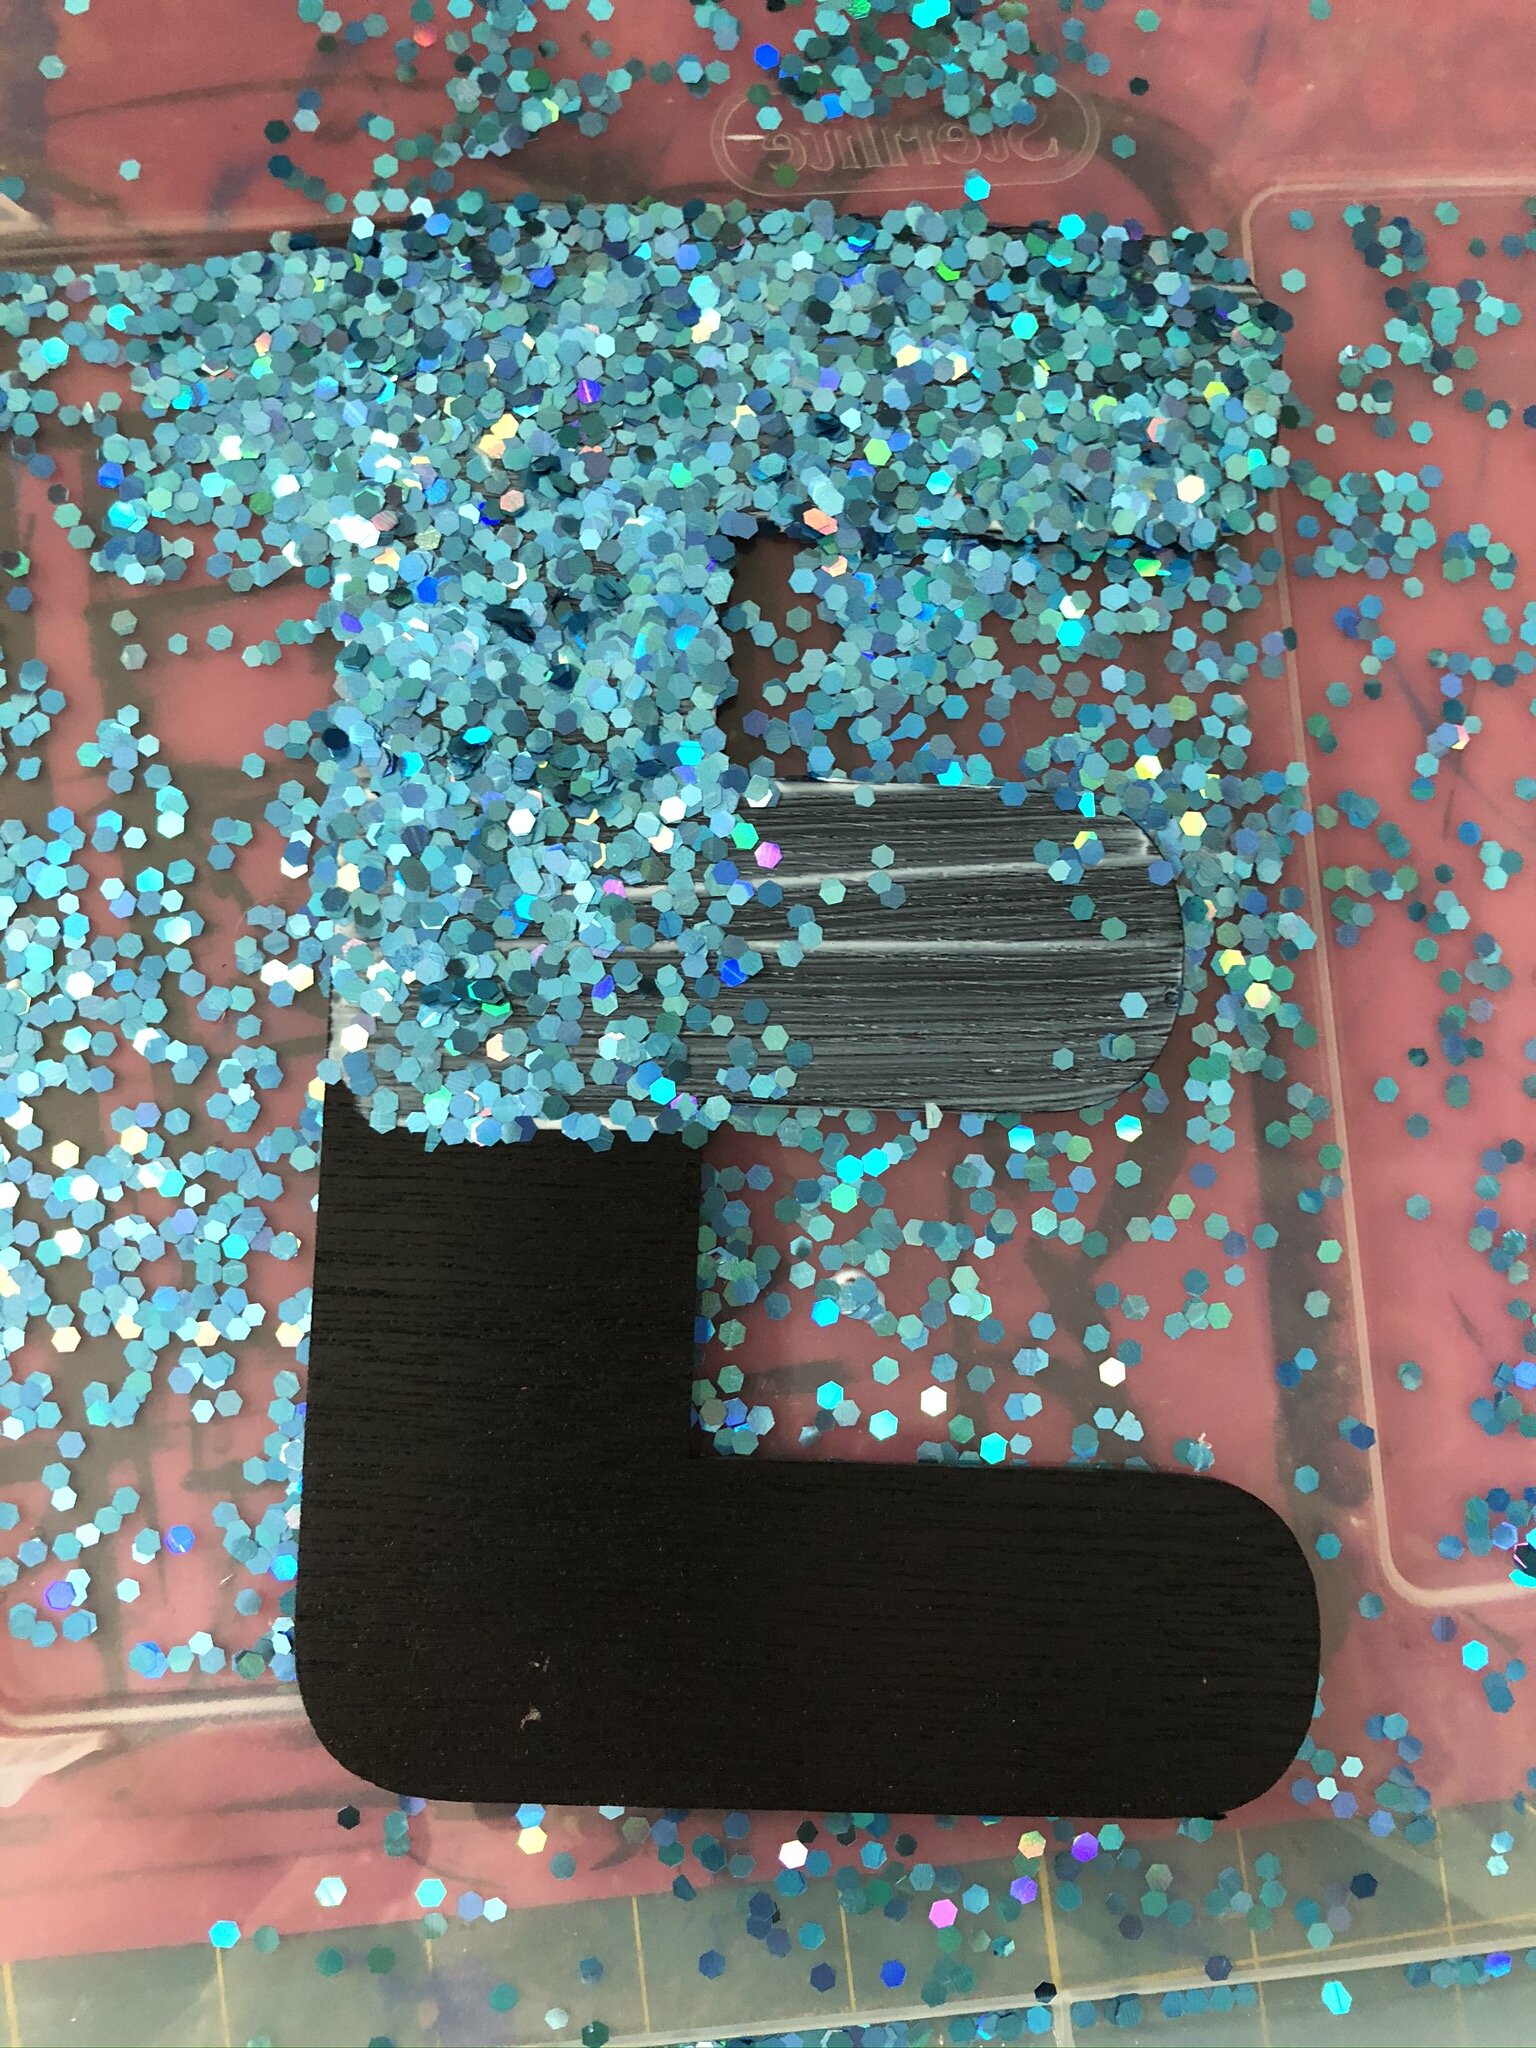
Then, more Mod Podge! Using my paintbrush, I dabbed Mod Podge on over the top part of the letter where the glitter will be solid.
When I got to the part where the glitter needs to start to thin out to make the make the ombre look, I used the paintbrush to “pull” the glitter down the letter. I wiped extra glitter off on my Mod Podge plate as I went.

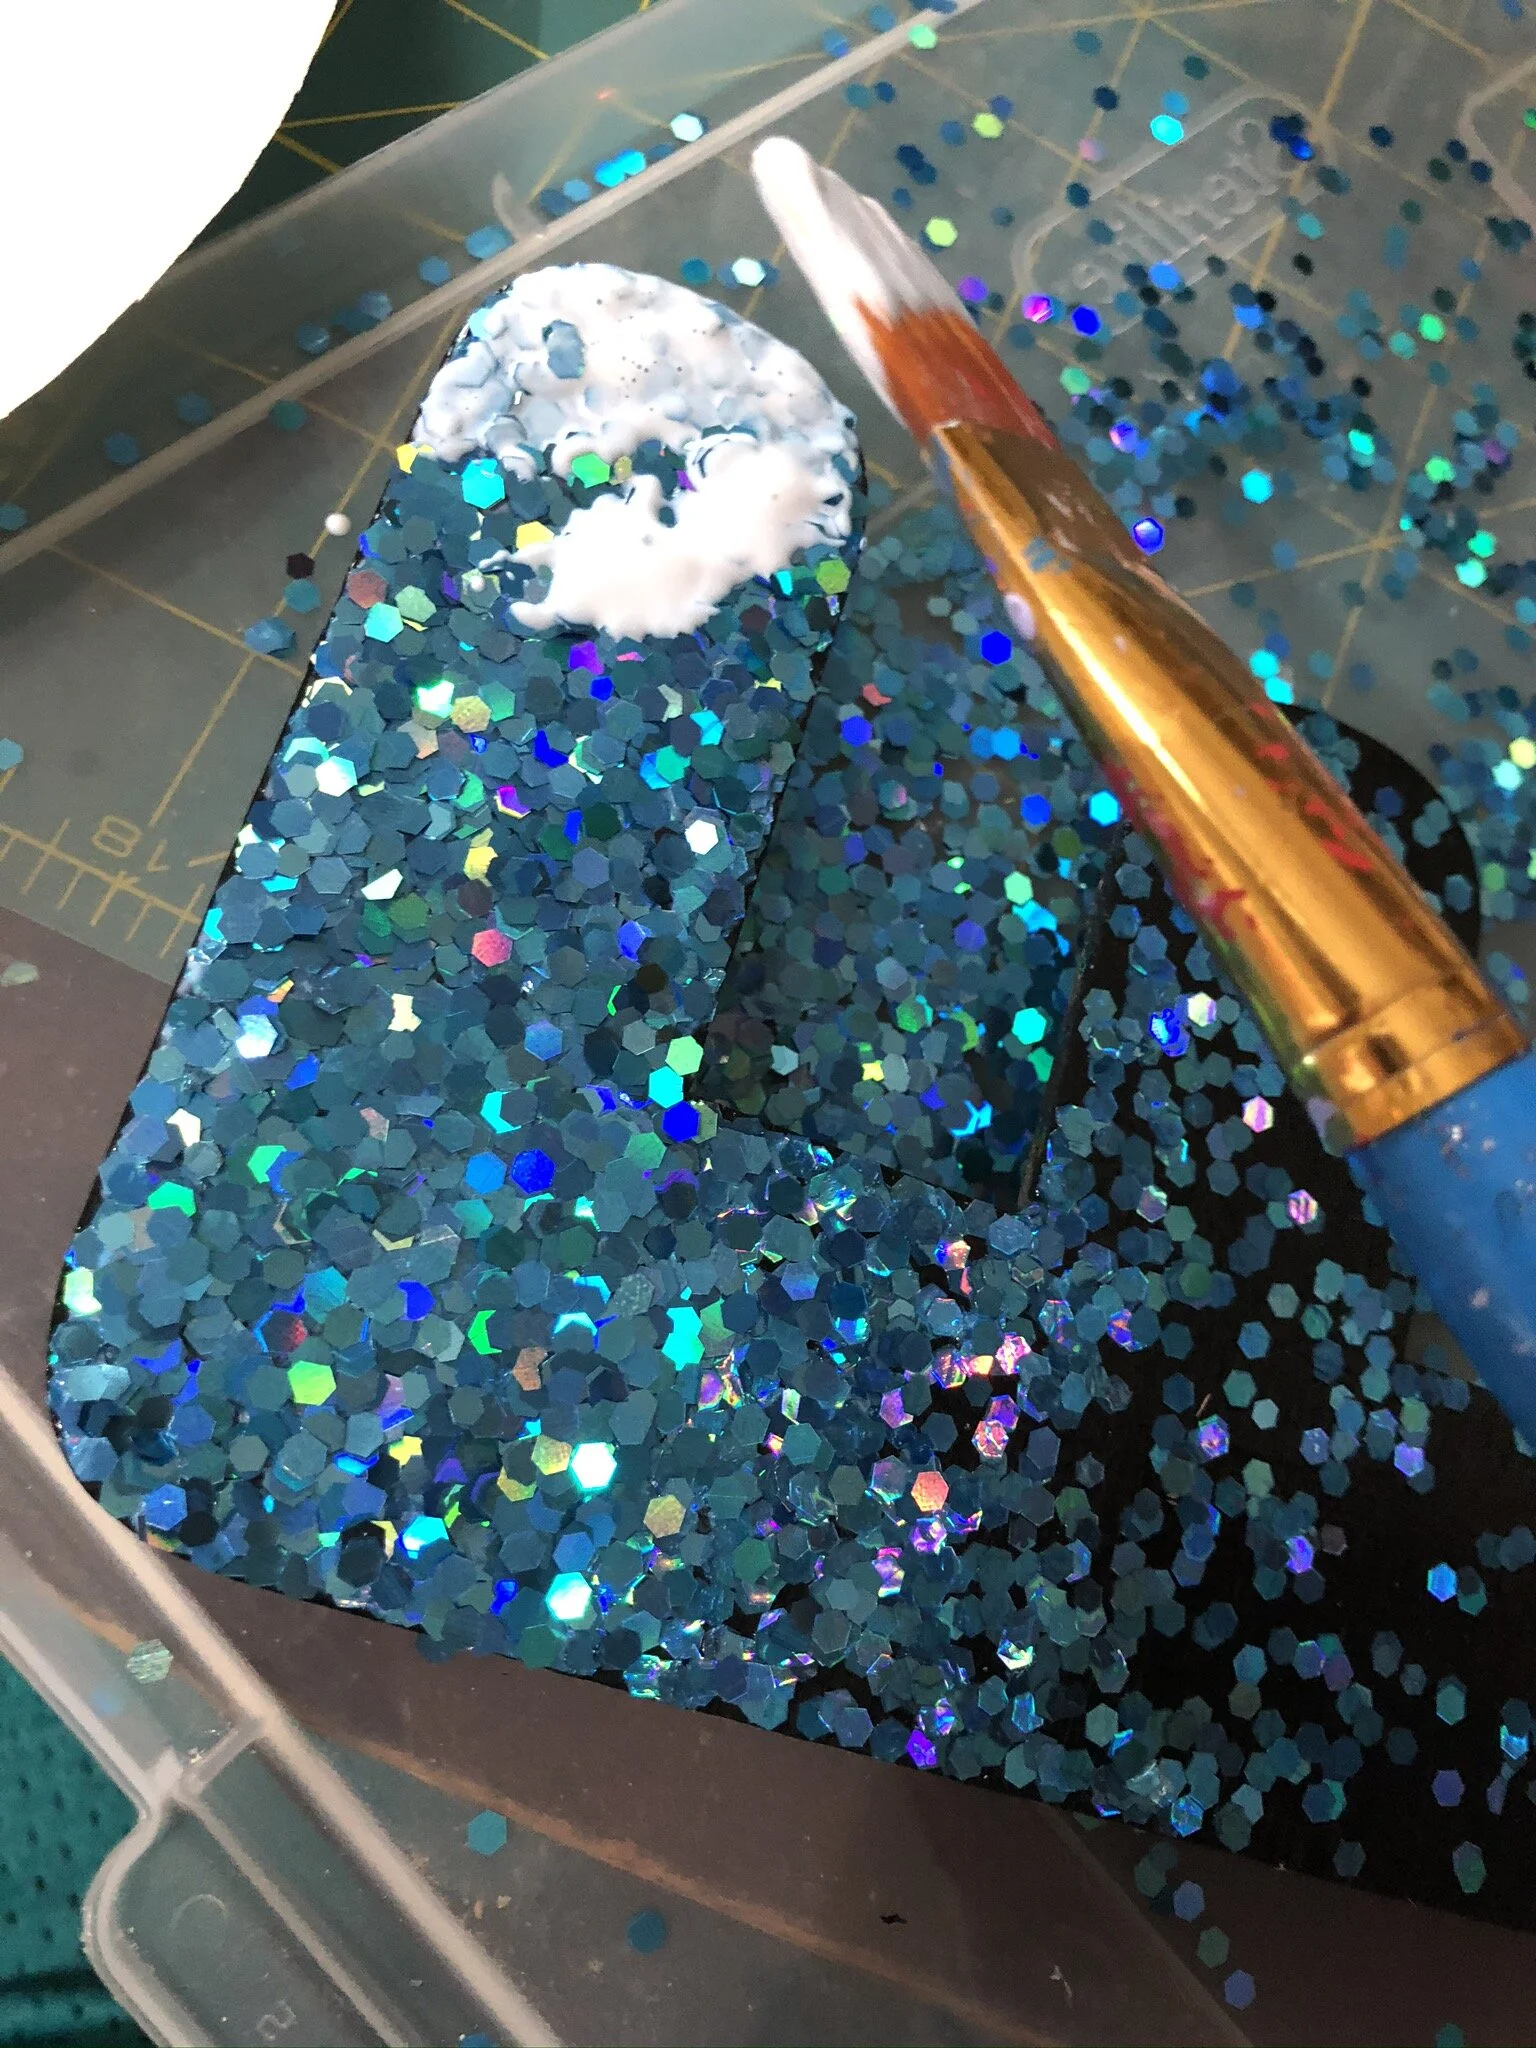
I covered the whole letter with Mod Podge to finish out this step. I’m a perfectionist, so while the Mod Podge was wet, I moved some glitter around with the paintbrush to get the ombre effect to look like I wanted. I couldn’t see the glitter distribution at the top because of the Mod Podge, so I left that part alone for now and really focused on the ombre part. I touched up the top in a later step.
While the Mod Podge was still wet, I took care of the edges of the letter where glitter was hanging over. That’s not a good look. Using the paintbrush and my fingers (it’s never a clean project when Mod Podge is involved), I pushed the glitter onto the letter to make the edges straight. I also made sure there was no glitter on the sides of the letter, only on the surface.


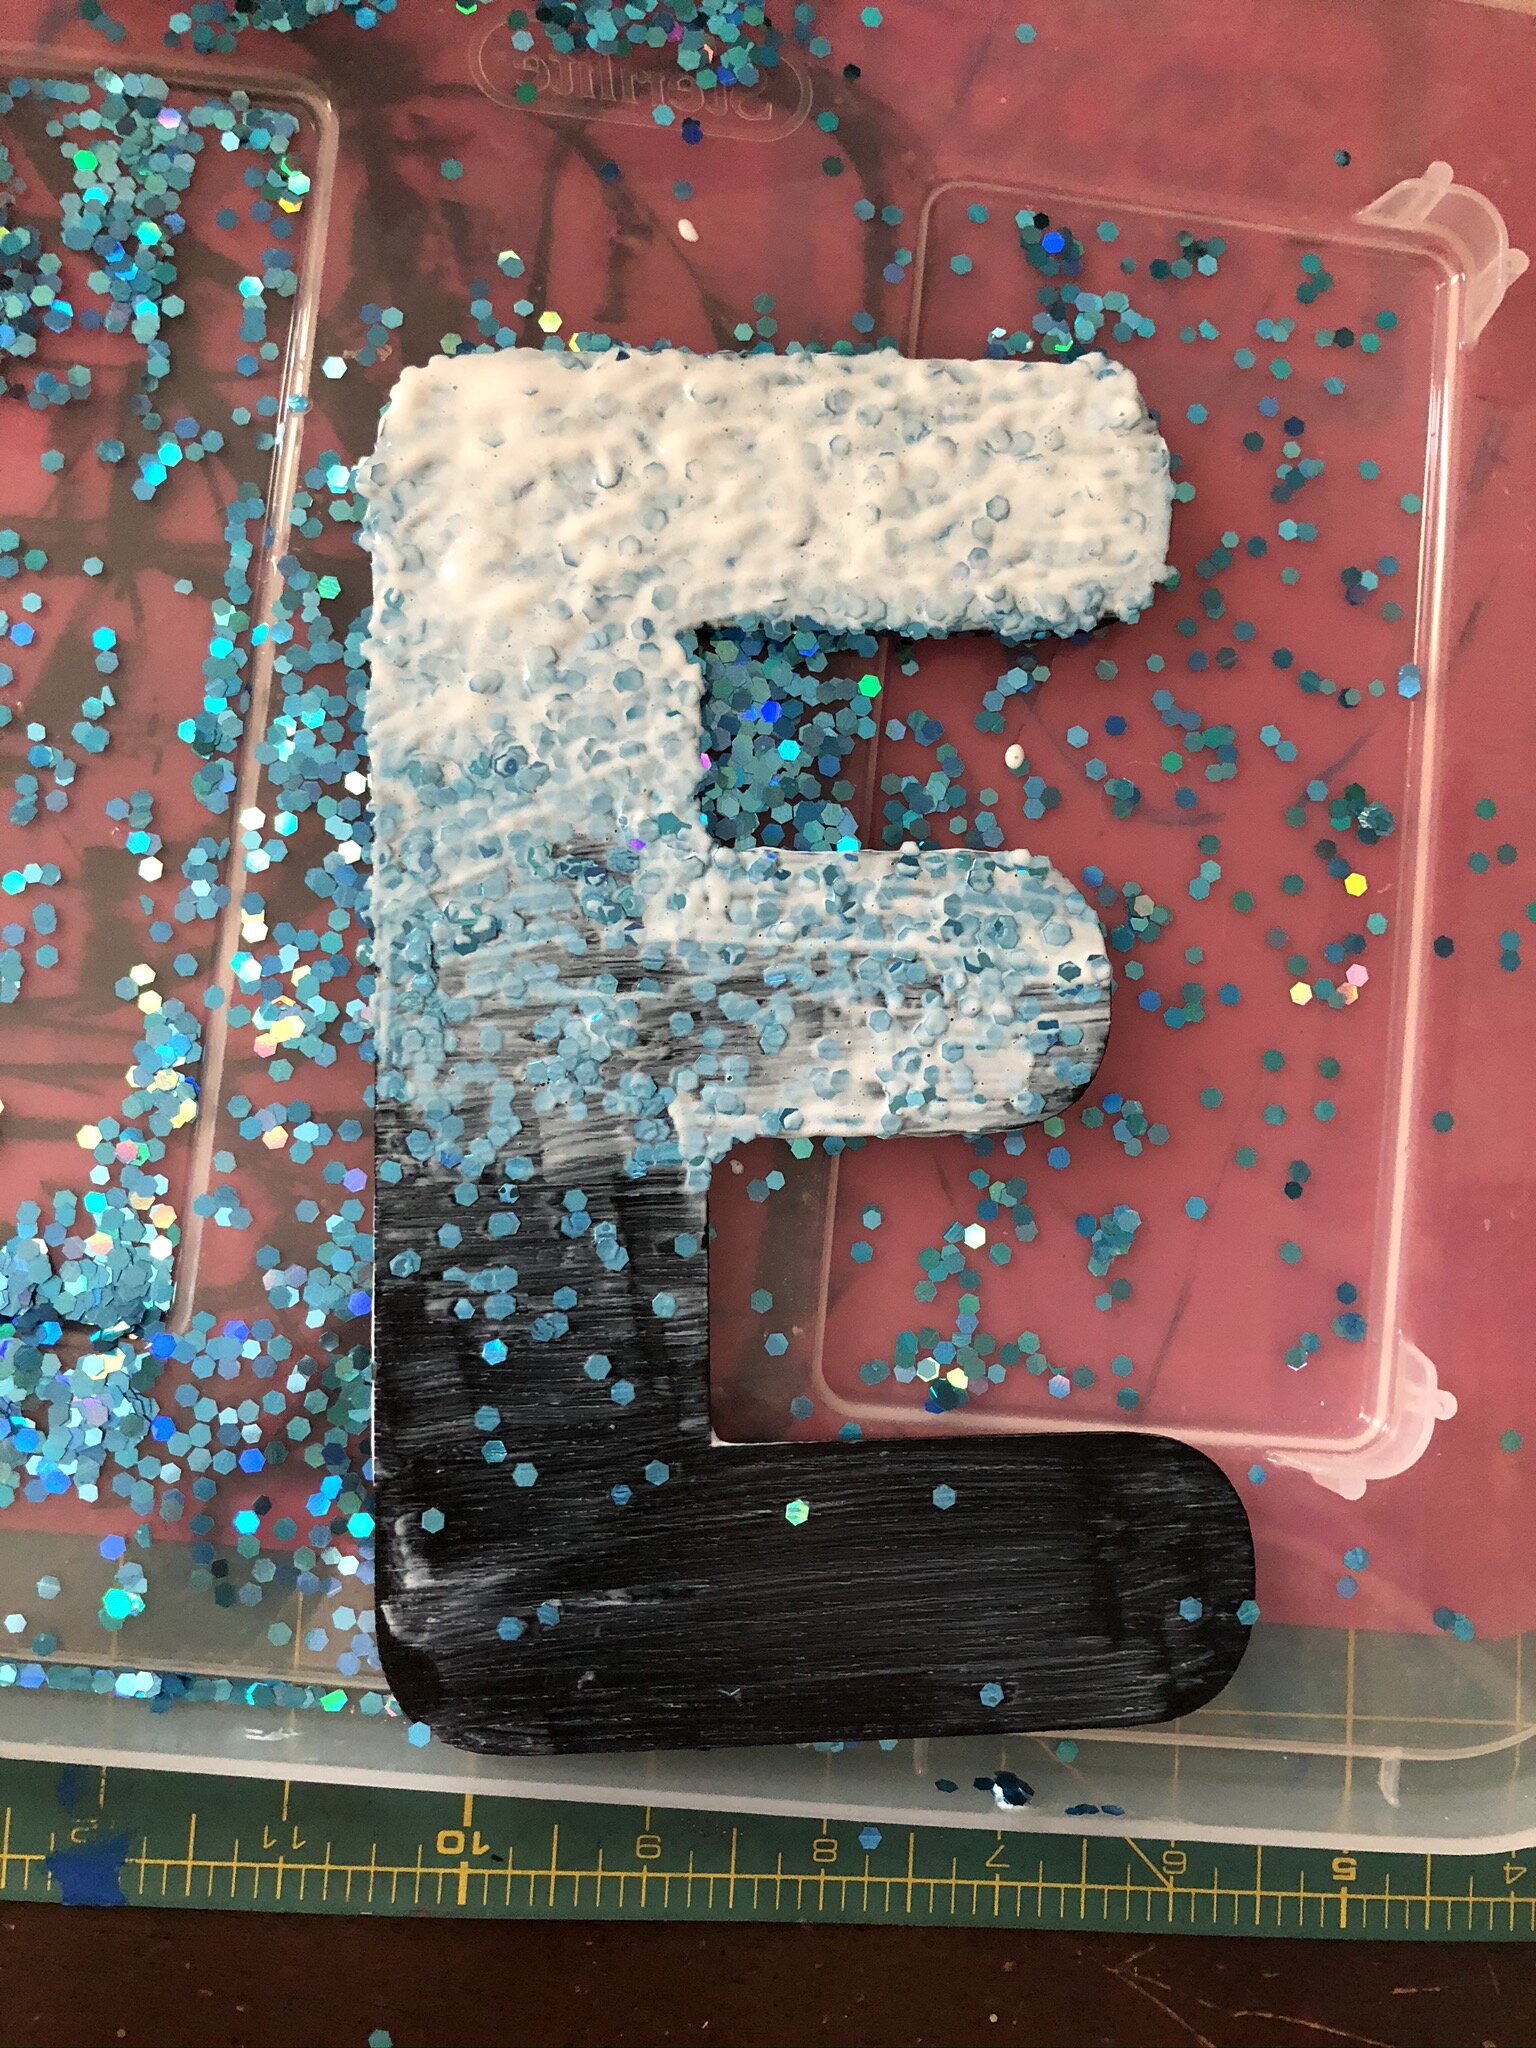
I let the letter dry. On a couple of the other letters, I went ahead and did another layer of glitter on the top of the letter (the solid part) while the Mod Podge was still wet from the first layer, but I found that it didn’t make a different aesthetically if I did it that way, and it also made the letter take a lot longer to dry completely.

As the picture shows, I needed another layer of glitter on the top. Letting the letter dry before doing the second layer also helped me see where more glitter was actually needed.
I painted Mod Podge just on the top of the letter (no picture below), poured more glitter (first picture), patted it flat into the Mod Podge with my fingers (second picture), did the pat technique with the Mod Podge and paintbrush (third picture), and then cleaned up the edges (fourth picture). Basically a repeat of the steps above, without doing the ombre part.


Repeat x6 to make DELAINE (the N was the hardest), let them dry.

Remember how I mentioned I’m a perfectionist? I don’t have a picture of this part, but I used the end of my paintbrush (the wooden part) to dab dots of Mod Podge where there was a “hole” in the glitter, or where I wanted to add a single piece of glitter here and there, and then also used the end of my paintbrush to pick up single pieces of glitter and place them on the dots. I let that dry without coating the whole letter so that the glitter “fixes” would stay put.
I painted another coat or two of Mod Podge over the letters to really seal in the glitter and give them a finished look. I’ll let these dry for a whole week before I put them on the wall with 3M Command Strips.
