DIY Pressed Flower Sun Catchers
/
These are so cute. I love how the hoops can be reused for new sun catchers over and over. I also love that making it doesn’t require glue! It does, however, require scissors.
We had a great time making these at Little Wooden Penguin in Celina, TX! If you missed it, don’t worry - we’ve got you covered with kits in our Etsy shop, and this how-to!
Kits:
Supplies in the Kit:
6” wooden embroidery hoop
~10 pressed flowers
2 7”x7” squares of contact paper (linked the one we used in case you want more for future crafts! this stuff is amazing)
Cord for hanging
Paintbrush
Not in the kit, but I used:
Paint and other hoop embellishments (optional)
Scissors
How to:
Keep your hoop together and decorate it with paint, glitter, rhinestones, etc. Set it to the side to dry when you’re finished.
Find the sheet of contact paper with the circle drawn on it, and lay it down, white side up.
Remove the paper from the contact paper and throw it away; you should end up with a sheet of contact paper in front of you, sticky side up.
The black circle should be on the non-sticky side.
Arrange your flowers within the black circle! You can place them at random, make a letter, make little people (otherwise known as flower fairies), etc. Whatever you do, just keep them inside the circle.
I have a video for this step down below. This is where we place the other piece of contact paper on top, and it’s important to the final look that there are as few air bubbles as possible. With the other sheet of contact paper (I’m writing this as a right-handed person; if you’re left-handed, reverse the directions):
Carefully remove the white paper all the way down the left side of the sheet, leaving the majority of the white paper attached
Holding the removed white paper your right hand and working with your left hand, press that small exposed strip sticky-side-down on the left side of the sheet on the table, starting about an inch outside the circle.
Once you have that strip down, and still holding the removed white paper with your right hand, use your left hand to press across the flowers, keeping the air bubbles to a minimum as much as possible. I ran my fingers back and forth and forward….somewhat like a printer head.
If those directions are unclear, basically what I said was “place the other sheet of contact paper down on top of the flowers, keeping the air bubbles to a minimum as much as possible.” Also, watch the video.
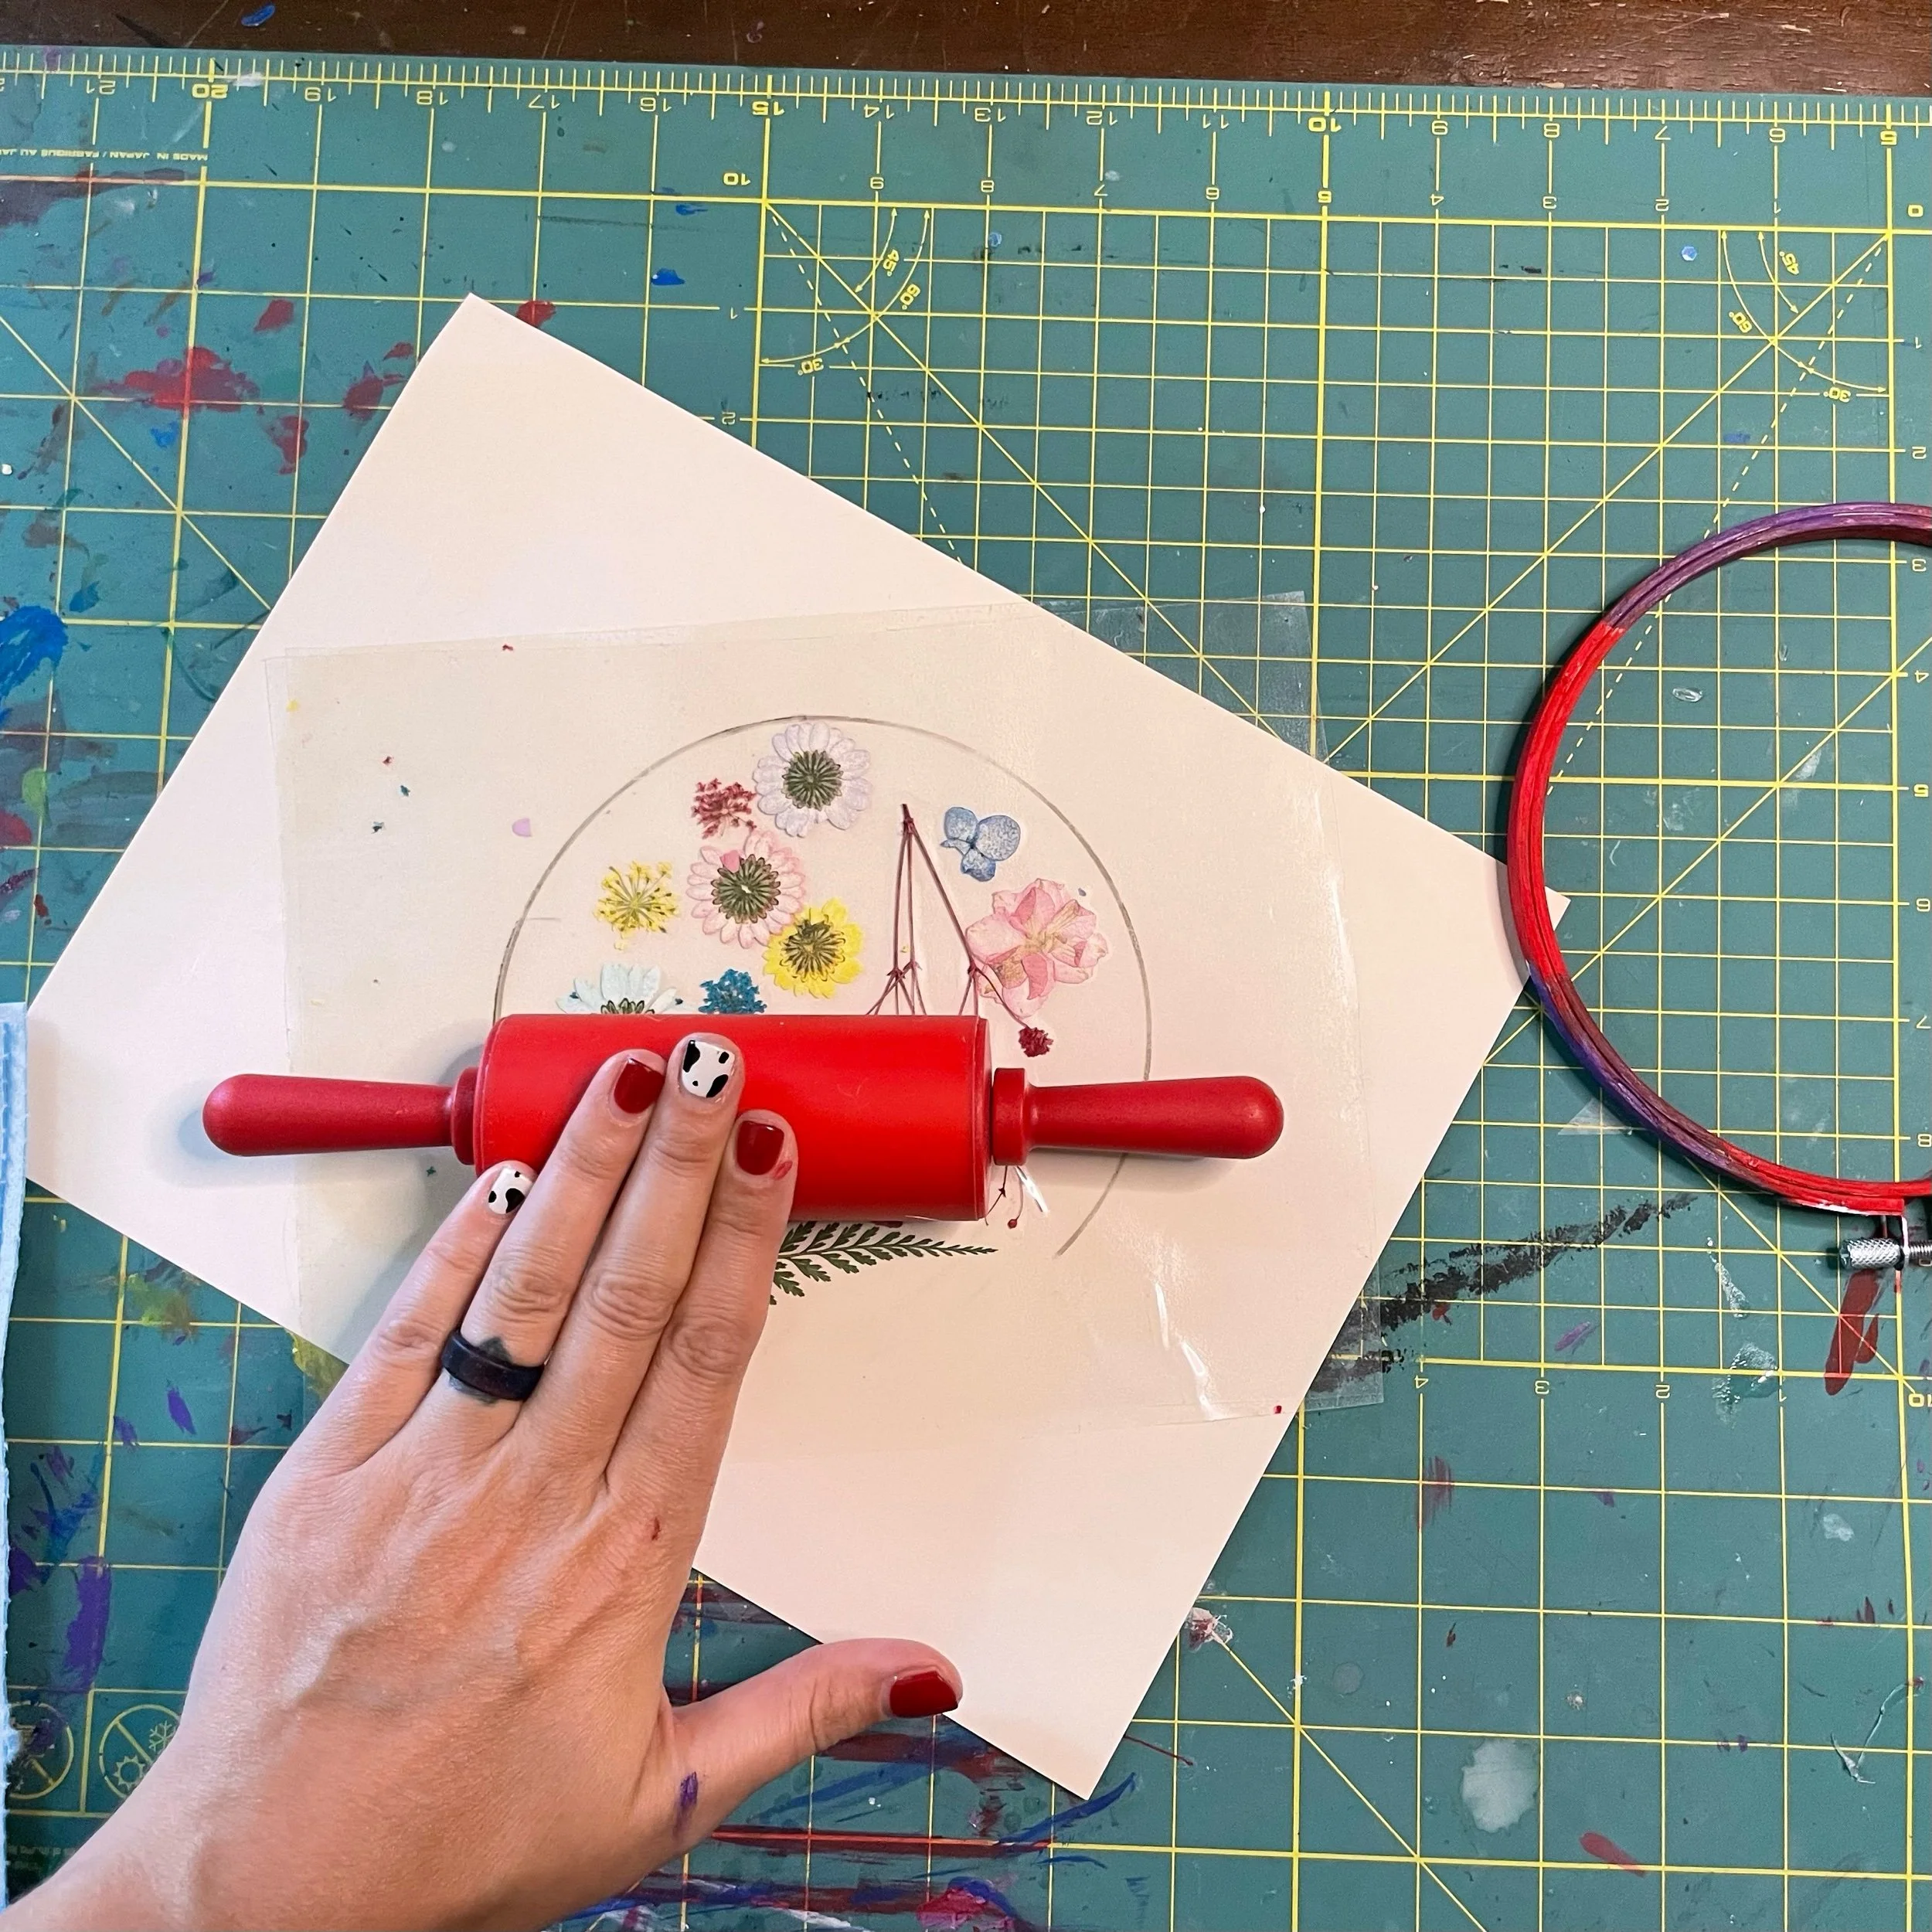
Press out any remaining air bubbles by smoothing them from the center out to the edge. We used a small silicone rolling pin, but you can just use your hands as well.
Wipe the black circle off with a paper towel - it’s dry erase, but may take some wetting.
If your hoop is dry (if it’s not, take a break and/or fan it), open it by unscrewing the screw until the two hoops separate, but not all the way out. Set the outside hoop to the side for a second.
Place your flower pane over the small hoop, “good” side up (the side you like the best), keeping the flowers within the circle.
Pick up the larger hoop and slide it down on top of the flower pane.
Tighten the screw just a little bit until it’s almost tight, but not quite.
Pull the contact paper as tight as you can, smoothing out the edges as you go. You might have to do this a few times as you tighten the screw.
Tighten the screw the rest of the way - just finger tight, take it easy! Don’t break the screw/hoop/etc.
Here are those scissors I talked about - flip the sun catcher over, and cut off the excess contact paper that’s hanging out.
Affix your hanging cord to the screw assembly however you see fit (keep in mind you want to be able to undo it later to make a different sun catcher), hang it in a window, and enjoy it!
With a little more contact paper, you can make sun catchers over and over with fun stuff from the yard! Leaves, more flowers, glitter (!!!), etc.
Here’s the video for Step 5:
The video for Step 5 on the pressed flower sun catcher