DIY Wooden Sign
/It’s my first craft in our new house! Even more exciting, I finally have a craft room! I’ve never had one of those before, and I LOVE it. It’s also my work-from-home office for my day job, but that’s ok. That desk is small compared to my craft setup.

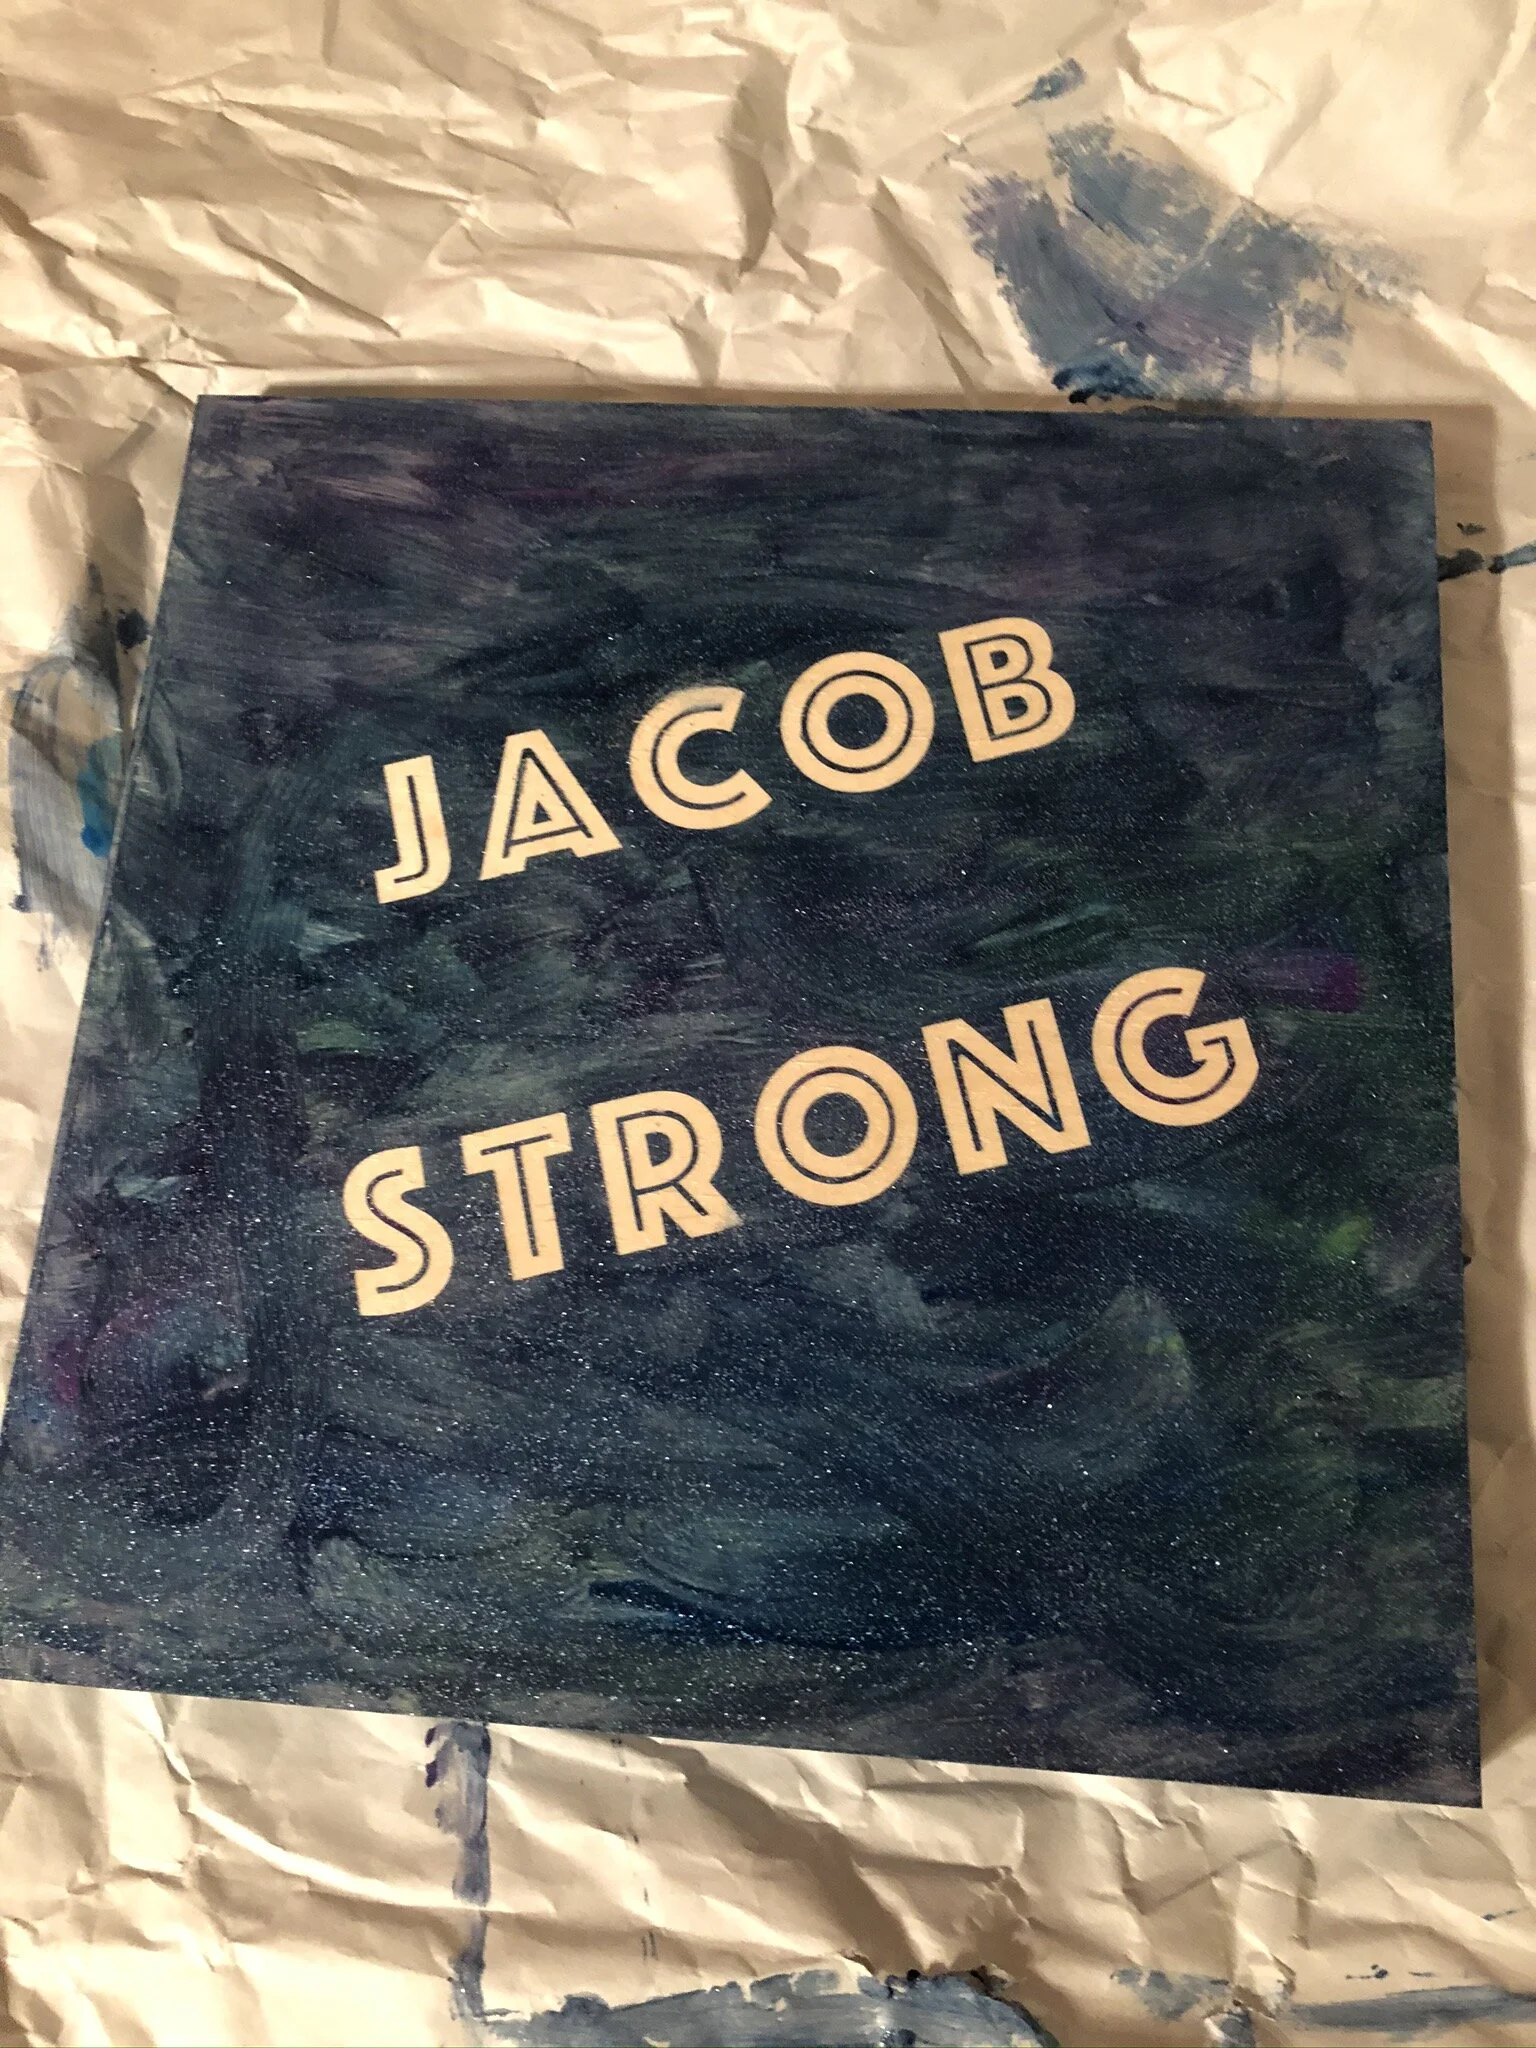
This craft, while fun to make, tugged at my heartstrings. Jacob is my husband’s friend’s son, and he’s a couple months older than our Mary. He has brain cancer, and has been through more than I can even imagine, at such a young age. His mom said that what makes him happy is art from other kids. You got it, buddy - we have a kid that loves to make art.
Pretty standard wooden sign method here:
I used Cricut’s Stencil Vinyl to cut out the words for the sign.
For this one, I wanted the rest of the sign to be painted, and the letters to be the wood color, so I used the letters themselves from the stencil, and removed everything else. That meant I needed transfer paper to get the letters from the backing to the wood sign.
Once I had the words on the board, it was time for painting.
I used some of our moving paper as a painting surface, which is why the paper is all crinkled.
I let Mary pick the colors, and paint however she wanted. I did make sure she got all the way to the corners, but I didn’t give her a whole lot of other direction.
Once she was done, I thinned out the globs of paint on top of the letters to make the stencil easy to remove cleanly, and also painted around the edges with the leftover paint.
Then I removed the stencils while the paint was still wet so that they’d come up cleanly.
Had to be extra careful here to not get any paint into the letter itself. Where I did get a little paint, I used an eraser to get most of it off. It was just a little bit, so not a catastrophe.
Once the board dried, I painted the “signature” on the bottom, and added a gold glitter outline to the letters.