DIY No Sew T-Shirt Pillows
/My husband has too many T-Shirts. There, I said it. Usually, when he gets a new shirt, I ask him to get rid of an old one. He surprised me the other day, and said I could pick out all the ones I thought he could get rid of, and that he’d approve which ones would actually go. We threw away/donated (based on condition) so many shirts! He agreed to get rid of all of the shirts I picked except two, because the graphic was too good to let go of. I agreed, but knew he was never going to wear them again (they were in pretty bad shape), so I made pillows out of them for the office/mancave.


If you’ve ever made one of those blankets where you cut the edges like fringe and then tie them together in knots, this is a lot like that, with a few added steps.
Materials
Old T-Shirt with a centered design.
Scissors
Crochet hook, any size G - I
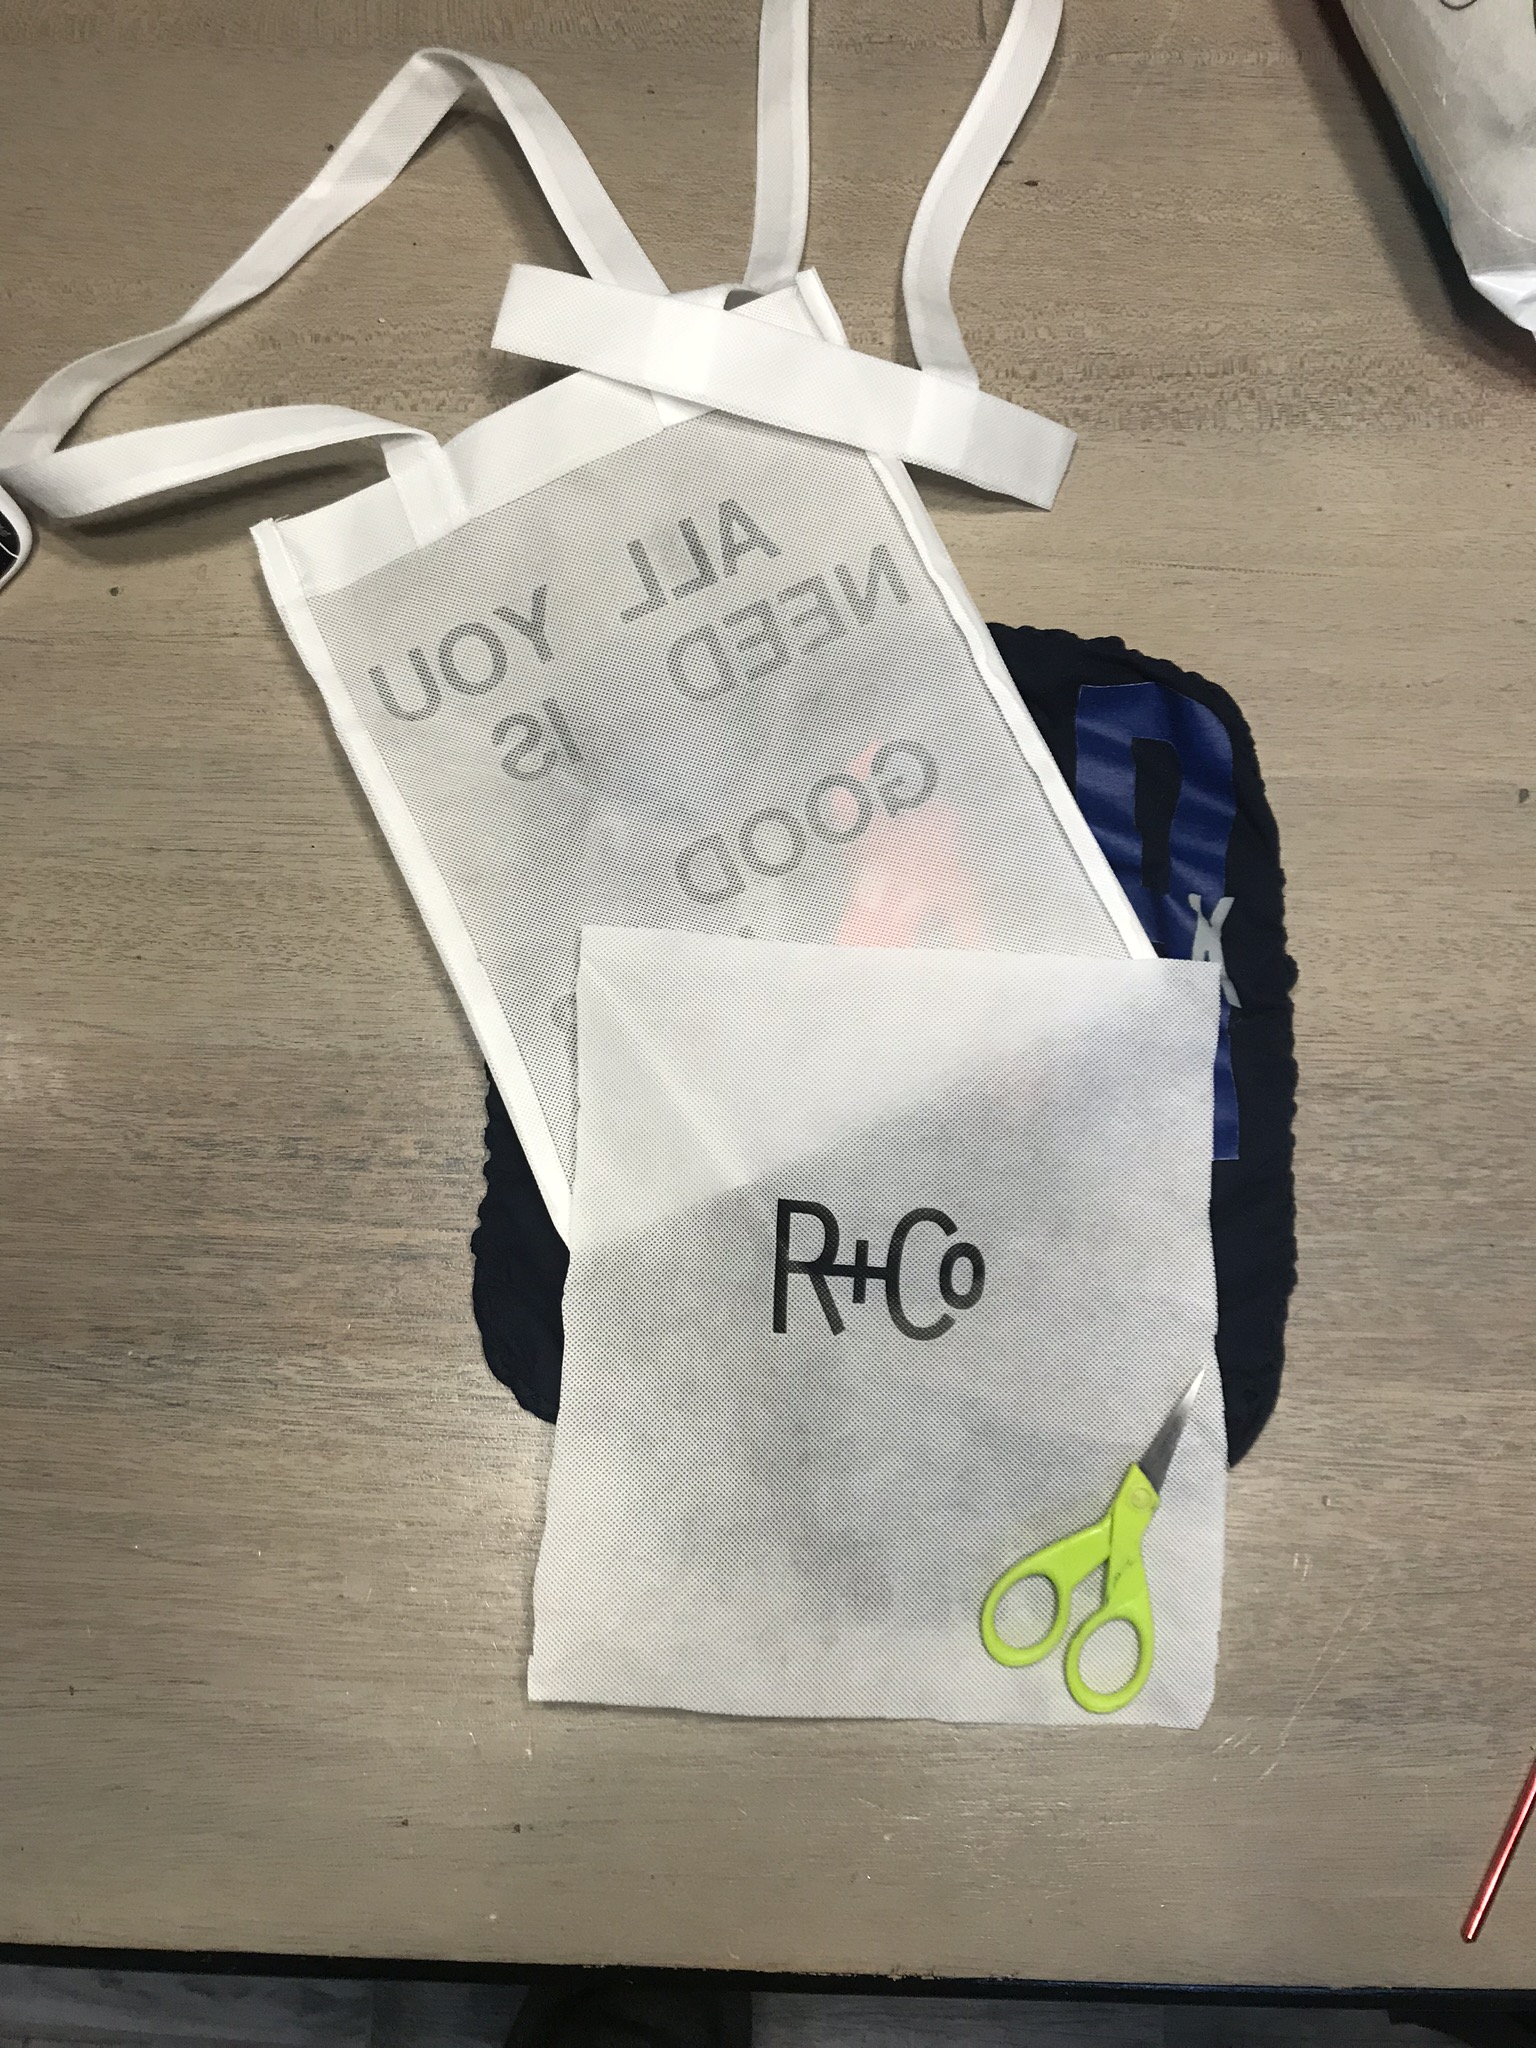
Some kind of material to block the holes that the T-Shirt knots make. I used a fabric shopping bag from my hair salon.
The Pillows:
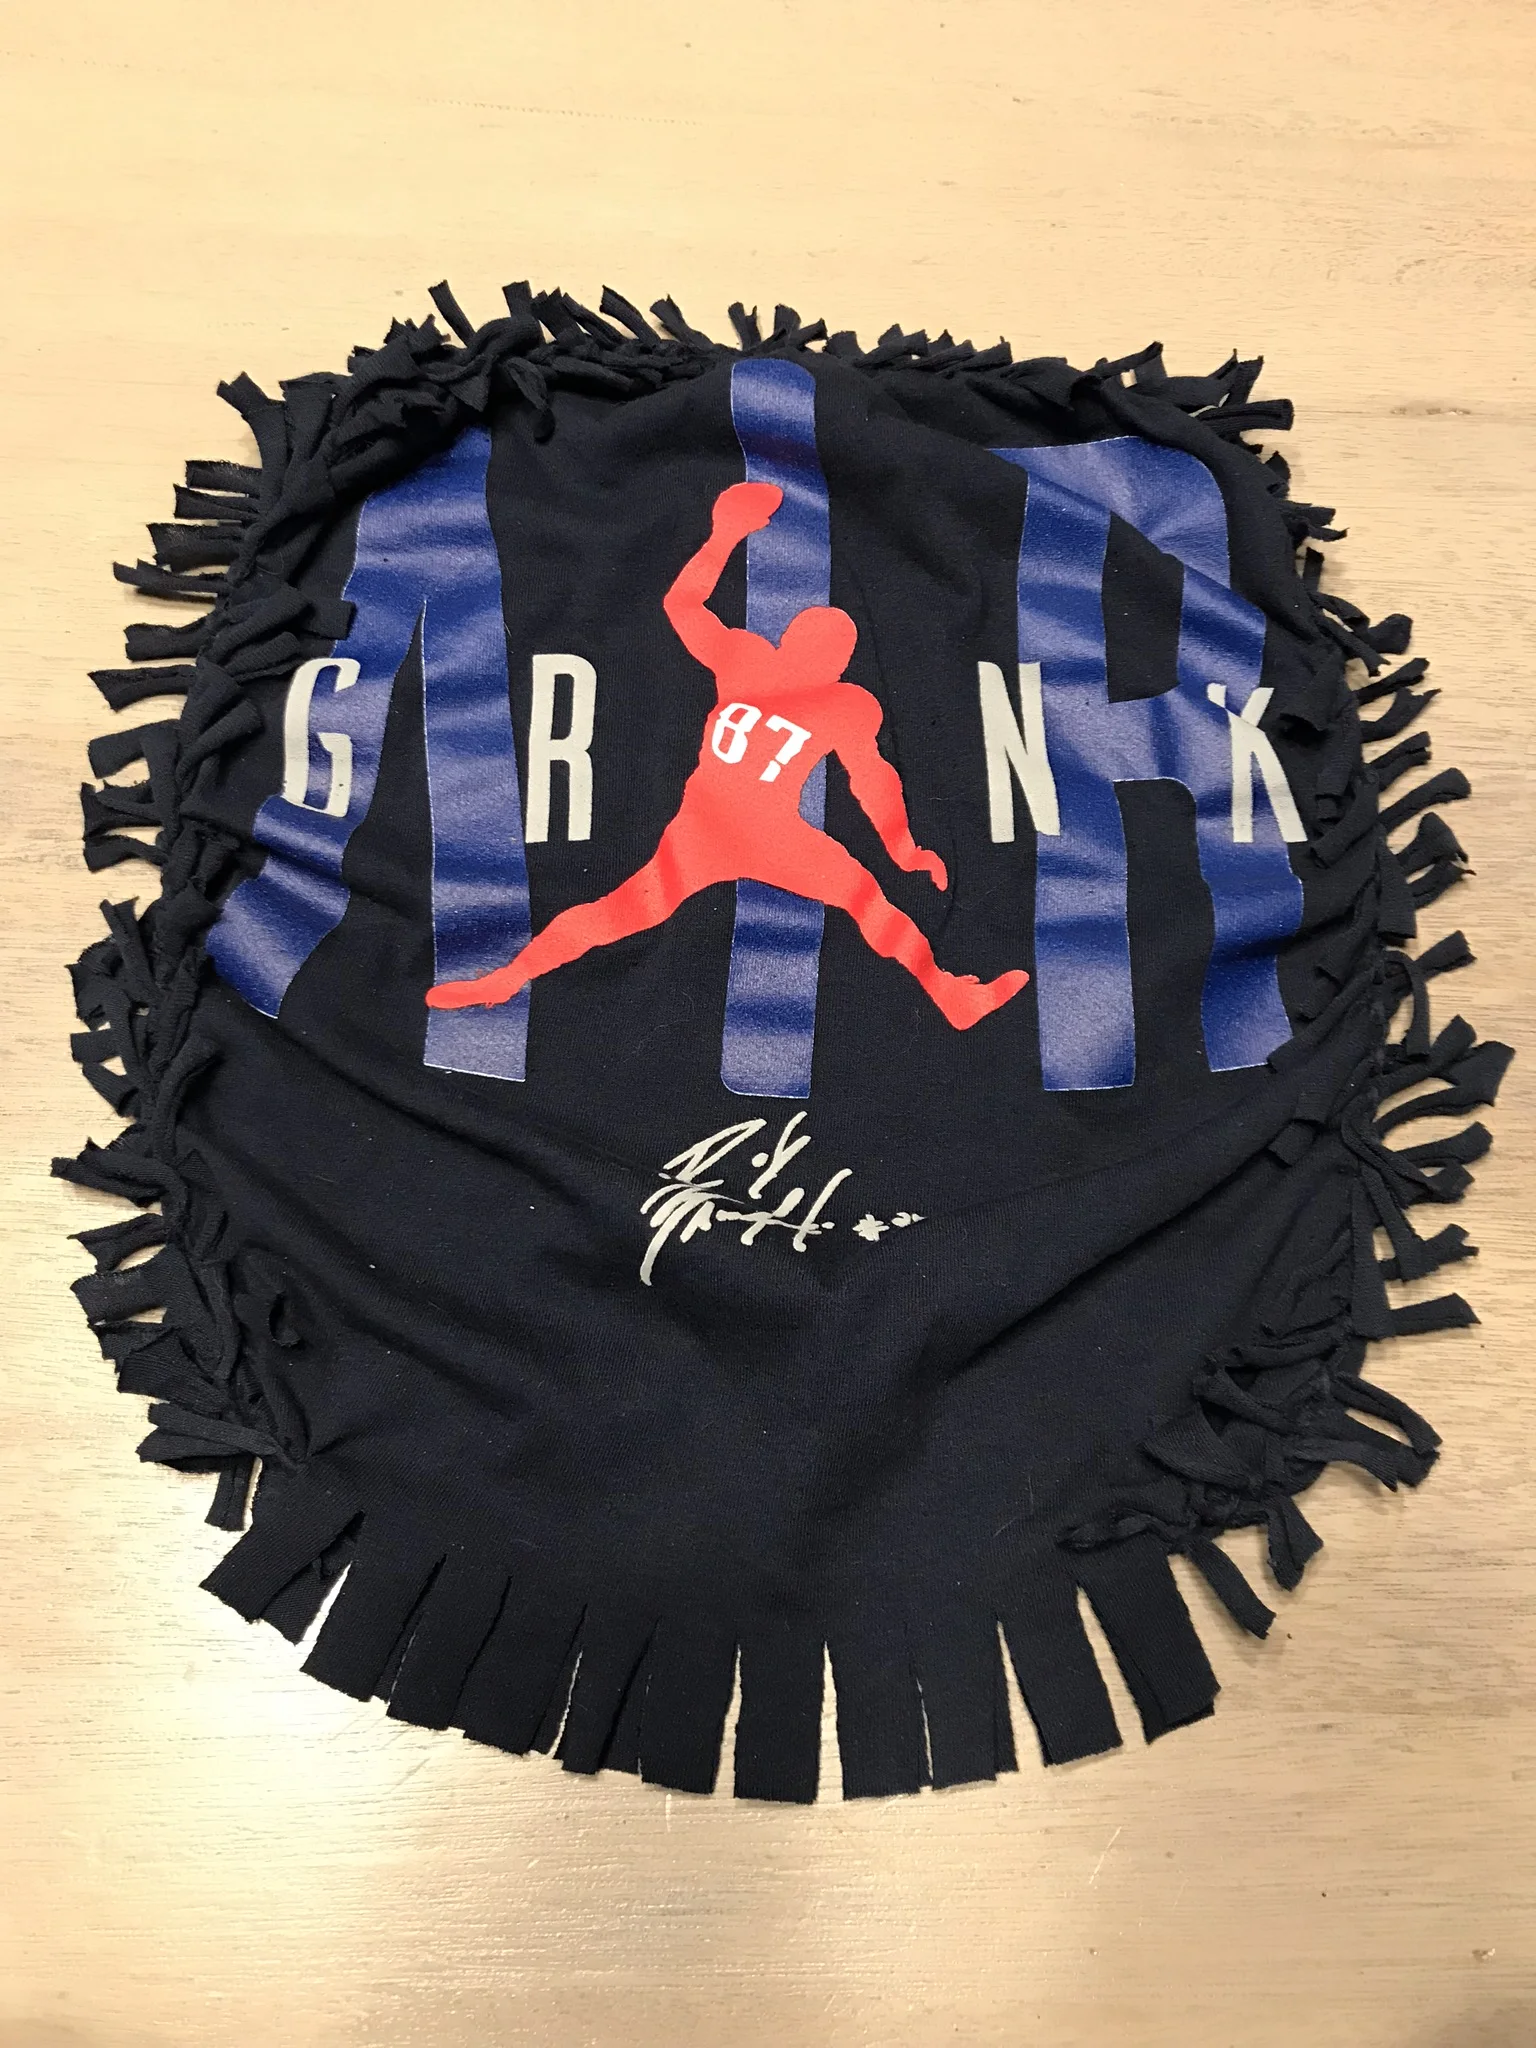
I laid out the shirt on my table, super flat. No wrinkles.
Then I cut the design away from the shirt, cutting both layers of the shirt at the same time. That way I ended up with two pieces of shirt that were exactly the same size, one on top of the other.
I started by cutting off the bottom, then cut off the sides (as close to the seam as possible), then the top (as close to the neckline as possible). Then I cleaned up the edges to make it as square as possible.
This step is my 2nd least favorite of this project. Cutting the fringe. Again, I cut through both layers of the shirt so the cuts would line up perfectly for the knots.
First, I cut a square out of each corner, about 2”x2”. The depth of the square is equal to the length of the fringe strips - I made mine as big as possible so the knots would be easy to tie, but was a little limited on space due to the size of the design. Short strips are ok though, because T-Shirt fabric stretches really nice.
Then, I cut 0.5” - 1'“ strips (fringe) down all of the edges, matching the length of the squares I cut in the step above.
After I “fringed” each side, I stretched out the strips so they would separate, and so they would be longer for when I tied them.
Tediousssss
This is #1 least favorite step of this project. Tie the knots.
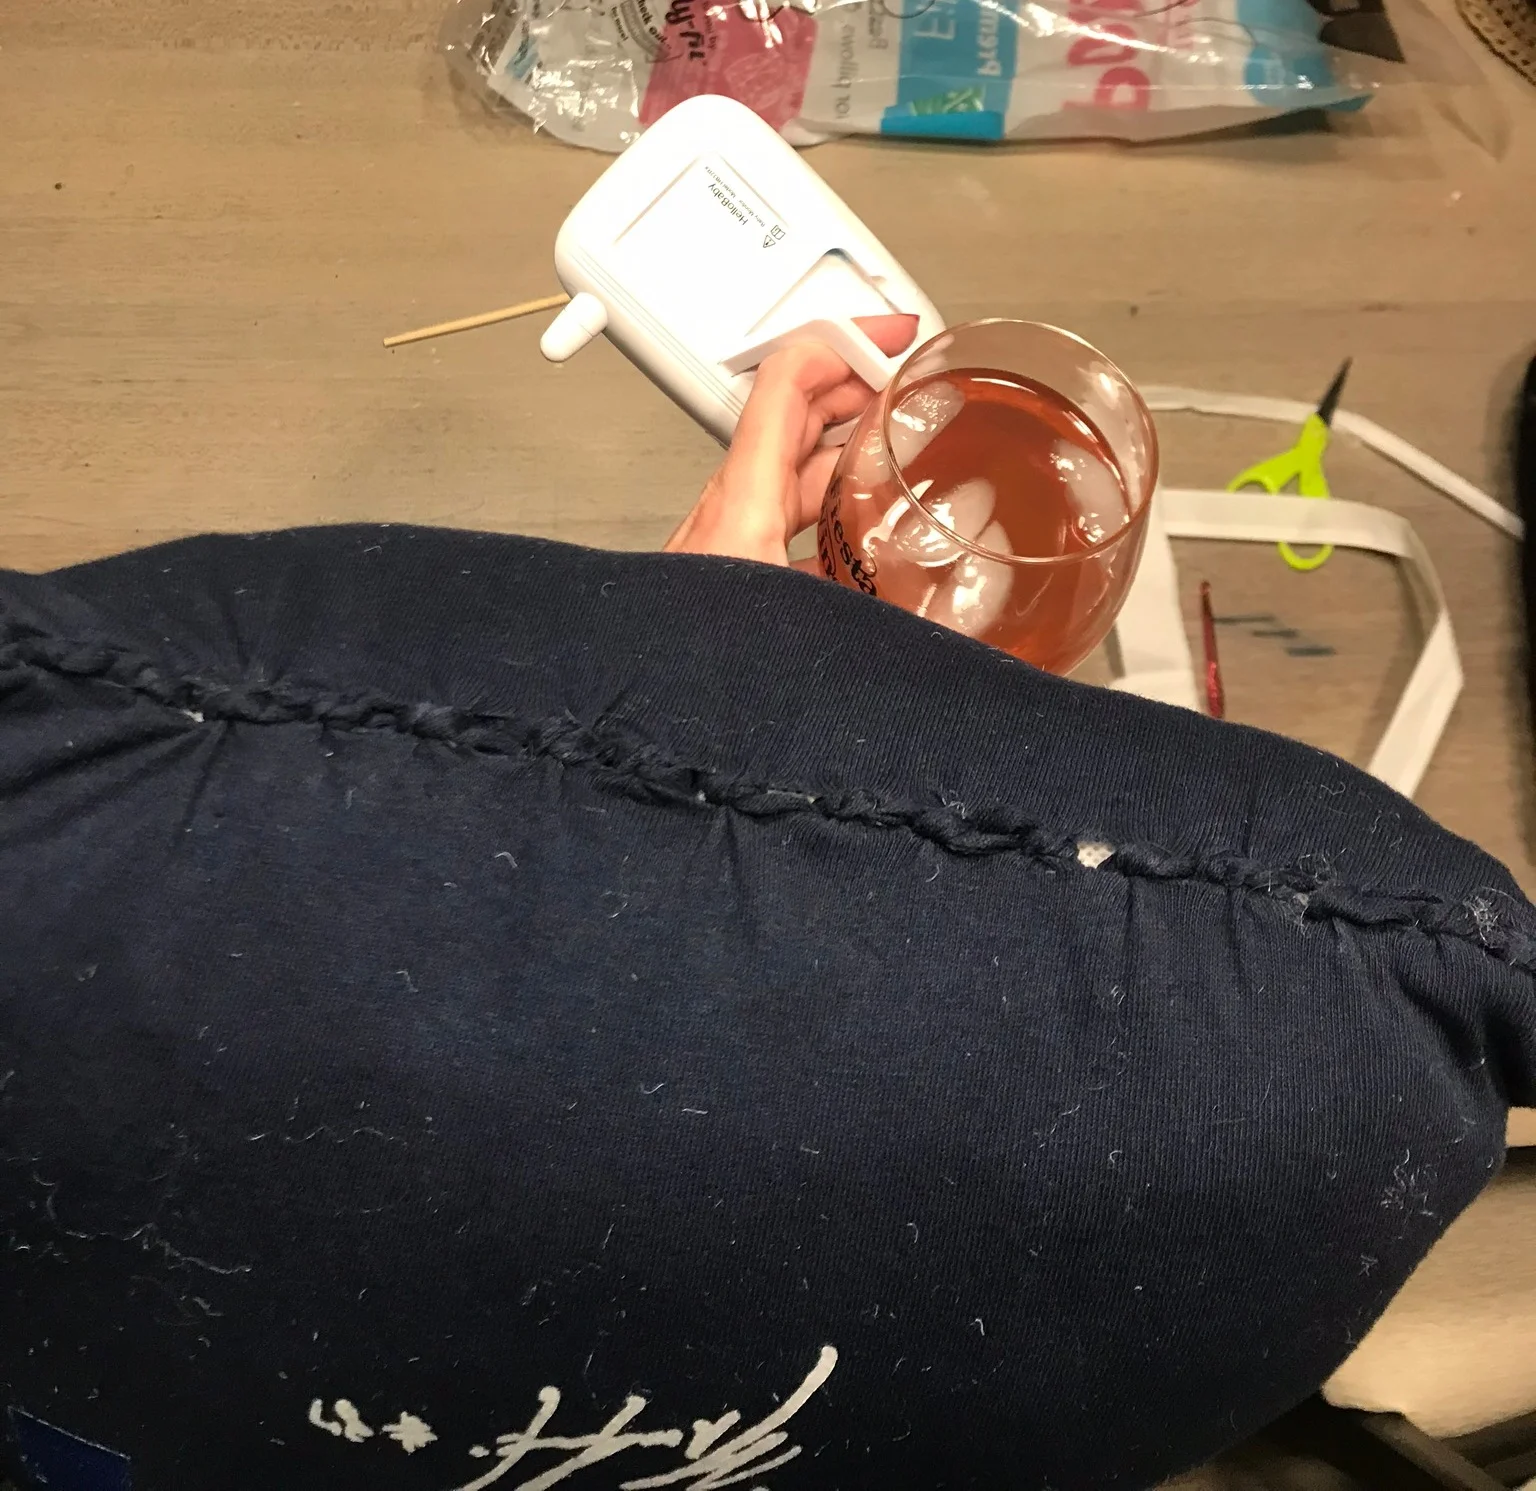
Going around the sides and bottom of the pillow, I tied knots. For one “strip” that was cut in the previous step, there are 2 pieces of fabric (one on top of the other). That’s what gets tied together. I just did simple knots - basically the first step when you tie your shoes, twice.
About halfway down one side, I wanted to “pull” the shirt after I had tied a few knots. They look super close together and like they should be pulled to space them out evenly. It’s a trap. Pulling the shirt just creates holes that stuffing oozes through once the pillow is stuffed. Lesson learned.
I left the top of the pillow untied so I could stuff it.
After I tied the knots, I went back with a crochet hook to pull the ends of the knots into the pillow so I didn’t end up with fringy ends. I could’ve left them out, but I like the cleaner look (and I figured my husband would too).
This is my #1 favorite step. Stuffing the pillow!
I cut up a shopping bag from my hair salon to use on the inside of the pillow to block the holes from the knots so the stuffing wouldn’t come out. The bag I used is made of a breathable fabric, kinda like a gauze. I probably could have sewn the edges, but I’m no seamstress, so I avoid a needle and thread if I can. I put the pieces at the bottom and sides of the pillow before I started putting in stuffing, and then as I stuffed, I made sure the pieces stayed in place.
I had to “massage” the stuffing a bit so it wouldn’t bunch up when I put it in the pillow, and it took some cramming and punching and swishing and poking to make sure the stuffing got into all the corners and looked decent (not lopsided/lumpy). I used WAY more stuffing than I thought I would. I used all of it between the two pillows I made.
When I got towards the top, I tied some of the knots at the top of the pillow, leaving a hole the size of my hand to finish cramming/punching/swishing/poking the stuffing into place.
Once the pillow was the shape I liked, I put another piece of the gauzy bag on top of all the stuffing, and then finished tying the knots across.
My adult beverage, baby monitor, and I went off to squish/fluff/punch the pillow a bit more until it looked like I wanted it to.
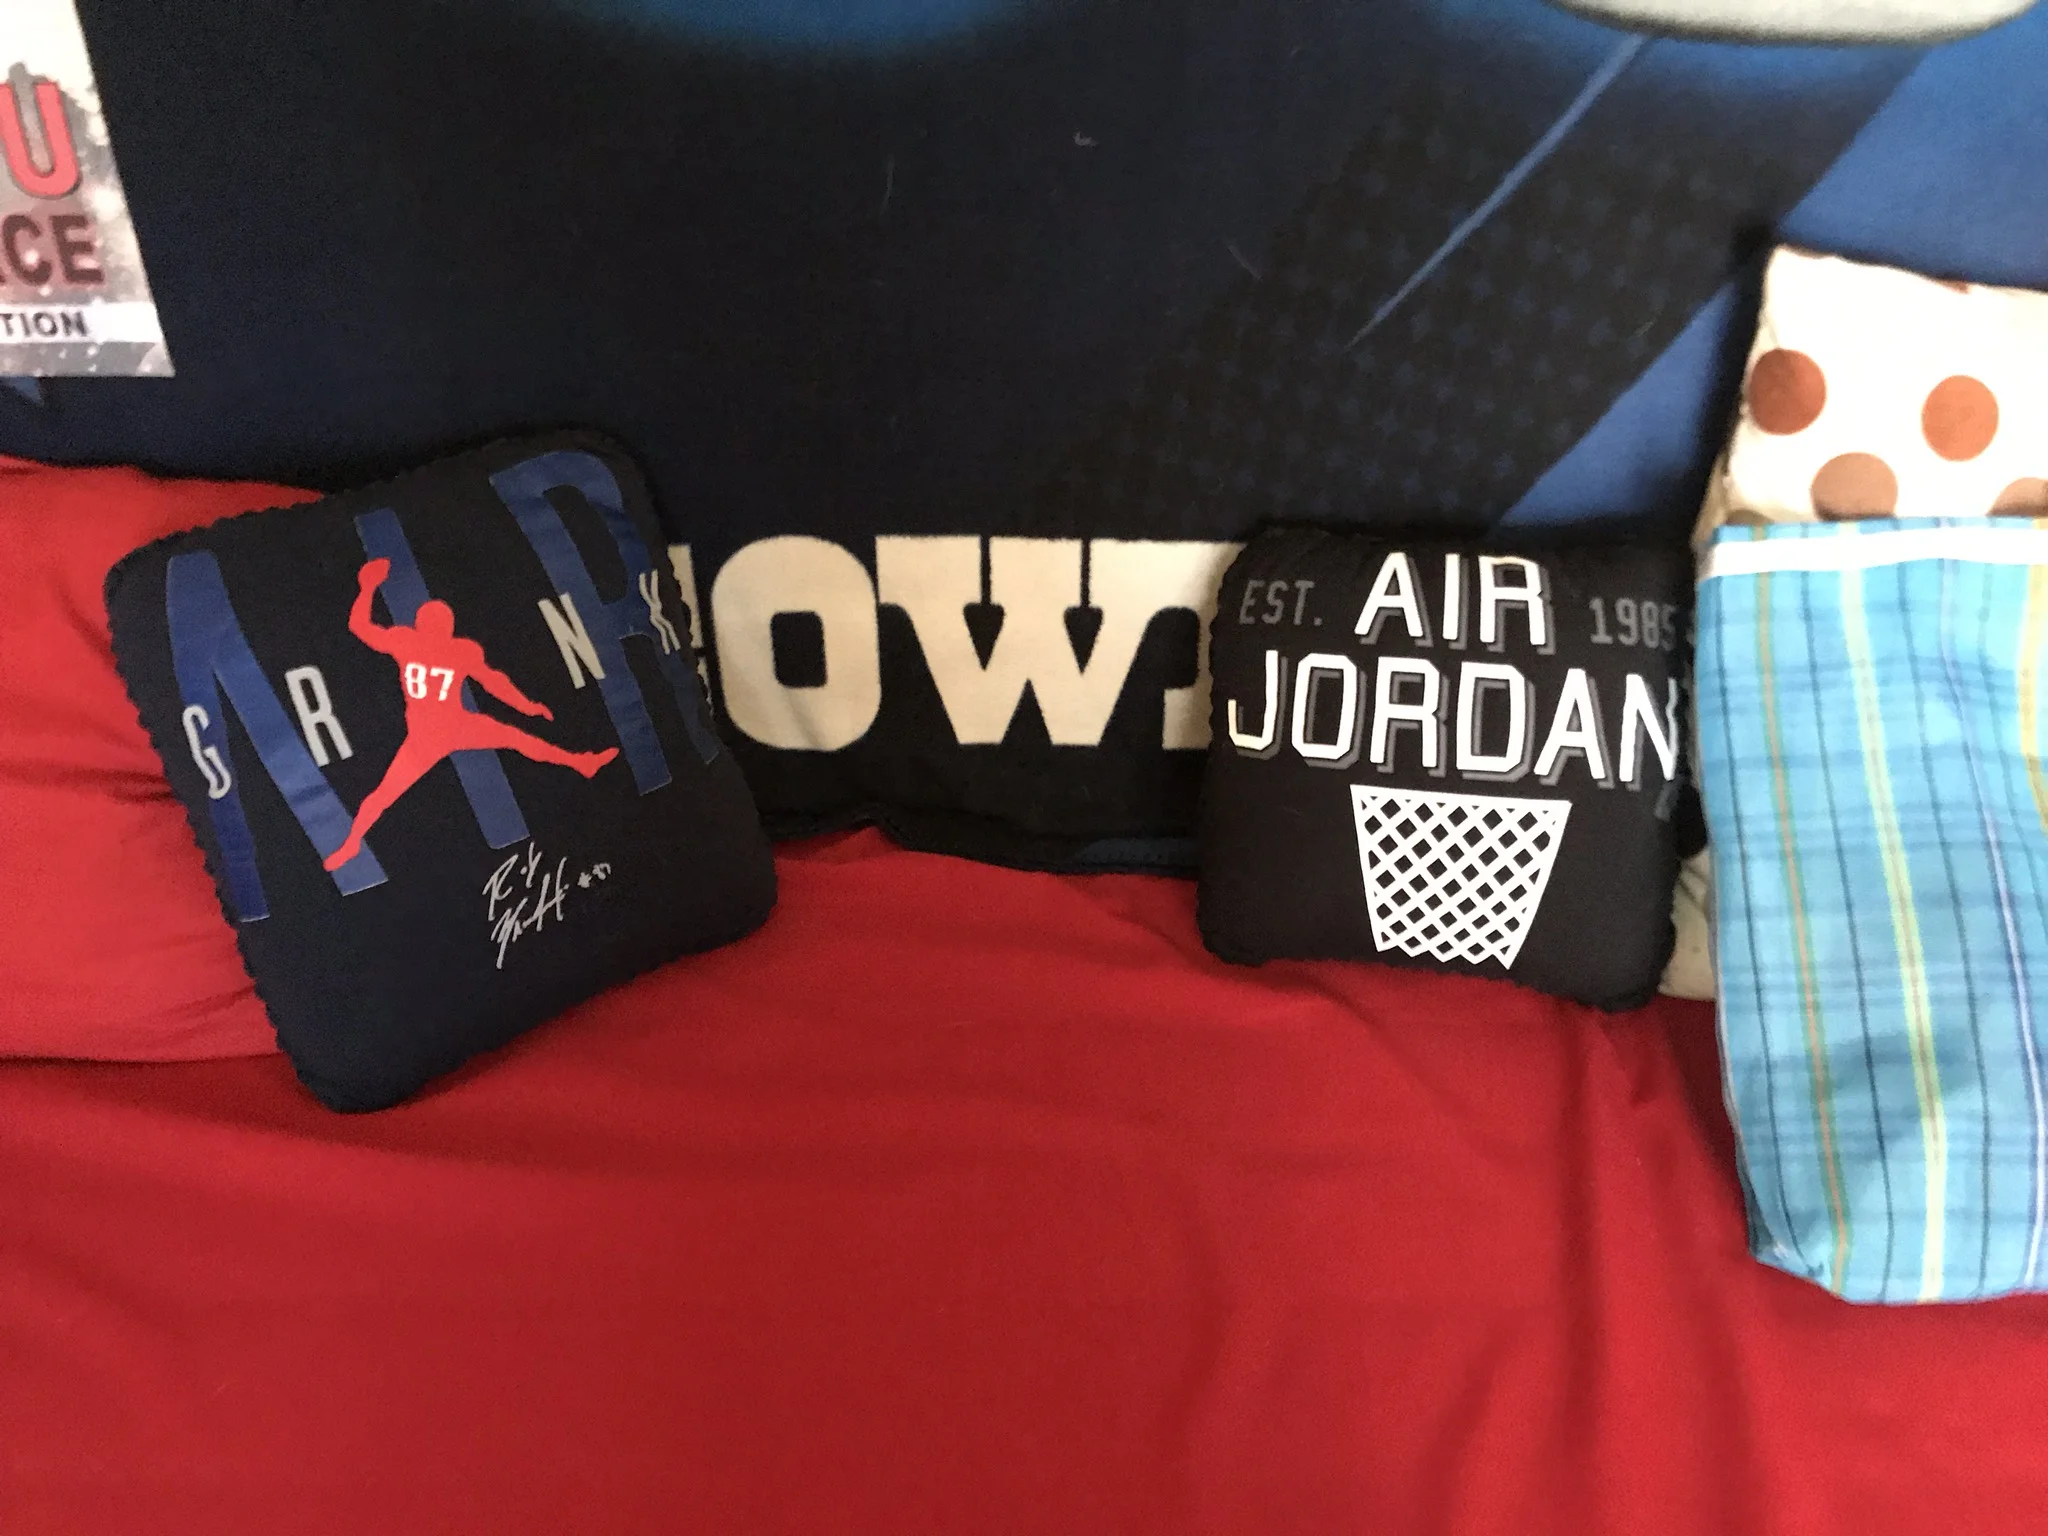
All done!!