

DIY Nail Polish Marbled Tiles
/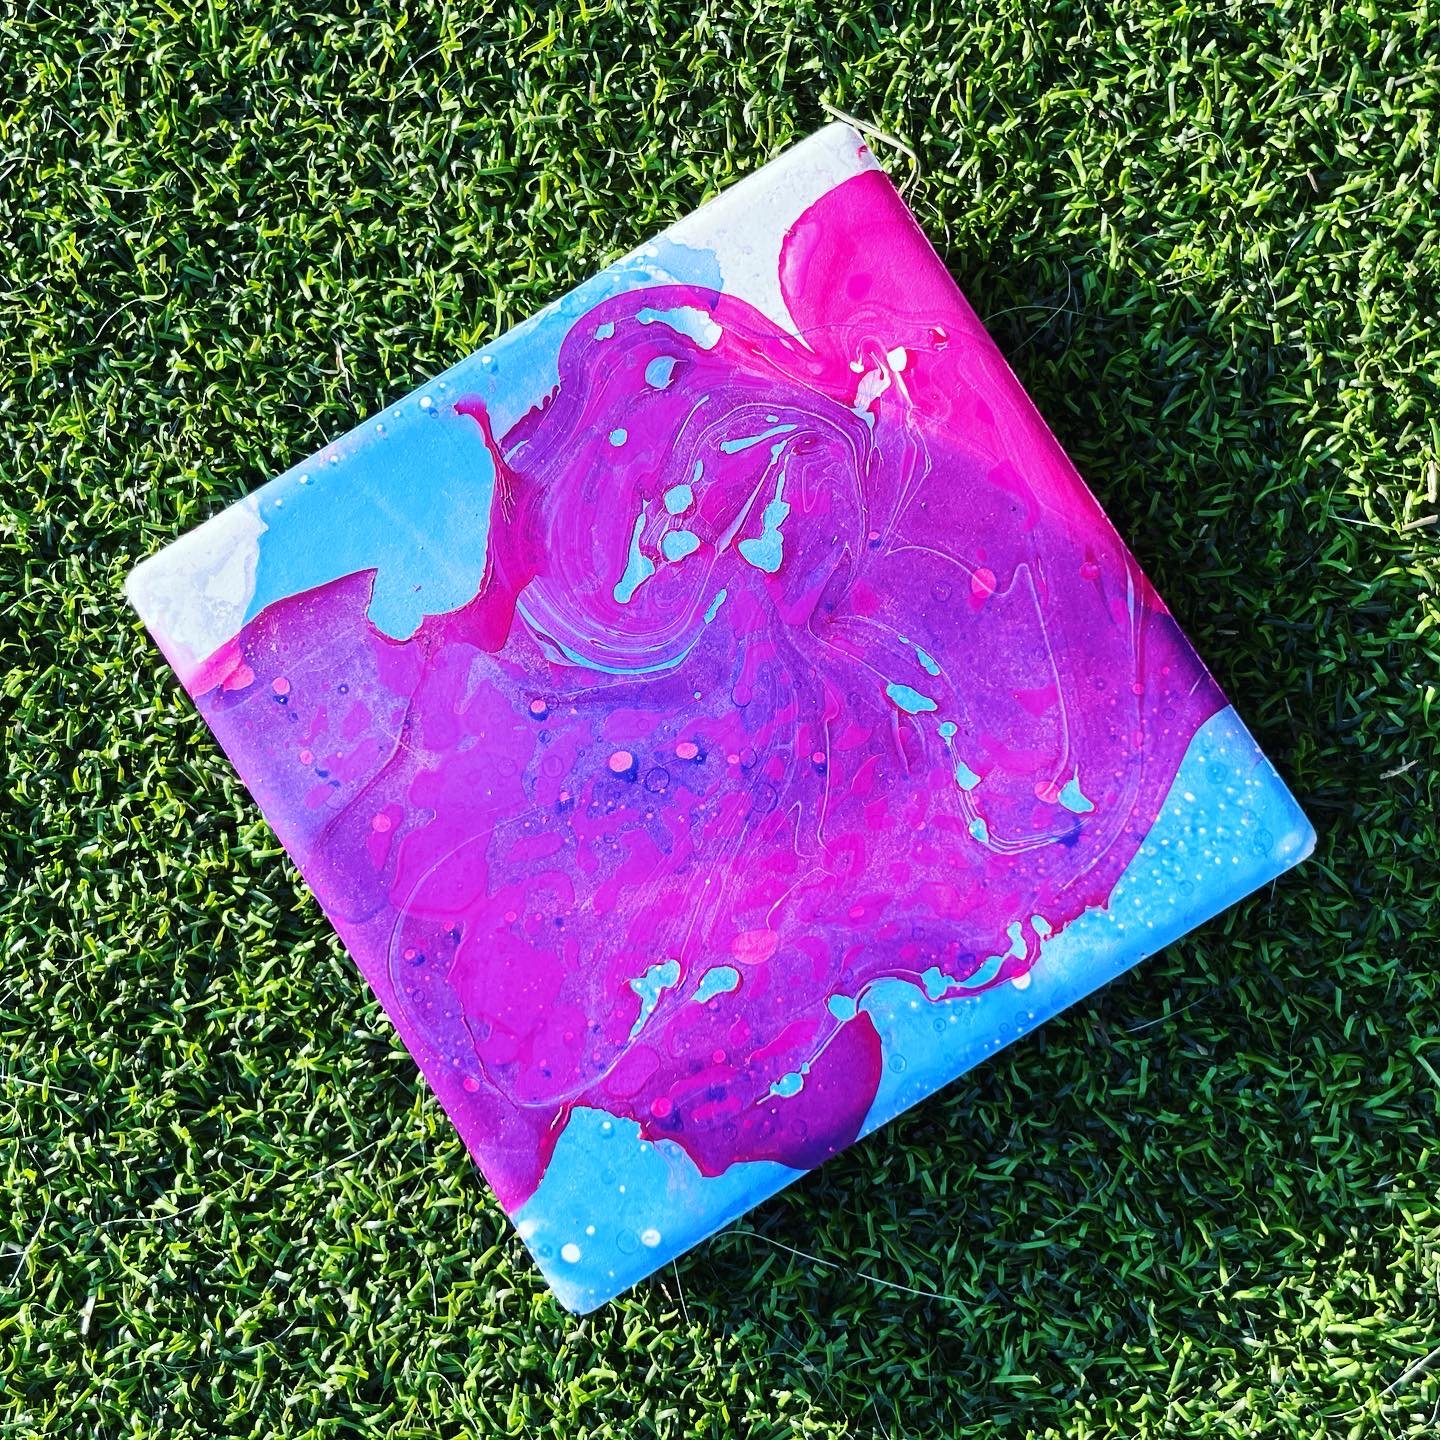

These beautiful DIY coasters are made using the deceptively easy, and very fun, art of nail polish marbling!
If you’re looking for a quick craft to do with your kids, or even your adult friends, this is it! Setup and cleanup is a breeze (assuming you don’t spill anything!), and you end up with an amazing design without even trying.
I will say, they take a while to dry, and they smell like nail polish while they do it. This is a good outdoor craft.
Let’s get to it -
Coaster Supplies:
Shallow bowl, slightly bigger than your coasters
Water
Nail polish
Wood skewer
Ceramic coasters (got mine on Amazon, they come with the cork backs that you stick on)
Popsicle sticks
Tray & paper towels for drying/cleanup
Creativity and Patience!
Steps:
Prepare the drying/cleanup area
Set your tray to the side to receive the wet coasters
Have a plastic bag at the ready to collect discarded items (paper towels, popsicle sticks, etc)
Put a glove on the hand that’ll be doing the dipping
Prepare the polish
In your shallow bowl, add about 2” water
Slowly pour nail polish into the water. We found it pours best when you hold it parallel and very close to the water. Do it slow, make a pattern with it of some sort (swirl, zig zag, etc). It’s important to go slow or the polish wont stay on top of the water; it’ll sink to the bottom in wasted blobs.
If desired, use the wood skewer to marbleize the polish. This works well with OPI polish - you’ll have to experiment with others. If it doesn’t work, use your popsicle stick to scoop up the extra polish and start over.
Quickly dip the coaster into the polish water facedown without completely submerging (try not to get the cork bottom of the tile wet, but it’s ok if it does)
Remove immediately, flip it over, ooh ahh
Place on the tray to dry - DO NOT blot/wipe/blow. I mean it, resist. Air bubbles will pop, blobs will flatten, it’ll be ok in the end.
Again, do not pop air bubbles - let the coaster dry and then flatten them
Use a popsicle stick to collect the rest of the polish in the water, and repeat steps 1-6 for the other coasters!
I didn’t even seal mine, the nail polish is strong enough to act as a seal. You could do mod podge or something similar if you want to though.